Showing posts with label Betterpress. Show all posts

Tuesday, June 16, 2026

Summer Flower for CH135

Hello friends!  My card today is for a new Color Hues challenge and this time the amazing Carol is hosting.  She's chosen a very striking color combination.


When I saw this color duo, the obvious choice seemed to be bees, which would be so fun, but then I remembered a NBUS press plate that I knew would work well, so I'm linking up to Darnell's NBUS challenge as well.

And here's my card...


Isn't that a gorgeous sunflower design?  It was made using a press plate from Alex Syberia that I bought last summer.  My first attempt at creating the image was to use the Betterpress, inking up the plate with black pigment ink, which encompasses the background and the outline of the sunflower.  The image came out fine but not a sharp as I was hoping, so I went the foiling route, and that turned out better.

Using foil rather than pigment ink also allowed me to color the sunflower with my Copic markers, which I have been neglecting as of late. (having too much fun with dies!)  After coloring, the panel was trimmed down and mounted with foam tape onto a white panel die cut with a crimped edge A2 die, then added to the card base.  

The greeting is from a sentiment press plate set, also from AS and it was foiled in black as well, then cut out with the coordinating die.  I like this particular sentiment because it can be used for multiple occasions.  Keeping things simple, just three opal gems were added as embellishment to finish the card.


Thank you so much for taking time to stop by, I really appreciate it!  If you have another moment, I encourage you to visit the challenge blog for a peek at the fantastic inspiration my fabulous teamies and our guest designers Barbara Campbell and Diana Karlova have to share!  The challenge will remain open until 9 am EDT on Monday, June 29th.  I hope you'll join us!

Stef

  • Alex Syberia Summer Flower Press Plate
  • AS Essential Sentiments Press Plates and Dies
  • Simon Says Stamp Crimped A2 rectangle die
  • SSS Dazzling Opal gems
  • Copics - YR27, 24, Y19, 15, 11, E29, 27, 25

Thursday, April 16, 2026

Charmed Birthday for Color Hues

Hello friends!  Today the lovely Sheri is hosting our new challenge at Color Hues.  She has chosen some wonderful spring colors.

Remember that you can use any hues of these colors and you'll see that with the gorgeous cards by the other design team members, as well as mine.


I've always found coral to be a bit tricky to create with using inks or alcohol markers.  But then Jennifer McGuire came to my rescue in a video earlier this year, using three shades of Altenew inks (listed below).  So that's what was used to ink blend all the die cut petals on the flower. (If anybody that has suggestions for coral Copic marker combos that don't look too red, I'd appreciate knowing!)

After the ink blending of both the leaves and flower petals was complete, the flower was assembled, all six layers (!) plus the center pieces.  I didn't care for the shape of the top flower center die that was part of the die set so I substituted one from another set.

Both the Betterpress sentiment and the flower center were inked using Altenew Antique Gold pigment ink.  Texture was added to the green background with a cover plate die, then a die cut lattice became the landing spot for the peony.  Other than fussing with the flower center, this card came together very quickly!


The challenge will remain open until Wednesday April 29th at 3:00 pm EDT.  For more inspiration, I encourage you to visit the challenge blog to see all those gorgeous cards created by my amazing teammates and our guest designer Kelly. I hope you'll join us!

Thanks for stopping by!

Stef

  • Altenew Coral Charm Peony dies
  • Spellbinders Woven Lattice Texture die
  • Pinkfresh Studio Stitched Diamonds Cover die
  • Spellbinders A Little Message Sentiments Press Plate and die
  • Altenew Pink Pearl, Coral Bliss and Coral Red inks
  • SSS Lime, Limelicicous and Pearfection inks

Sunday, March 1, 2026

Everything Wonderful for Color Hues

Hello friends!  Well, here we are at the first of March and therefore it is time for a new challenge at Color Hues!  The amazing Karen is hosting this time and has chosen a beautiful color combination!

I think this combo would be perfect for St. Patrick's Day/leprechauns/four leaf clovers, but instead, I had a beautiful leafy image in mind to use.  


This is from the Altenew Arched Foliage Craft-Your-Life bundle.  I mulled over many ways to use this leafy arch, by cutting it  to create various layouts but then I saw this video by Mindy Eggan aka "master ink blender" and knew I had to use her design.

To start, the die was used to cut the leafy arch, then it was stenciled with three greens (Jade, Eucalyptus, and Forest Fern) from Altenew's Frosted Foliage quad.  It's one of my favorite green color combos.  Next the die cut was embossed with the matching folder, then adhered to a second layer for more stability.  

A panel of white was then inked blended with the same colors, fading off to white on the left side, and then added to the card base.  I used foam tape to add the leaf die, cutting off anything hanging off the edge of the card.  For the gold splatter, I used Altenew's Metallic Paint set.

The stamp set has some wonderful greeting stamps, but to be honest, I was being lazy about heat embossing it in gold, so I used one in my stash that I'd previously foiled and die cut.  And, it's a lovely sentiment.


Thanks for stopping by and I encourage you take a moment to visit the challenge blog to see all the gorgeous cards by the other design team members and our wonderful guest designers Donna and Darnell.  The challenge will remain open until 9am EDT on Saturday March 14th.  I hope you'll join us!

Stef

PS - In case you missed my DT post for the Paper Players, you can find it here.   Also, I'd love it if you'd come back by on Thursday, when I have a very special surprise post! 

  • Altenew Arched Foliage stencil, die and embossing folder
  • Spellbinders Everything Wonderful Sentiments Betterpress plate and die
  • Altenew Metallic Gold Paint
  • Altenew Frosted Foliage ink quad

Sunday, September 28, 2025

Snowflake for the Paper Players

Hello friends!  It's Sunday and time for a new challenge at the Paper Players.  This week I'm hosting our monthly sketch challenge and created one that will be super easy and versatile for you to use.

As you can see, the circle can be any shape, so your choices are vast!  

For my card, I created a simple Christmas card.  In fact, it was so simple I ended up making four altogether.  But here's my favorite...


I had several ideas for this card, but I ended up with a foiling session, using the Pinkfresh Studio Radiating Snowflake press plate and a couple of Spellbinder sentiment sets.

Next I pulled out one of my favorite Christmas patterned paper pads and found four that would match the snowflakes I'd made.  For the most part, the papers all utilize a bokeh effect, along with different colors and some with more prominent snowflakes.  I love the gold and blue on the card above.  


Putting the card together was super simple.  The snowflake was layered on two additonal die cuts then adhered to the card front, the sentiment popped up with foam tape and then I added three snowflakes cut from white glitter paper and topped with sparkly gems.  I used the same design on the other three cards.


I hope this easy-to-use sketch inspires you to join us this week!  For more design ideas, my wonderfully talented teammates have some fabulous cards on challenge blog here. The challenge will remain open until 3pm EDT on Friday 3rd - I hope to see your card in the gallery! 

Stef

  • Pinkfresh Studio Radiating Snowflake Betterpress plate and die
  • Spellbinders Comfort & Joy Sentiments Hot Foil plate and die
  • Spellbinders Sending Joy Sentiments Betterpress plate and die
  • Kristina Werner Kristina's Essential dies A2 rectangle
  • SSS Woodland Treescape Snowflake dies
  • SSS Warm Tones, Surf and Prism Dazzling Gems
  • Whimsy Stamps Blurry Flurries patterned paper

Monday, September 15, 2025

Daisy Birthday for The Flower Challenge

Hello friends!  I'm here with my reminder card for The Flower Challenge.  This month we have a great sketch for you to use with your floral cards.


I'm also slipping in at the last minute with the challenge over at Color Throwdown.  It's been a long time since I've had a chance to play along with them.

And since I am using new-to-me products on my card, I'm linking up with Darnell's NBUS challenge.

Dies seem to be my go-to for TFC this month.  I used them on my card at the beginning of the month and I'm using some different ones here.


I used two different styles of daisy dies along with a couple of ferns and another leafy branch and grounded them on a scallop circle, which is rather hard to see after everything was added lol!  All the dies were cut from white cardstock then colored with Copic markers.

The background is a slightly smaller panel of white with some light blue ink blending.  I added the floral bunch then splattered everything with gold metallic paint.  Once dry, the panel was added to the card base and finished off with the sentiment.


There are 10 days remaining in the challenge, so I hope you'll make time to play along or share a second card - we always love to see your makes in the gallery!  In the meantime, I encourage you to pop over to the challenge blog where my teammates have some amazing inspiration for you!

Thanks for stopping by!

Stef

Everything listed is from Simon Says Stamp unless otherwise noted.
  • Etched Layered Daisy Stem dies
  • Charming Daisy dies
  • Fiddly Leaf die
  • Curled Fern Frond dies
  • Chunky Scallop Circles die
  • Spellbinders BetterPress Fancy Sentiment Strips press plate and die
  • Gansi Tambi Starry Colors gold metallic paint
  • Altenew Sea Breeze ink
  • Copics - R59, 46, 27, 08, YR27, 24, Y15, 11, E39, 59, YG67, 63, 61, 45, 41, 17, 05, 03, 01, G29

Sunday, September 14, 2025

Special Day for the Paper Players

Hello friends!  This week at the Paper Players, the lovely LeAnne is hosting our monthly color challenge and she's chosen a lovely trio for our inspiration.


I just couldn't resist creating a card with florals, these colors just seemed to demand it lol!  I used two sets that I received last year as part of Altenew's Cozy Comfort retreat, then discovered after creating and photographing my card, the die sets are not available for sale. Of course, there are many daisy or sunflower dies available, should someone be looking for a set.

ETA:  I realized that my flowers, leaves and sprigs all have embossing that occurred along with the die cutting, so I'm sending this over to my friends at Seize the Birthday.  

And now, on to my card!


I tried to use colors as close as possible to the Stampin' Up ones, but it's a bit tricky at times.  Nevertheless, I found some that were a reasonable substitution.  The flowers, leaves and stems were all die cut from white cardstock then ink blended.  I added brown as a neutral for the flower centers.  Although the photo makes it look blue, for the background I ink blended a muted greenish blue onto a white card panel, trimmed it down and added it to the base.  After the flowers were all arranged on the card front, I added the sentiment to finish things off.


Thank you so much for visiting!  I hope you'll take a moment to visit the challenge blog, my lovely and talented teammates have a bounty of inspiration for you.  The challenge remains open until Friday September 19th at 3pm EDT.  I hope you'll take time to join us this week!

Take care!

Stef

  • Altenew Mix Foliage & Pistachios (just the leaves) die sets
  • Spellbinders A Little Sentiments Betterpress plate and die
  • Simon Says Stamp Butter, Zest, Honey, Cabbage, Kale, Dew, Latte and Mocha inks

Saturday, February 15, 2025

Festive Poinsettias for The Flower Challenge

Hello friends!  I'm here today sharing my reminder card for The Flower Challenge, where this month we are featuring the color pink.

Earlier this month my card for TFC was a bold vibrant pink birthday card.  This time I took the opportunity to add to my stash of Christmas cards.


A couple of months ago I purchased this beautiful poinsettia Betterpress, intending to use it for 2024 Christmas cards, but it never got inked up.  So I thought it would be fun to make a card with pink poinsettias.  I was in somewhat of a hurry to get this card done, so after inking it up in black pigment ink, I clear heat embossed it, then used the stencils to color the images.


The panel was trimmed down and splattered with a bit of white paint, then added to the silver panel after drying.  The sentiment is from an old package of foiled holiday sentiments, which was popped up on foam tape over the foiled strip.  It was quite easy to make, so I made a second one only using red rather than pink.


If you haven't yet had a chance to join us this month, why not take a moment to pop over to the challenge for more inspiration from the design team, then head on into your craft room!  We'd love to see your card (or a 2nd card!) in the gallery.  The challenge remains open until 2/25.

Thanks for stopping by and take care!

Stef

  • Spellbinders Festive Poinsettias Betterpress plate and stencils
  • Pinkfresh Studio Foiled Sentiments 4 Holiday
  • Altenew Baby Pink, Fuchsia, Magenta, Grass Field, Mountain Pine & Sunray inks
  • Simon Says Stamp Rhubarb, Cranberry, Latte, Cappuccino and Mocha inks

Friday, October 4, 2024

Hello for The Flower Challenge

Hello friends!  Today begins a new challenge at The Flower Challenge and this month we're adding stencils to our floral cards.  Easy peasy!


I have many, many floral images with stencils, including stamps and embossing folders, but this time I decided to use a previously foiled BetterPress floral image that had a coordinating stencil.


The stencils include two for the petals, two for the leaves and one for the flower centers, so it's not a true "layering" stencil in the sense there are more than one for shading purposes.  So I decided to use a set of pink and green inks from Altenew that has four colors per color family, and used the lightest and medium for one petal or leaf, then the 2nd lightest and darkest for the others.

I used Altenew mini, detailed and micro mini blending brushes to blend on the ink to achieve some shading, although you can see the lightest flower petals don't have much contrast.  I love the muted colors for fall.  

With the stenciling complete, I messed around trying to find a sentiment that I liked.  I knew I wanted gold, and finally landed on die cutting the large hello out of gold cardstock and matting both the sentiment and the trimmed down stenciled image on dark green cardstock.  I decided not to add any embellishments because the background already had lots of foiled gold dots in-between the floral images.


This is such an easy challenge, I do hope you'll join us at least once this month!  In the meantime, take a moment to visit the challenge blog and see what my amazingly talented teammates have created to inspire you!  The challenge will remain open until Friday, October 25th.

Thanks for visiting and take care!

Stef

  • Spellbinders Cosmos Backdrop BetterPress and Stencil Combo
  • Simon Says Stamps Fancy Hello dies
  • Altenew Pink Crystal, Mauve, Berrylicious, Acai Berry, Rhodolite, Silver Sage, Jade, Eucalyptus and Forest Fern Fresh die inks
  • Concord and 9th Evergreen cardstock

Sunday, August 25, 2024

Merry Christmas for The Paper Players

Hello friends!  It's time for a new challenge at The Paper Players and this time we have a sketch from the lovely Jaydee!  She is off this week, so I am filling in for her as hostess.  I hope you have fun with this one!


I am now feeling crunch time to start working on Christmas cards in earnest, and this sketch worked well with the image I wanted to use.


I used my new Pinkfresh Studio press plates to create the leaf and berry border as well as the senitment.  I used some cotton watercolor paper thinking I might try to use watercolor or colored pencils but on my trial piece I didn't like either, so I went to my go to Copic markers.  Because of the type of the paper, one must use a light hand when coloring or it will bleed.

I then die cut the sentiment and used partial die cutting so the die wouldn't cut the bottom edge of the border so I could have a larger panel to make sure the border was somewhat close to the middle.  On a separate panel of cardstock, I adhered the red glitter paper, then added the die cut panel, then adhered it all to an ivory card base.  My intention was to use the sketch as Jaydee created it, but when I started arranging the sentiment, I realized it looked so much better with the sketch flipped on its side.  A few green sparkly gems completed the card.


What are you inspired to create with this sketch?  We would love to see your card in the gallery this week!  Before you head off to your craftroom, please be sure to visit the challenge blog where my talented teammates have some more inspiration on how to use this sketch.  The challenge will remain open until 3 pm EDT on Friday 8/30.

Thanks for visiting and take care!

Stef

  • Pinkfresh Studio Magical Holiday Pressplates and Dies
  • Spellbinders Betterpress Cotton card panel
  • Altenew Brilliant Red Glitter cardstock
  • Picket Fence Studios Candy Lane Gem Mix

Monday, April 15, 2024

Big Bold Blooms Birthday for The Flower Challenge

Hello friends!  We're at mid-month and time for our reminder post at The Flower Challenge.  This month we are adding layers to our floral cards.  

This time I used a die cut floral spray to create layers and since I'm using new products, I'm also sharing over at Darnell's April NBUS Challenge. 


I recently had a little shopping trip to Spellbinders and picked up the Copperplate Sentiment press plates and the Big Bold Blooms dies.  Betterpress ink in Bark was used to press the happy birthday sentiment onto a panel of the Betterpress porcelain paper.  The spectacular calligraphy used for the sentiment font absolutely makes me giddy, it's so beautiful!

Next all the spray components were die cut from white cardstock, then the leaves and flowers were ink blended with a number of Distress inks and I used brown Copic markers to color the little branches and flower centers, and warm grays to shade the white buds (?berries?).  Creating floral arrangements does not come naturally to me so I definitely borrowed ideas from the card samples for the Copperplate Sentiments on the SB website.  The colors were ones used by Amy R in this post on Prairie Paper and Ink, which was for Color Throwdown #787.  I love me some aquas and teals, and when paired with olive green, well, it just makes my heart happy!

After building the spray and adhering it to the card front, the last step was to add some bling with three Simon Says Stamp Surf Dazzling Gems.


If you haven't already, we'd love to have you show your layers, or share a second card!  Be sure to head over to the blog for all the beautiful inspiration from my wonderful teammates.

Thanks for visiting.  Take care!

Stef

  • Spellbinders Big Bold Blooms and Envelope of Wonder (2 leaves) dies
  • Spellbinders Copperplate Happy Birthday Press Plate
  • Salvaged Patina, Peacock Feathers, Uncharted Mariner, Crushed Olive, Peeled Paint and Rustic Wilderness Distress inks
  • Copics - E44, 47, W0, 1, 3, 5

Saturday, April 13, 2024

Touched Beyond Words

Hello friends!  I hope you're having a great weekend.  Today I'm sharing a card that I made for the current challenge at Freshly Made Sketches.

I love Jen's simple sketch and it was just perfect for using a big floral.  My card ended up being a square 5" x 5".


This large flower image is from Altenew's Vintage Garden and while I've had the stamp set a while, I hadn't inked up and colored this image as of yet.  For the flower petals I used Copics in a part of the RV family I don't typically reach for because they are more on the red side and I'm more inclined to like pinks.  Good to get out of your comfort zone, right?  The leaves were colored with Altenew Artist markers.

For the background, I ink blended a panel with some light greens at an angle starting at the upper right and fading off to white towards the middle.  It was then embossed with a 3D folder but the texture was so pronounced I didn't like it for this particular card, so I ran it through my die cut machine a second time just between the plates to lessen the embossing - it's not totally flat and it worked better for adhering everything.  

The flower was added to the white scallop circle that had been die cut three times, then the sentiment and gems finished things off.


Thanks for taking time to drop by!

Take care!

Stef
  • Altenew Vintage Garden Stamp and Die
  • Spellbinders Tile Motif 3D embossing folder
  • Spellbinders Betterpress You Are Everthing Sentiment press plate
  • Hero Arts Scallop Circle die
  • HoneyBee Stamps Aurora Borealis Gems
  • Copics - RV21, 23, 25, 19
  • Artist Markers - Aloe Vera, Matcha Tea, Swamp Green

Thursday, April 4, 2024

Garden Tapestry for The Flower Challenge

Hello friends!  Here we are in beginning of April and at The Flower Challenge this month we are adding layers along with our flowers!

There are many ways to add layers and for this card, I added a panel cut with a cover plate die and also added layers under my main image for dimension.


The first step was to use the beautiful and intricate Pinkfresh Studio Garden Tapestry press plate with my BetterPress.  It was inked with Spellbinders Bark BetterPress ink, then I used the coordinating stencil to color the flowers and leaves.  I just love this delicate design.


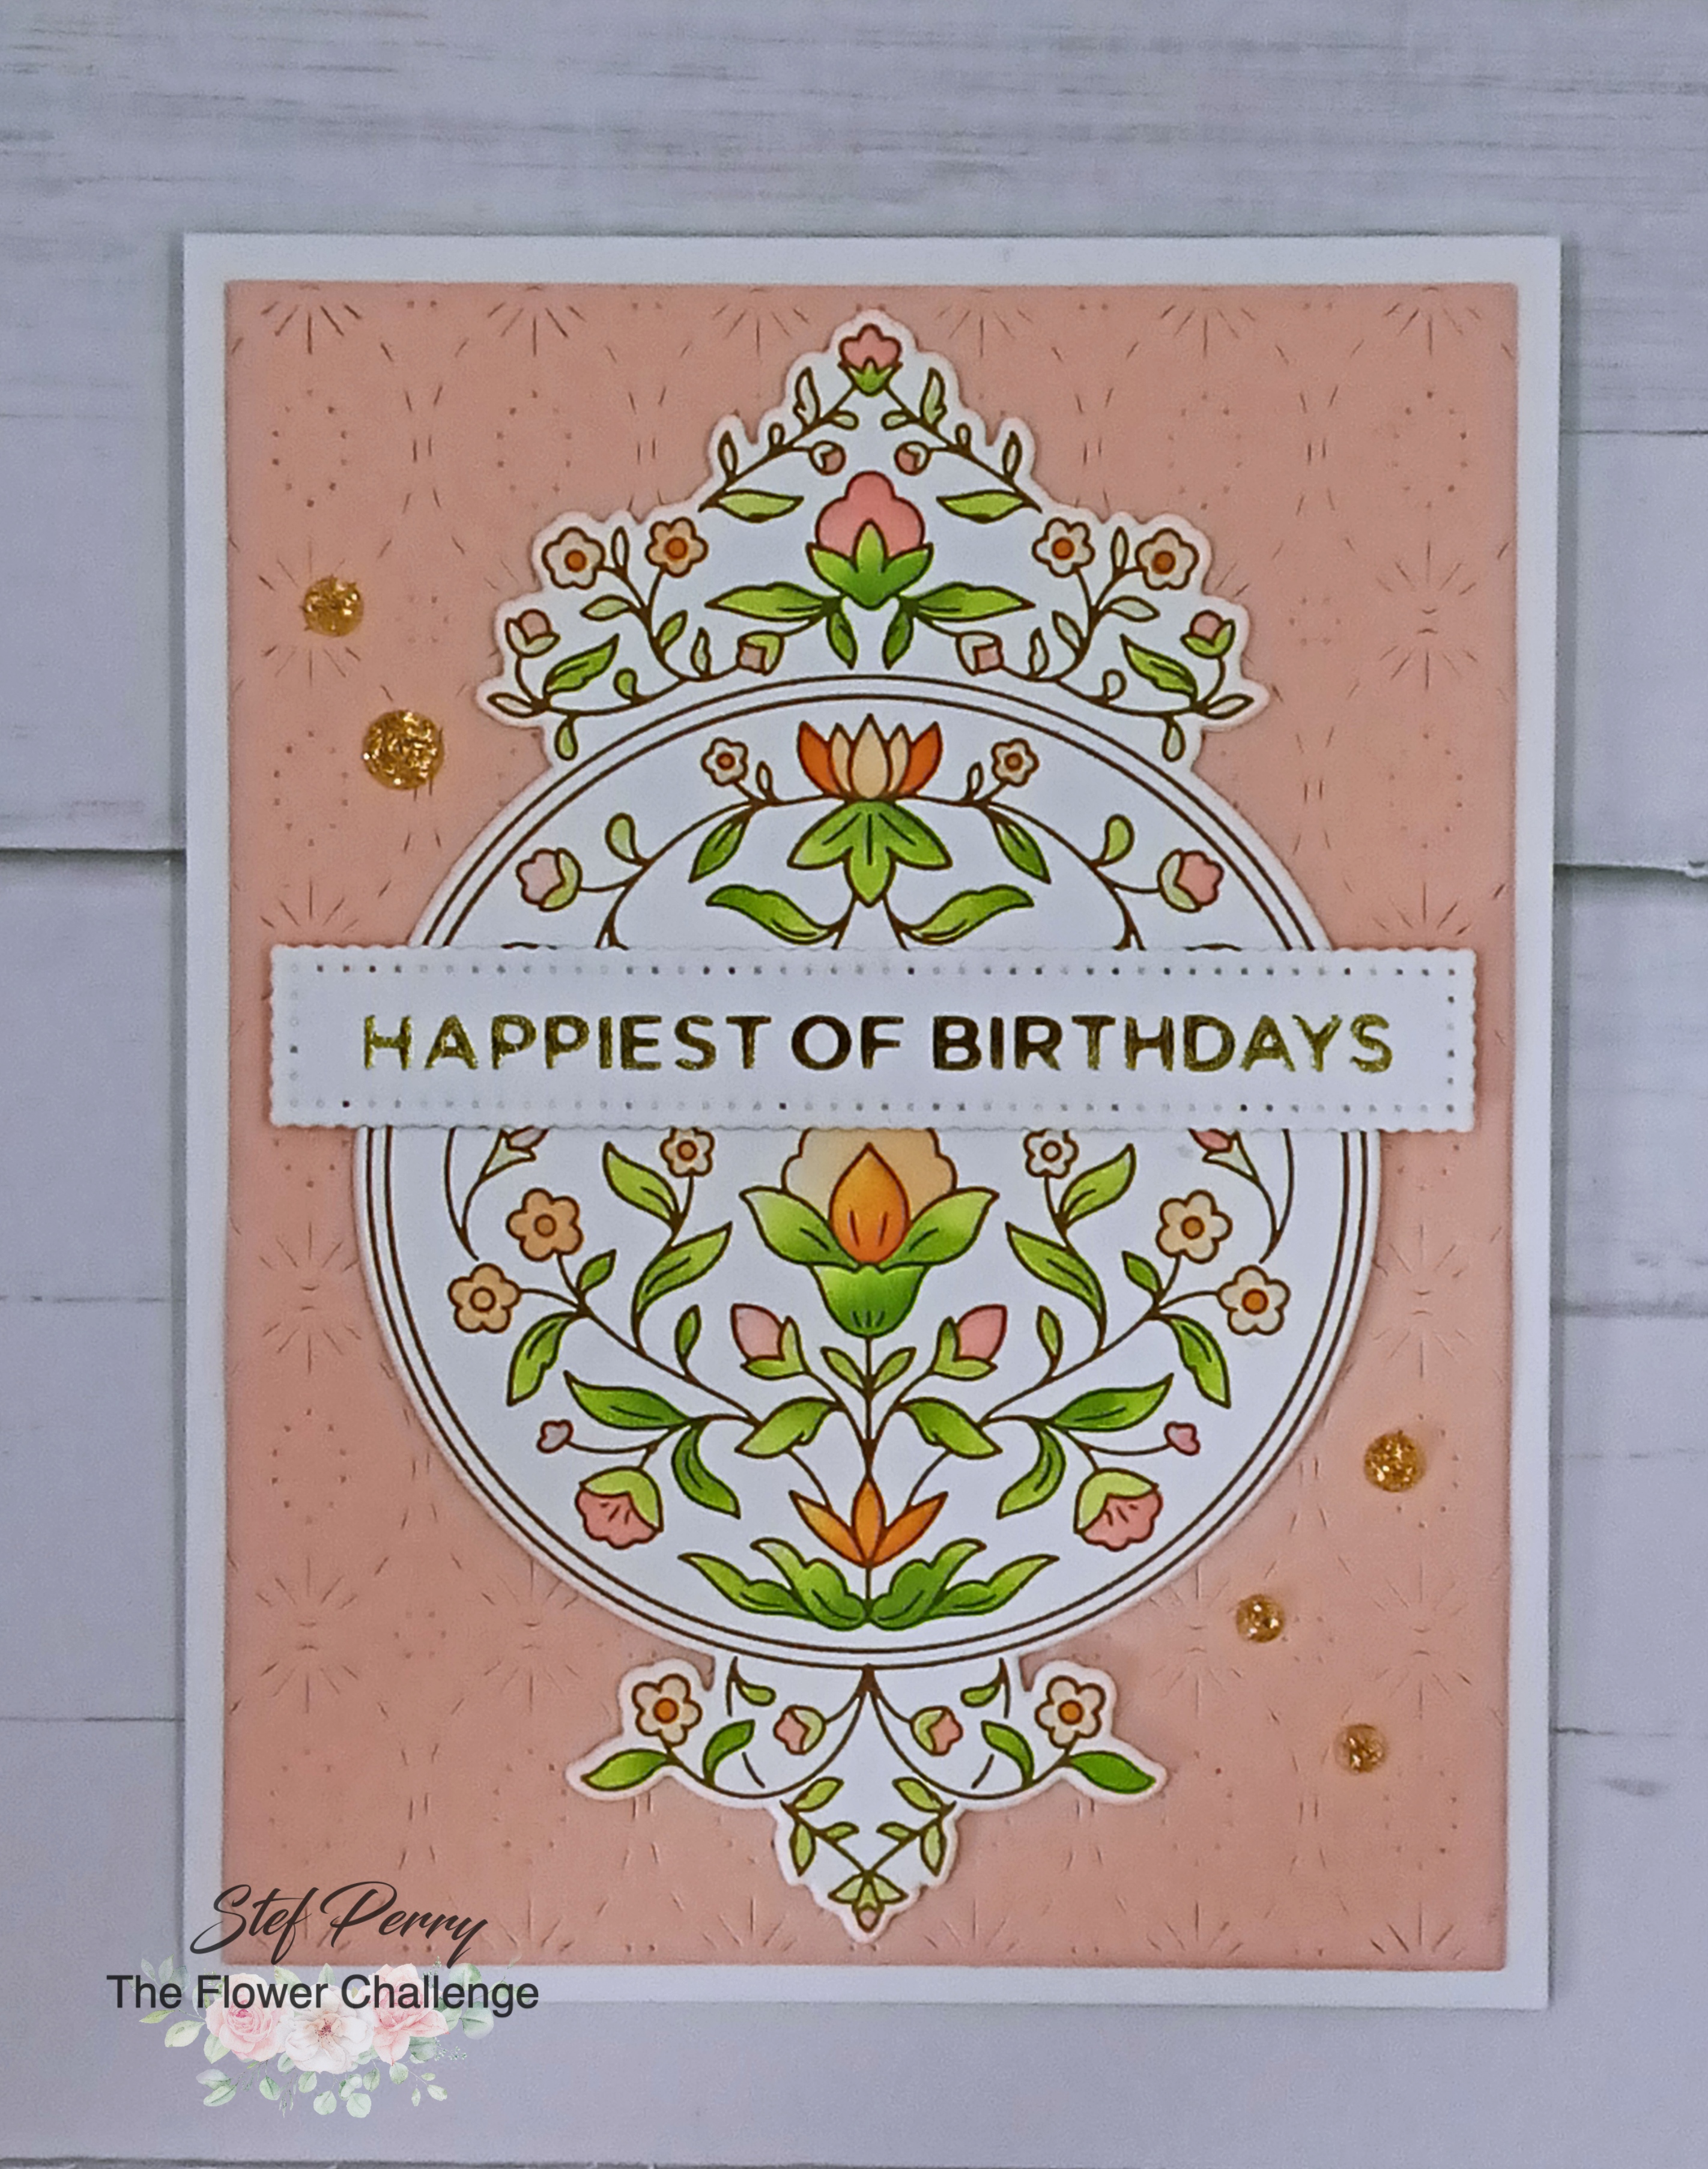
Next came the die cutting.  The PFS Intricate Stitched Ovals Cover plate die left a subtle and beautiful design on the light peach panel, then added to the card base.  The stenciled image was die cut along with three additional layers, adhered together, the layered on the peach panel.  The sentiment was from a previous foiling session using SB More Sentiments foil plates and cut with the coordinating die, and I liked how the border seemed to coordinate with the background stitched design.  Lastly we couldn't go without a little bling, so I added some Studio Katia Gold Glitter drops, which also tied in the gold from the sentiment.


How would you add layers to your floral card?  Die cut flowers?  Layers of patterned paper? Frame?  All of the above? There are so many ways to go with this and for some wonderful inspiration, be sure to take a look at all the beautiful creations by my fellow DT members over at the challenge blog, then come play along with us!  The challenge will remain open until 5pm GMT (1 pm EDT) April 25th.  Be sure to swing back by on the 15th when I'll have my reminder post with a different way to add layers!

Take care!

Stef

  • PFS Garden Tapestry Press Plate, Die and Stencil
  • PFS Intricate Stitched Ovals Cover Plate die
  • Concord and 9th Nectar cardstock
  • PFS Peach Fuzz, Coral Berry and Clementine inks; SSS Limelicious and Pearfection inks; SB Bark BetterPress ink
  • Studio Katia Gold Glitter Drops

Friday, February 16, 2024

Cosmos Birthday for Color Hues

Hello friends!  It's time for a new challenge at Color Hues and this time I am hosting.  I chose a color combo that I don't normally use but thought it would be lovely as we are heading towards spring, or at least away from the worst part of winter (fingers crossed!).

As a reminder, use the hues of color you have on hand that are closest to the challenge colors and have fun creating!

I'm also playing along with the Anything Goes part of the current challenge at Seize the Birthday.


For my card, my "mint" green appears a bit more green in the photos but the ink I used were definitely on the "minty" side. Oh well, what can you do? (maybe breakdown and get a new camera lol!)


I decided to dust off my Betterpress and use it with a relatively new-to-me press plate and matching stencil set.  It was pressed in black ink on watercolor paper, then I used three colors of lilac and mint green inks to create some shading and variation of colors.  Then I took the lightest mint green and gently added it to the panel with a blending brush, while avoiding the flowers, to soften the bright white background.  

For the flower center I initially used a light touch of gray ink but I came back later to change things up but adding Distress Sparkle Texture Paste, which dries clear but made the centers look almost like they were covered with silver glitter.


While the sparkle paste dried, I die cut the sentiment from matte silver and also more from black cardstock for layering.  I debated about adding vellum behind the sentiment but decided not to, so it gets a bit lost in the photos, but looks very prominent in person.  

When the panel dried, it was cut with a rounded rectangle die and layered on black cardstock.  My intent was to mount it as is to a black card base but decided to add the layer of light lavender cardstock and it looked so much better.  After adhering the sentiment, I finished up by adding some pretty Aurora Borealis sticker gems for even more sparkle.


I hope these colors inspire you to head to your craft room, but before you do be sure to visit the challenge blog and see all the gorgeous cards created by my amazingly talented teammates!  The challenge will remain open until 9 am EST February 28th.

Take care!

Stef

  • Spellbinders Cosmos Backdrop Betterpress Plate and Stencil
  • Poppystamps Happy Birthday Poe Script die
  • Hero Arts Rounded Rectangle die
  • Distress Watercolor, Hero Arts Pitch Black and Simon Says Stamp Lavender cardstocks
  • Simon Says Stamp Lilac, Orchid, Amethyst, Spring, Dublin and Lucky ink pads
  • Distress Sparkle Testure Paste
  • Honeybee Stamps Aurora Borealis Gem Stickers