Monday, December 30, 2019

New Year's Chillin' With My Gnomies?

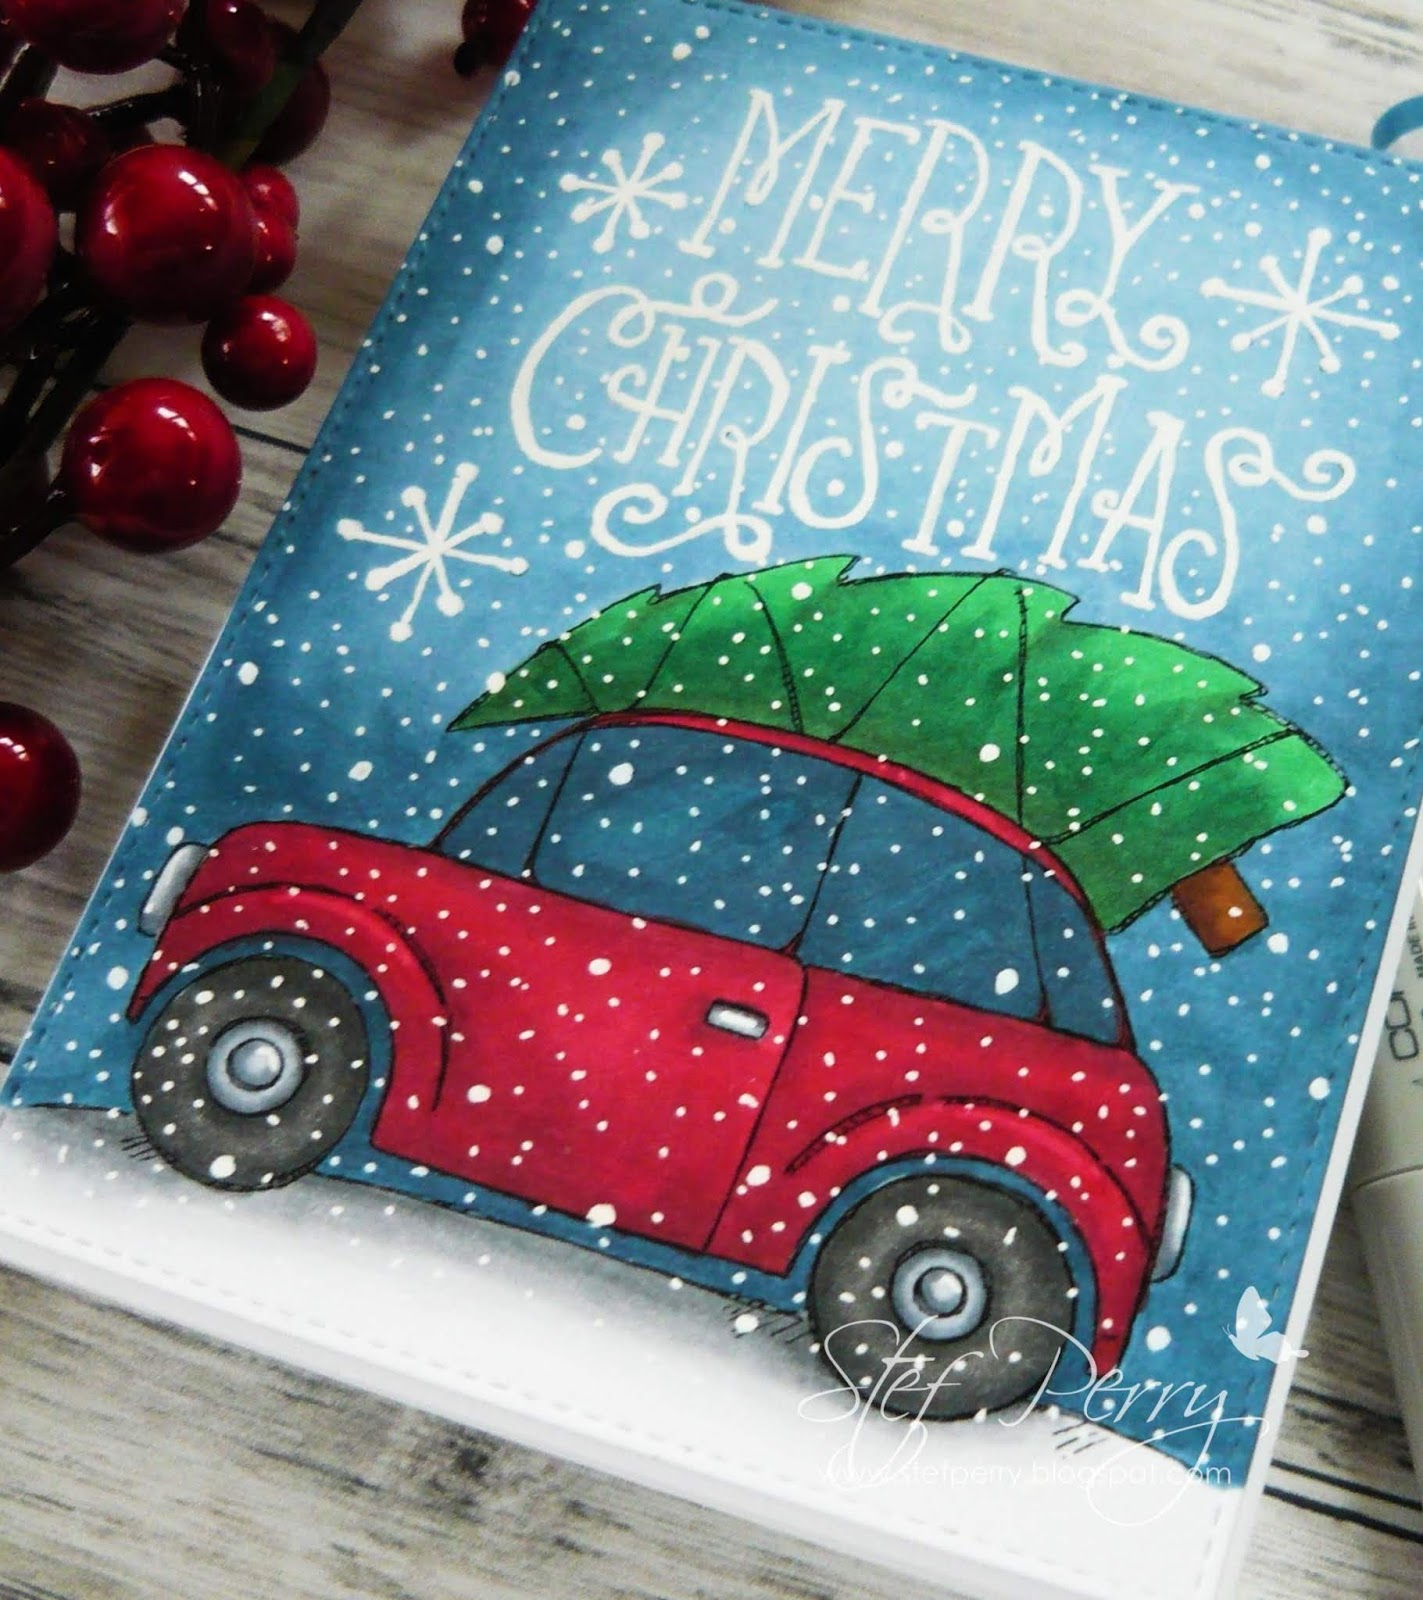
Hello friends!  It's time for a new Color Challenge at  Splitcoaststampers! I am hosting this week and the colors I've chosen are Real Red, Basic Black and Basic Gray with a dessert option of adding sparkle.  I have two cards to share reflecting that color combo and are entirely different in theme and design, just to give you some fun options!


The first card is a fun winter themed card using components of the Simon Says Stamp December 2019 card kit.


The card started with adding the red snow patterned paper to the gray card base, then adhering the die cut snow drift on top.


The three gnomies were created by die cutting components from both white card stock and designer paper, then adhering to the gnome base after using Copic markers to color the nose and beard.  The gnomes were added to the background with the middle one popped up on foam tape, as was the sentiment above.  A very fun and easy to make card.


My next card was made to celebrate the new year.  I didn't have anything in my stash specifically for this holiday, but fortunately MFT and Pretty Pink Posh had really good sales in early December, so I picked up a couple dies to make my card.  I had to size the card up to 5 x 7 inches and I really love how it turned out.


I started by die cutting the fireworks die twice from the black panel, then adhering white glitter paper to show through underneath. Next the sentiment was die cut twice from white card stock and once from red glitter paper.  After gluing those layers together the sentiment was adhered to a die cut vellum oval along with some stars that were also punched from the red glitter paper.  I added glue just behind the stars and sentiment, and adhered the oval to the black panel along with a scattering of more stars in opposing corners. Once the glue dried the entire panel was added to a gray card base.  The card is sooo sparkly and pretty, but that did make it a challenge to photograph, so I apologize that the photo quality isn't as sharp as it should be.


Thanks so much for visiting, it's always so appreciated!  I hope you'll use the link above and check out this week's Color Challenge!

I will also be joining a new design team as a guest designer for 2020 and I'd love to have you come back on Thursday for my reveal!!

Stef


Gnome card
Stamps:  Gnome for the Holidays (SSS)
Paper:  Neenah Solar White, Real Red (SU), Black, Slate (SSS), Photoplay Kringle & Co patterned paper
Ink:  Versafine Clair Nocturne, Versamark
Other:  Lil' Gnome die (SSS), Stitched Hillside die (Lawn Fawn), A2 Stitched Rectangle Stax die (MFT)
Copics:  E13, 11, 4, 00, C3, 1, 00

Happy New Year card
Stamps:  None
Paper: Black, Slate (SSS), Vellum, Red and Iridescent Glitter paper (SU)
Ink:  None
Other:  Fireworks die (MFT), Happy New Year sentiment die (PPP), Oval die, Stars Border punch (SU)

Monday, December 16, 2019

Silver Snow Flakes

Hi there friends!  It's time for a new Color Challenge at Splitcoaststampers!  Karen is hosting this week and chose a lovely combination of Pool Party, White and Silver, with a dessert option to include snow or ice.  I loved this cool delight of a combo and ended up making multiples of this card to send out for Christmas.


I used a blend of Tumbled Glass and Peacock Feathers on a panel of Bristol paper, concentrating the color on the bottom and right side, letting it fade out to white on the top.  It was then sprayed with a gorgeous shimmer spray and set aside to dry.  The silver glitter snowflakes were cut from an A2 sized cover die and adhered to the Bristol panel when dry.  I LOVE the shimmer and sparkle of the those snowflakes!


The sentiment was die cut from white card stock and adhered to a strip of platinum vellum that had been wrapped around the snowflake panel, then the entire thing was added to a white card base.  This is one of those cards that has a real impact yet is easy to make, so perfect for creating multiples.


I'm so glad you visited and I hope you'll use the link above to check out this week's SCS Color Challenge!

Stef


Stamps:  None
Paper:  Strathmore Bristol, Silver Glimmer paper, Neenah Solar White, Grafix Platinum Vellum
Ink:  Tumbled Glass and Peacock Feathers Distress Inks
Other:  Holiday Words On a Line sentiment die (SSS), Snowflake Pattern cover plate die (Hero Arts), Imaginecrafts Sparkle Shimmer Spray

Thursday, December 12, 2019

Season's Greetings!

Hello friends!  Can you believe Christmas is just 2 weeks away?  Since Thanksgiving it's felt like a bit of a crush, but finally I believe I have a handle on everything and will be ready for all the local family events, plus getting everything ready that needs to be mailed.  My husband and I recently moved into our new home from out of state, which put us closer to his family but further away from mine, so I had to plan for mailing gifts that I hadn't in the past.  But I think it's all ready to go, thank heavens.  Now, let's move onto why you came by here in the first place LOL!

I'm joining two challenges with the card I'm sharing today, the color challenge at The Paper Players and the sketch challenge at CAS(E) this sketch.


I used a gorgeous new stamp set from Power Poppy for my card, coloring with Copic markers.  I had to play around to get the blue for the anemones just right for the Seaside Spray color and then used my favorite mix of markers to create gold for the poinsettia.


I carried the gold color into the anemone centers, with the "crumb cake" colors for the leaves.  I decided to leave the berries white, using cool grays to shade.  After the coloring was complete, the panel was die cut and added to a larger panel of Seaside Spray, then popped up on foam tape on the card base.  The sentiment was gold heat embossed on white card stock then I used my paper snips to trim it out before adding to the panel with foam tape.


To enhance the "gold" I sprayed gold shimmer spray onto an acrylic block, diluted it with water and painted it on the poinsettia and anemone flower centers.  It was a bit more opaque than I anticipated, so it muted some of the shading achieved with my the markers (lesson learned there!).  Still, IRL it looks soooo pretty with all that gold shimmer.  I also used an aqua shimmer pen to add sparkle to the berries.  Unfortunately, both the gold and shimmer sparkle aren't really visible in the photos.  I use natural light for the majority of my pictures and the day I shot these photos it was a bit overcast and the camera didn't quite capture all the glitter and shimmer.  Still, I love this color mix and how the card turned out.


Thanks so much for visiting, it's truly appreciated!

Stef


Stamps:  Winter Wonderland (Power Poppy), Holiday Sentiment Mix 1 (Simon Says Stamp)
Paper:  Neenah Solar White and Desert Storm, Seaside Spray
Ink:  Gina K Amalgam Jet Black, Versamark
Other:  Antique Gold embossing powder (Altenew), Gold Sheer Shimmer Spray (Imaginecrafts), Stitched Rectangle A2 stax die (MFT), Tonic Nuvo Aqua Shimmer pen
Copics:  B95, 91, BG70, YR24, 23, Y15, 00, E44, 43, 41, 40, W5, 3, 1, C3, 1, 0

Monday, December 9, 2019

Frosty Snowflakes

Hello friends!  It's time for a new Color Challenge at Splitcoaststampers!  Jeanne is hosting this week and has chosen Pool Party, Roccoco Rose and So Saffron with a dessert option to keep cozy and share your favorite beverage.  I was so focused on getting my holiday cards completed that I passed on dessert and instead used this opportunity to make one with non-traditional colors and glittered snowflakes!


I used Distress inks in colors similar to those for the challenge and blended them on a panel of Bristol paper.  I love how the blending creates more colors in between the main colors, which was enhanced with the shimmer spray that was generously sprayed and set aside to dry.

 The snowflakes were die cut from white card stock then I used my finger to apply gel matte medium before pouring on chunky glitter.  Because of the mess, I don't usually use glitter but it's sooo pretty I thought it was worth it.  However, I did learn late in the process to press the glitter onto the snowflakes for more complete coverage..


When the blended panel was dry, it was added to a white card base then the snowflakes were adhered in a random pattern.  To create the sentiment I heat embossed the word Christmas with sparkly silver embossing powder then die cut with the matching die.  The word Merry was stamped numerous times with a light blue gray ink to get a good impression (thank heavens for the Misti!), then trimmed down to fit atop the die cut.  Both were popped up with foam tape on the panel to finish things off.


Thanks so much for visiting, it's always so appreciated!  I hope you'll use the link above and check out this week's Color Challenge!

Stef


Stamps:  Halftone Christmas (Altenew)
Paper:  Neenah Solar White, Strathmore Bristol
Ink:  Versamark, Memento London Fog, Scattered Straw, Worn Lipstick and Peacock Feathers Distress Inks
Other:  Gel Matte Medium (TCW), Rock Candy Distress Glitter, Sheer Sparkle Shimmer Spray (Imaginecrafts), companion Halftone die, Alicia, Eliza, Marie, Lea and Rina Snowflake dies (Simon Says Stamp)

Tree Time!

Hello friends!  How is your Christmas season progressing thus far?  Tomorrow will be 16 days until the holiday and I'm feeling a little pressure to get things wrapped up! I only need to make 2-3 more cards plus a few gift card holders and I'll be ready for wrapping presents!  I made the card I'm sharing today that happens to fit three challenges.  The first is the Simon Says Stamp Wednesday Challenge where the theme is "Traditional Christmas".  My card certainly fits that with the red and green colors, plus it illustrates one of my favorite parts of the holiday, which is getting the Christmas tree!

In addition, I'm joining the color challenge at Sunday Stamps and the "Anything Goes" challenge at Just Us Girls.


For today's card I used one of the cute Suzy's Classical Christmas Watercolor Prints.  This set of prints came out two years ago and I've been keeping this one because it reminds me of a VW Bug, which both my husband and I had as cars when we were young, although I NEVER would have hauled a tree on top LOL!  Anyway, I decided it was time to quite hoarding it and use it!


I started by coloring the sky with various Copic blue markers (listed below), with lighter colors around the sentiment and darker around the edges and the car.  Next I use our red and green "traditional" colors for the tree and the car, with some grays for the tires, "chrome" and shadow beneath the car.


Next I used a white gel pen to go over the sentiment and large snowflakes, then created a flurry of large and small snowflakes all over the background.  I think I got a bit carried away with it all but I love how it turned out!!  I also drew some highlight lines on the windows but then wiped the ink away to give a more subtle look.  When all was dried, the panel was cut with a stitched rectangle die and mounted onto a white card base with fun foam.


Thanks so much for visiting, it's always appreciated!  Swing back by on Monday night to check out my card for the new Color Challenge at Splitcoaststampers!

Stef


Paper:  Suzy's Watercolor prints (SSS), Neenah Solar White
Other:  Stitched Rectangle A2 Stax die (MFT), Sakura White Gelly Roll pen
Copics:  Sky-B99, 97,95, 93, 91; Car-R89, 59, 39, 37, 29; Tires- T8, 6, 4; Chrome-C5, 3, 1; Tree-G28, 17, 03; Shading-N6, 4, 2, 0

Monday, December 2, 2019

Christmas Joy

Hello friends!  It's time for a new Color Challenge at Splitcoaststampers!  Mary is hosting and has chosen the colors Cherry Cobbler, Shaded Spruce and Gold, with a dessert option to make a Christmas or winter birthday card.  Because I still have a number of holiday cards to make, I went with Christmas for my dessert option.

I'm also joining the current Simon Says Stamp Wednesday Challenge where the theme is Anything Goes.

I went back to the beautiful Pines and Berry background stamp to create my card.  It was stamped in a Copic friendly ink and colored in colors similar to the challenge colors.  Since the stamp makes a 5.5" square image (or thereabouts), after coloring, I cut the panel in half so I could create 2 cards with it.


After the panel was trimmed down, Versamark ink was used around the edge of each side then heat embossed with gold embossing powder.  I was going to add it to a white card base after that but it was just too plain, so I took an A2 sized panel of white card stock and ran it through my Big Shot with a long retired SU snowflake embossing folder, then adhered to the card base before layering on the colored panel.  The sentiment was gold embossed on Cherry Cobbler card stock and die cut.  I used a hand punch to put a hole at the top to add the gold cord, then it was added to the card front with thin foam squares.  A few gold sequins finished things off.


Thanks so much for visiting, it's always appreciated!  Have a great week!

Stef


Stamps:  Holiday Sentiment Mix 1, Pines and Berries Background (both SSS)
Paper:  Neenah Solar White, Cherry Cobbler
Ink:  Gina K Chocolate Truffle Amalgam, Versamark
Other:  Snowflake embossing folder (long retired SU, sorry not sure of the name), Lots of Labels framelit, Antique Gold embossing powder (Altenew), gold sequins, gold thread
Copics:  R39, 37, G28, 17 03