Showing posts with label Honey Bee. Show all posts

Saturday, April 15, 2023

Just A Note for The Flower Challenge

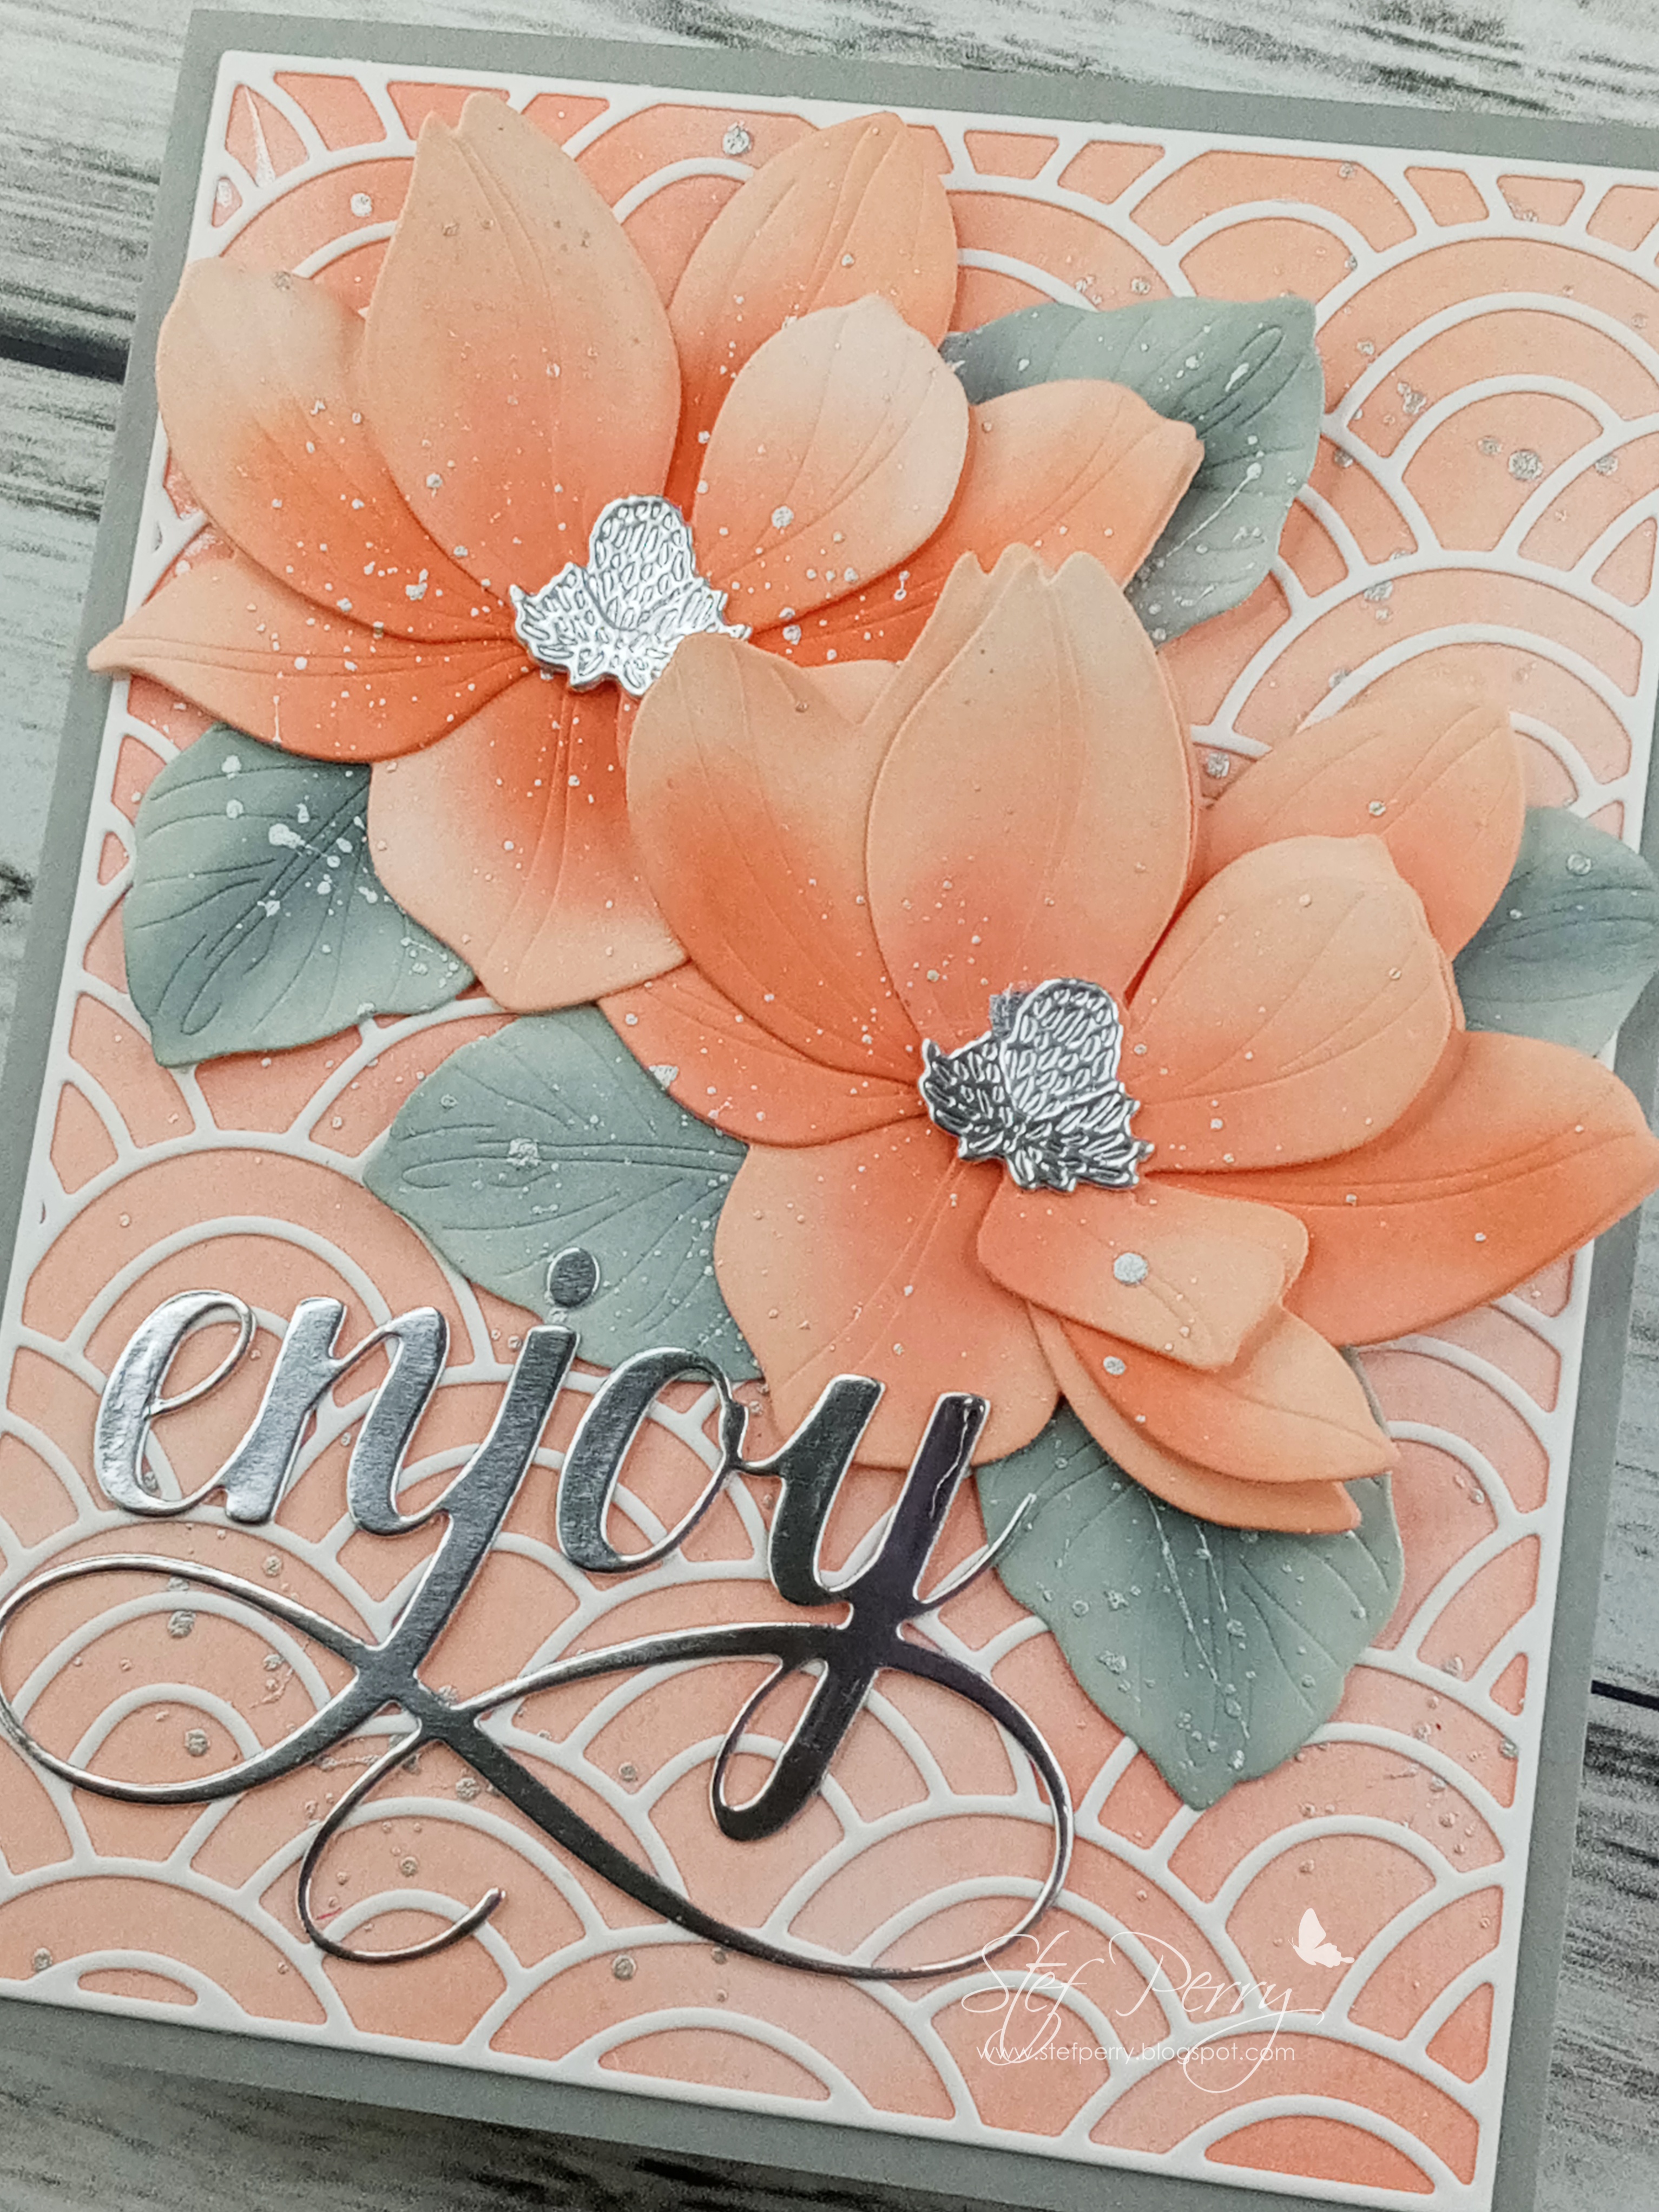
Hello, my friends!  The middle of the month harkens our reminder post for The Flower Challenge!  This month we are focusing on the background.


And since I'm using a stencil for my card background, I'm playing along with the Anything Goes stencil challenge at Happy Little Stampers.


I was pleased that my order from Honey Bee Stamps arrived just prior to my card making session for my reminder card, so I was able to use the beautiful Folk Art Daisy Stencils.


I started by stenciling the five layers on a panel of white Hammermill, using a number of Simon Says Stamp Pawsitively Saturated inks (listed below), adding darker shades at the leaf and petal bases, then I used the lightest shade of purple to ink blend around the entire edge of the panel.  I saw this design with the die cut frame in a video by Nina-Marie Trapani here and thought it was a wonderful way to add interest to the panel.  


I used the larger of the two rectangle dies to cut out the panel, then used the smaller to create the frame.  The outer portion was then adhered directly to an A2 card base, then the frame added with foam tape and the interior adhered flat in the middle.  I wanted the die cut sentiment (from Memory Box) to match the colors in the card, so I used the Amethyst ink pad directly on a scrap of white paper, dried it completely with my heat tool, then die cut the sentiment from it and two additional layers of white.  They were glued together, adhered to the vellum shadow, then added to the card front along with two vellum sprigs die cut from the Alex Syberia Designs Classic Foliage die set.  I tried adding some bling but they were lost against the busy pattern, so I opted not to and called it done!


I do hope you'll join us this month! The challenge is open until the 25th of the month and be sure to stop by the blog (linked above) for some amazing inspiration by the endlessly talented design team!

Take care!  

Stef

SSS ink pad colors:  Lilac, Orchid, Amethyst, Lemonade, Sunbeam, Citrine, Spring, Dublin, Lucky and Mocha.

Sunday, October 30, 2022

Autumn Greetings for Sunday Stamps

Hello and welcome!  It's time for a new challenge at Sunday Stamps and this time it is a new color combo to spark your creativity! 


I'm also playing along with the Anything Goes Challenge at the Simon Says Stamp Wednesday Challenge.

I decided to make one last autumn card and chose to use brown, yellow and orange.  


I started by die cutting the large maple and oak leaves from watercolor paper, then used Distress Mica Stain sprays in Flickering Candle, Jack-O-Lantern and Crooked Broomstick to color them.  The brown didn't really show, I think I used much more of the other two colors.  While the leaves dried, I stamped and die cut the sentiment and worked on the background.


Since the brown spray didn't show adequately, I decided to incorporate the color into the background.  I had the die cut leaf background in craft that was left over from another project but it certainly wasn't dark enough.  I die cut another out of Soft Suede but it was too dark behind the leaves, so I used it as a shadow to the craft layer.  I adhered them together, trimmed off the excess brown, then added it to an ivory card base.  The yellow oak leaf was adhered directly to the panel and the maple was die cut twice more from Soft Suede, layered together then added to the card front after tying on a bow of Early Espresso Baker's Twine.  With the sentiment adhered, I then finished thigs off with a few satin gold baubles.


Thanks for taking time to stop by!  I hope you'll use the link above to see all the beautiful cards by the other DT members and hopefully join us - you'll have until Friday, November 11th.

Take care!

Stef


Stamps:  Grateful Florals (Studio Katia/Simon Says Stamp)
Paper:  Hero Arts Antique Ivory, Stampin' Up Soft Suede, Neenah Desert Storm, Tim Holtz Distress Watercolor
Ink:  Versafine Clair Acorn
Other:  Flickering Candle, Jack-O-Lantern and Crooked Broomstick Distress Mica Stain Spray, Simon Says Stamp Large Stitched Maple and Oak Leaf dies, Honey Bee Autumn Splendor A2 cover die, SU Early Espresso Baker's Twine, Trinity Stamps Gold Satin Baubles

Monday, July 25, 2022

Enjoy

Hello friends!  I have a card to share that I made for the wonderful color combo at Color Hues.  I adore the combination of gray and peach.


I recently obtained the new Lovely Layers Magnolia dies from Honey Bee and thought they would work perfectly for with this color combo.  And yes, there are peach-colored magnolias (I had to look it up just to know lol!).


I began by die cutting all the flower petals and leaves, then coloring them by ink blending.  I also ink blended the centers in gray but I just didn't like it and since I planned to cut the sentiment from silver cardstock, I decided to do the same with the flower centers.  Once the ink was dried, it was a snap to layer the flowers.  


Next, I used the lightest and mid-tone peach colors and ink blended a panel of white, then splattered it along with the flowers and leaves with Silver Mica ink.  While that dried, I die cut the sentiment from Matte Silver and the Scallops Cover die from white cardstock.  I'd used an adhesive sheet on the back of the white panel to make my life much easier when adhering that delicate cover die to the ink blended panel.  Because it is A2 sized with a frame, I decided to layer it on a 5.75 x 4.50 inch panel, then add that to a white card base of the same size made using 12x12 inch paper white cardstock.  The larger size card also worked better for the large die cut flowers, which I adhered directly to the front panel, then added the sentiment below.


Thanks for visiting, I really appreciate it!  Take care and have a great week!

Stef


Paper:  Neenah Solar White, Basic White (Stampin' Up), Smoke and Matte Silver (both Simon Says Stamp)
Ink:  Peachy, Grapefruit, Mandarin, Flannel, Earl, Charcoal (SSS)
Other:  Lovely Layers Magnolia dies (Honey Bee), Fancy Enjoy die and Scallops Cover die (both Altenew), Silver Mica ink (Kuretake)

Friday, December 31, 2021

Hug In a Mug for Just Us Girls

Hello and welcome!  I am thrilled to be Guest Designer at Just Us Girls for the month of January!  Woo hoo!  And do we have some fun challenges for you, starting with Word Week and the word beverage.


For my card, I decided to use the cute mugs from Honey Bee stamps.


This card was so much fun to make because most of it was die cutting.  I used my Copic markers to add some dimension to the cups, whip cream and marsh mellows.  The hearts were die cut from red cardstock, painted with a shimmer pen, then coated with Glossy Accents.  The sentiment was heat embossed with red sparkle embossing powder, then die cut with the coordinating dies and layered on two additional die cuts for some dimension.


The card base was created with the same cardstock as the mugs.  The patterned paper is from a free gift with purchase from Honey Bee.  It was trimmed down slightly smaller than the card base, lightly inked around the edges with some brown ink, then I added a strip of wood design patterned paper to be the "table" for the mugs and marsh mellows to sit. All the components for the mugs were adhered then the mug in the back was glued directly to the panel, with the mug in front added with foam tape.  The sentiment was added above the mugs, and I thought I was finished, but then remembered I had some tiny red heart sequins, so I adhered those around the sentiment for the final touch.


Thanks for visiting, I always appreciate it!  Be sure to use the link above to check out the fabulous cards by the DT members and hopefully be inspired to join the challenge this week!

Stef


Stamps:  Hug In A Mug (Honey Bee)
Paper:  Neenah Solar White, Audrey Blue (Simon Says Stamp), Cherry Cobbler (SU), Harvest Festival 6x6 paper pad (HB), "Free Bee" patterned paper
Ink:  Mocha (Altenew), Versamark
Other:  Mugs & Kisses dies (HB), Hug In A Mug die, Poinsettia embossing powder (Brutus Monroe), Aqua Shimmer pen (Tonic), Glossy Accents (Ranger), Crimson Hearts sequins (Sizzix)
Copics:  E30, BG15, 13, 11

Wednesday, November 24, 2021

Winter Anemone

Hello and welcome! Today I'm sharing a card that I made for The Flower Challenge theme to add leaves and the Peace On Earth Christmas Challenge, which is Anything Goes.


I'm also joining the current Simon Says Stamp Wednesday Challenge where the theme is also Anything Goes.

I decided to go with a pink and gray for the flowers and used a light mint color in the background, going a little non-traditional for this Christmas card.


I love the delicate design of this stamp set.  I used Copic markers to color it from the muted pinks in the R80s.  I've had these markers almost since I first started learning to color with Copics four years ago but rarely use them. That is going to change - I love these pinks!  After the coloring was complete, I used a white gel pen for the ends of the stamen and die cut the image with the matching die.


On another panel of white I stenciled a design using a light mint color (which unfortunately looks a bit grayed out in the photos).  The panel was die cut then the word Merry was stamped in the upper right.  The panel was added to a white card base, then the rest of the sentiment was heat embossed in silver on a strip of gray and die cut with a label die.  The flowers were added with thin foam tape, as was the sentiment strip, then I used some silver embellies to finish things off.


Thanks for visiting, I always appreciate it!  If you are celebrating Thanksgiving tomorrow, enjoy!  I am so grateful that my husband and I will be gathering with our local family members once again...it was kind of a quiet Thanksgiving last year (yup, the fam can be a bit on the boisterous side lol!).

Take care!

Stef


Stamps:  Winter Anemone (Honey Bee), Holiday Scripts (Pretty Pink Posh)
Paper:  Neenah Solar White, Slate (Simon Says Stamp)
Ink:  Memento Tuxedo Black, Versafine Claire Nocturne and Morning Mist, Versamark
Other:  Winter Anemone die, Crystal Kaleidoscope Stencil (HB), Elegant Rectangle Stax die (MFT), Skinny Strips die (MFT), Crystal Collection-Night Sky (Little Things by Lucy's Cards)

Thursday, November 11, 2021

Ho Ho Ho for the Tic Tac Toe Challenge

Hello and welcome!  It's time for a new Tic Tac Toe Challenge and this week Carol has brought us this fabulous board to inspire our creativity.


For my card, I decided to go diagonal, from the bottom left to the top right (Holiday, Free, Gift).

I'm also joining three other challenges - Inkspirational, Peace On Earth Christmas and Watercooler Wednesday.


I really love the Big Pickup Truck and Big Pickup Tailgate stamps from Honey Bee Stamps so I decided to use the pickup tailgate on for this card.  It's not one I can mass produce for the holidays but I will make a few to send.


For starters, I stamped multiples of everything - the truck, the tailgate, the tree, packages and Santa's bag full of toys.  Also, when I stamped the truck, I stamped the back of Santa in the cab, waiving as he hurries to get everything home before the snow comes down too heavy. (Obviously, it's just started because the tires aren't entirely covered with snow - oops lol!)  Colored it all with Copic markers and used the matching dies to cut everything out.  


To accommodate the size of the truck, a panel of mixed media paper was trimmed down to 5x5 inches, which is the final size of the card.  Distress Ink was used to create the sky, ground and stenciled trees.  The truck was then assembled, adhering the tree and packages directly to the truck, then using thin foam tape to add the bag of gifts.  The tailgate was then added with regular foam tape.  

Next I used both white acrylic paint and white gouache to splatter snow on the background and the truck. I also used the paint to cover the "ground" and add a bit to the tires.  I set those aside to dry and created the sentiment. The word Christmas was die cut twice from white cardstock and once from red polished foil.  I used double sided adhesive sheets on those papers and the vellum used for the shadow, just to make things easier.  The merry was stamped in green pigment ink then die cut with a label die.  Once all the paint was dry, the background was mounted on a white card base, the truck adhered directly to the background, then the sentiment was added to finish things off.


Thanks for visiting, I appreciate it so much.  Be sure to use the link above to check out the fabulous cards by the other DT members and hopefully be inspired to join us this week!

Stef


Stamps:  Big Pickup Tailgate, Loads of Holiday Cheer, Bitty Buzzwords: Holidays (all Honey Bee)
Paper:  Neenah Solar White, Vicki Boutin Multi Media, Memory Box Polished Foil 6x6 pad, Grafix Translucent Vellum
Ink:  Memento Tuxedo Black; Versafine Clair Green Oasis; Distress - Speckled Egg, Frayed Burlap, Hickory Smoke
Other:  Big PU Tailgate, Loads of Holiday Cheer and Bitty Buzzwords: Holiday dies, Sentiment Labels die (Simon Says Stamp), Woodland Stencil (Tim Holtz), Picket Fence Distress Acrylic Paint, White Gouache
Copics: R39, 37, 35, 29, 24, YR18, BG49, 13, 23, 11, B000, YG67, 17, 03, C7, 5, 4, 3, 2, W9, 7, 5, T6, 4, 2, 0

Sunday, October 3, 2021

You Are Wonderful

Hello and welcome!  I hope your weekend has gone well.  This afternoon I'm back with a card that I made for three challenges - Freshly Made Sketches, Inspired By and Festive Friday.  

(My first post today was my Sunday Stamps DT card which you can find it here.)


(apples, red, green, circles, harvest)

Back in August I was able to remedy my lack of fruit stamps to a small degree by purchasing a stamp set that included a barrel of apples and I was so happy to be able to ink it up!


Don't you just love fall?  Pumpkins, sunflowers, fresh apples, beautiful leaves and definitely cooler weather (at least here in Idaho), thank heavens!  Copics were used to color the images, then matching dies were used to cut them out.  Next two scallop circles were die cut and the center removed from one so the patterned paper could be added to the back. These dies are kind of cool because the inner and outer scallop circles and the center come apart so one can use them separately or together.  After the colored pieces were adhered to the white circle, they were set aside so I could create the rest of the card.


I took an A2 panel of ivory cardstock and embossed it with a wood 3D embossing folder, then trimmed it down 1/8th inch on each side and wrapped it with linen thread.  It was mounted on the white card base with thin foam tape, then the circles were adhered in layers.  The sentiment was added and that finished things off!  It's hard to discern in the photos, but the ivory embossed panel adds a nice bit of warmth to this fall themed card.


Thanks so much for taking time to visit, I really appreciate it!  

Take care and stay safe.

Stef


Stamps:  Loads of Fall (Honeybee Stamps), Friends Like You (MFT)
Paper:  Neenah Solar White, Ivory (Simon Says Stamp), Harvest Festival 6x6 paper pad (HB)
Ink:  Memento Tuxedo Black, Versafine Clair Nocturne
Other:  Loads of Fall dies, Skinny Strips die (MFT), Nested Infinity Circle die (Hero Arts), Stitched Scallop Circle die (Pinkfresh Studio), Tim Holtz Lumber 3D embossing folder, Linen Thread (Stampin' Up)
Copics:  R59, 46, 27, 14, YR24, 18, 09, 16, Y38, 17, 15, 11, G46, 43, E47, 44, 43, 42, 41, 37, 33, 31

Thursday, September 30, 2021

Big Pickup Birthday

Hello and welcome!  I have a card to share that I made for our nephew's 30th birthday this week and with it am joining the perfectly timed All Things Masculine challenge at Watercooler Wednesday.


Our nephew recently bought a new-to-him pickup truck that he was so thrilled to get, so I knew I was going to use the Big Pickup Tailgate stamp for his card.  Plus it's fun to make a stand up card with it rather then a normal A2 card.


How fun is that?  To start, the truck and leaves were stamped and colored with Copic markers then die cut with matching dies.  Next I stamped and colored a second tailgate, that was die cut with the separate tailgate die.  Since our nephew is a Boise State student, I used the school colors of royal blue and orange.  The sentiment was stamped in blue pigment ink and the word birthday was die cut with the matching die.


Next I scored a white card base and did partial die cutting of the pickup, leaving just a slight seam at the top of the cab.  The colored truck was adhered to the base, then the leaves and tailgate added with foam tape.  The word birthday had been die cut 3 times and layered together to give it almost a chipboard feel, then it was added directly to the tailgate and the word happy popped up with a bit of foam tape.  


Thanks for taking time to visit, I really appreciate it!  

This is my second card post today, so if you scroll down you can catch the card I made for the current Paper Players and Double D challenges.

Take care!

Stef


Stamps:  Big Pickup Tailgate, Loads of Fall, Bitty Buzzwords (all Honeybee Stamps)
Paper:  Neenah Solar White
Ink:  Memento Tuxedo Black, Versafine Clair Bluebell
Other:  Big Pickup Tailgate, Loads of Fall and Bitty Buzzwords matching dies.
Copics:  B39, 26, 24, R39, 29, 08, BG0000, YR18, 16, 14, 09 E08
Y26, 19, 15, 13, 38, 17, C9, 7, 5, 4, 3, 1 W9, 7

Thursday, September 16, 2021

Thankful For You for the Tic Tac Toe Challenge

Hello and welcome! It's time for a new Tic Tac Toe challenge and Jeanne has given us a great board to spark our creativity.


I'm also sharing this at the current Inkspirational Challenge, where the theme is autumn leaves.


I'm also joining the current Double D Leaves challenge. 


I chose to use the first column from the tttc board - ribbon, die cuts, foliage.


I started with a panel of Vicki Boutin mixed media paper and sprayed it Cracklin' Campfire, Rusty Hinge and Fossilized Amber Distress Spray Stains.  I love the vibrant colors however I found that I am a bit heavy handed with adding the sprays and definitely need some more practice, however I finally got a mix of colors that I liked. Next I splattered it with water, then gold metallic paint, and once dry, die cut it and a panel of gold pearl mirror paper with the Autumn Splendor Cover die. 


I dug through my 6x6 patterned paper stash and found a piece of burgandy paper with a subtle design, which I thought would look great behind the layered die cut panels, so I cut it down to A2 size and adhered to the ivory card base.  Next I adhered the die cut panels were slightly offset and glued together, then wrapped with a burgandy ribbon.  I don't have much ribbon anymore as I rarely use it (unlike when I was first making cards 14 years ago), but I was lucky to find a length in this color that I think came in an Ellen Hutson order as a little gift (such a great store!).  After tying the bow (SO out of practice!) the panel was adhered to the base.  The sentiment was die cut from the same gold pearl mirror paper, adhered to the ivory shadow and added to the card front along with the popped up secondary sentiment.


Thanks so much for visiting, I always appreciate it!  Please use the link above to check out all the fabulous cards by the other DT members and hopefully join in the fun this week!

Stef


Stamps:  Bitty Buzzwords:  Fall (Honey Bee)
Paper:  Ivory, Tonic Gold Pearl Mirror, Harvest Festival 6x6 paper pad (HB), Vicki Boutin Mixed Media
Ink:  Versafine Clair Acorn; Cracklin' Campfire, Rusty Hinge & Fossilized Amber Distress Spray Stain
Other:  Autumn Splendor A2 cover plate die (HB), Bitty Buzzwords: Fall Honey Cut word dies (HB), Altenew Metallic paint, ribbon from my stash

Saturday, September 11, 2021

Enjoy, Sweet Friend!

Hello and welcome!  Today I'm sharing a card that I created for the current challenge at Freshly Made Sketches, where Jen has given us this terrific sketch.


I went with kind of fall-ish style card with a lot of white.


I started by ink blending a few Distress inks on Bristol paper then die cut the flower layers, center and leaves.  The colors were inspired by Laura Bassen, who used the same colors for her flower here. The bottom two flower layers were glued together only at the center, then the top petal layer was added with foam tape.  The outer portion of the flower center was die cut from gold pearl mirror cardstock, adhered to the brown center then glued to the flower.


Next a panel of white cardstock was die cut with the Autumn Splendor cover die and layered on the white card base.  The sentiment was die cut four times from brown paper and adhered to the vellum shadow.  I also cut a rectangle from vellum, adhered it to the card, then added the leaves and flower.  After adhering the sentiment to the flower and stamping "sweet friend" on the card interior, I decided it still needed a little something, so I found some matte gold sequins in my stash and added a few to finish things off.


Thanks for taking time to visit, I really appreciate it!  Take care and stay safe!

Stef


Stamps:  Bitty Buzzwords (interior sentiment/Honey Bee Stamps)
Paper:  Neenah Solar White, Tonic Gold Pearl Mirror, Vellum
Ink:  Candied Apple, Spiced Marmalade, Worn Lipstick and Squeezed Lemonade Distress
Other:  Autumn Splendor A2 Cover Plate die (HB), Lovely Layers: Sunflower (HB), Bitty Buzzwords dies (HB), gold sequins from my stash

Sunday, September 5, 2021

Thankful and Gr8ful

Hello and welcome back!  It's time for a new color challenge at Sunday Stamps and this one is just perfect for late summer or early fall. 


ETA:  I'm also joining the current challenge at The Paper Players, which is to use a number on your card, which I did on the license plate of the truck.


I decided to go with a Fall themed card using the SSC colors.


I've had this pickup stamp set for a while and used it on a few cards (if you click on Honey Bee in the Labels section in the right side bar to see other examples).  This time I used the new Loads of Fall stamp set to fill the back of the pickup with a load of pumpkins, gourds and a sunflower stalk.  The images were all colored with Copic markers then die cut with matching dies.  


To add some dimension and allow me to tuck the pumpkins behind the tailgate, a second tailgate was stamped, colored, die cut and added to the truck with foam tape.  I kept the background very simply, just ink blending a soft green on a panel of Bristol and adding to the Desert Storm card base.  The truck was adhered directly to the panel along with the corn stalk and one of the pumpkins with the second popped up with foam tape. Since I'd stamped "GR8FUL" for the license plate, I thought the thankful die cut sentiment worked well.  


As always, I really appreciate your visit!  I hope you'll use the link above to see all the fabulous cards by the other DT members and join us for this great color challenge!

Stef


Stamps:  Big Pickup Tailgate, Loads of Fall, Bitty Buzzwords: Fall (all Honey Bee Stamps)
Paper:  Neenah Solar White and Desert Storm, Early Espresso (Stampin' Up), Strathmore Bristol
Ink:  Memento Tuxedo Black, Versafine Clair Nocturne, Bundled Sage Distress
Other:  Stamp set matching dies
Copics:  Truck - E19, YR18, 14, W9, 7, 5, 3, 1, 0, C5, 3, 2, 1, E43, 42, 41; Pumpkins/Gourds - YR23, Y15, 13, 11, E43, 42, 41, 40, YR09, 16, Y38, 17, E59, 57, 55; Sunflower:  Y26, 15, 13, 11, E59, 57, 55, YG67, 63, 61