Showing posts with label Foiling. Show all posts

Saturday, August 1, 2026

Merry Christmas for CH138

Hello friends!  Today marks the beginning of a new challenge at Color Hues!  This time the lovely Karen is hosting and has chosen a beautiful color combination.

Thinking I wanted to create at holiday card with the color combo, I envisioned a stamped image with ink blending in the background.  But then I happened upon a small stamp set that I received 2-3 years ago as a gift with purchase and changed course with my plan, although I still made a card for Christmas.


As soon as I spotted that sweet little bird opening its gift, I knew I had to create with it.  Because it's a mini stamp, I created a mini scene.

After stamping the image I started with the night sky, using a lighter blue Copic around the bird and package and create the "snow" line, intentionally making it a bit bumpy like snow would be.  Two other blue markers were used to create the dark part of the sky then I blended them into the lighter portion.  After coloring the bird and package, I used a gold gel pen to color the ribbon and the stars on the package, then white splatter was used to create a light snow.  

The scene was cut with a small, notched corner rectangle then I use the same die and a smaller one to create a gold frame.  The background panel was created with a larger notched rectangle die, then embossed with a snowflake folder.  Everything was layered on a panel of navy, including the foiled sentiment.  The final touch was to add three gold stars in the sky, just because the left corner seemed a little bare.


Thanks for visiting and I hope you'll take a moment to head over to the challenge blog to see the fabulous creations by the rest of the design team and our wonderful guest designer, Rachel Ball.  The challenge will remain open until Friday August 14th at 9 am EDT.  I hope to see your card in the gallery!

Stef

  • Colorado Craft Company/Anita Jeram Thoughtfulness Bird (CCC doesn't carry AJ products anymore but I saw many CCC/AJ sets on Ebay.)
  • Simon Says Stamp A2 Notched Rectangle dies
  • Spellbinders Comfort and Joy Sentiments Foil Plates & dies (ret).
  • SB Sparkling Snow embossing folder

Monday, December 1, 2025

Grand Poinsettia for Color Hues

Hello friends!  Here it is, the first day of the last month of 2025.  My, my time seems to pass so quickly.  Do you feel the same?  Anyway, the good news is that the first of the month brings a new challenge at Color Hues.  The lovely Tracey is hosting our final challenge of the year and has chosen a wonderful color combination and it's a perfect combo for any time of the year.

I'm also joining in over at the Time Out Challenge, where this time we are to "Pick 2" and I chose nature (flowers/pine branches), emboss and sparkle.

And I'm playing along with Just Us Girls, where it is Anything Goes Stencil Week.


How about one more poinsettia?  This one is unique in that it was made exclusively for the Simon Says Stamp/Gina K class kit sold earlier this fall, so there weren't any made available outside the kit, and it is sold out.  However, it's too pretty not to share and other components on my card are currently available.


The beautiful Grand Poinsettia was die cut from white cardstock then embossed in the coordinating folder, after which I used the matching stencils to color it in three shades of pink.  The pine sprigs were die cut from two shades of green cardstock.  All that was set aside to create the background.

The SSS/Gina K Merry & Bright stamp set (this one IS available) has a number of snowflake stamps, so I used them to create the background on a 4.75" x 6.75" panel.  A clear block was used to stamp them in Gina K's Medium Spruce ink, followed by a large blending brush to lightly blend the same color to soften the edges.  

The sentiment can be found in the same stamp set or, as I used, in a matching Polyglaze sheet, which I foiled, one each of gold and silver, then die cut.  The 4" x 6" panel was matted with silver glitter cardstock, added to the snowflake panel then all the other elements adhered.  I finished things off by adding SSS Prism Dazzling Gems to the flower center and up around the sentiment.


And of course I couldn't make just one, so here's the same design with gold.


Both of these cards were inspired by one we made in class from Gina K's design.  We used her new ink colors of light, medium and dark Cranberry, along with the spruce. 


So where will these colors take you?  For more inspiration, I encourage you to visit the challenge blog, where my amazing teammates have some gorgeous creations.  

Since this is the final challenge of the year, it will be open until December 29th at 9:00 am EST, so I hope that gives you time to sneak away from the holiday goings-on and play along with us!

Thanks for stopping by!

Stef


P.S. If you like today's card, come by on Tuesday when I use the same poinsettia ef to create two CAS cards.


  • Gina K Grand Poinsettia ef, stencils and dies
  • SSS/Gina K Merry & Bright stamps, dies and Polyglaze sheet
  • Altenew Baby Pink, Fuchsia and Magenta inks
  • Gina K Medium Spruce ink
  • SSS Prism Dazzling Gems

Sunday, September 28, 2025

Snowflake for the Paper Players

Hello friends!  It's Sunday and time for a new challenge at the Paper Players.  This week I'm hosting our monthly sketch challenge and created one that will be super easy and versatile for you to use.

As you can see, the circle can be any shape, so your choices are vast!  

For my card, I created a simple Christmas card.  In fact, it was so simple I ended up making four altogether.  But here's my favorite...


I had several ideas for this card, but I ended up with a foiling session, using the Pinkfresh Studio Radiating Snowflake press plate and a couple of Spellbinder sentiment sets.

Next I pulled out one of my favorite Christmas patterned paper pads and found four that would match the snowflakes I'd made.  For the most part, the papers all utilize a bokeh effect, along with different colors and some with more prominent snowflakes.  I love the gold and blue on the card above.  


Putting the card together was super simple.  The snowflake was layered on two additonal die cuts then adhered to the card front, the sentiment popped up with foam tape and then I added three snowflakes cut from white glitter paper and topped with sparkly gems.  I used the same design on the other three cards.


I hope this easy-to-use sketch inspires you to join us this week!  For more design ideas, my wonderfully talented teammates have some fabulous cards on challenge blog here. The challenge will remain open until 3pm EDT on Friday 3rd - I hope to see your card in the gallery! 

Stef

  • Pinkfresh Studio Radiating Snowflake Betterpress plate and die
  • Spellbinders Comfort & Joy Sentiments Hot Foil plate and die
  • Spellbinders Sending Joy Sentiments Betterpress plate and die
  • Kristina Werner Kristina's Essential dies A2 rectangle
  • SSS Woodland Treescape Snowflake dies
  • SSS Warm Tones, Surf and Prism Dazzling Gems
  • Whimsy Stamps Blurry Flurries patterned paper

Sunday, August 18, 2024

Cheers for The Paper Players

Hello friends!  Today we have a fun new challenge at The Paper Players.  The amazing Claire is hosting our CAS challenge and is asking us to use fruit on our cards.

I decided to make a very vibrant card to share, which seemed fitting for summertime.


The glass and fruit were all foiled in gold using a pressplate, colored with Copic and Olo markers then die cut with the coordinating die.  The stamp set and pressplate create all the images at once and then there is only one die to cut it all out, which I love since it's all done in one pass.  

After I had all the elements colored, I ink blended the front of a white card base with super vibrant colors, then let that dry as I gold heat embossed the Cheers sentiment and stamped out the sub sentiment.  When I started to assemble the card, it just seemed to need a bit something more, so I added the foiled and die cut frame directly to the edge of the card, then added everything else.  Some things were adhered directly to the card front and some elevated with a bit of foam tape, but I made sure to leave lots of "white" space.  I love the bright colors and the festive, fruity elements!


Thanks for taking time to stop by and I hope that you'll join us this week!  My talented teammates have some amazing inspiration for you over on the challenge blog, so please be sure to stop by and take a look.

Take care!

Stef

  • Pinkfresh Studio Cheers Stamp, Dies and Pressplate
  • Pinkfresh Studio Decorate Frames Pressplate and Die
  • MFT Skinny Strips sentiment lable die
  • Simon Says Stamp Peony, Sherbet and Lemonad inks and Ultra Fine Gold embossing powder
  • Olo markers:  RV1.7, 1.5, 1.3, YG1.6, 1.4, 1.2, G1.5, 1.4, 0.1
  • Copic markers: Y26, 38, 08, 04, 00, R39, 37, 35, YR09, 16, B000, 0000

Monday, July 1, 2024

Hello Friend for Color Hues

Hello friends!  Wow, here we are at the beginning of July - is this year flying by for you too?  Nevertheless, the first of the month does bring us a new challenge over at Color Hues, where this time the lovely Nancy has chosen aqua and white for her color combo.  


I was playing around with foiling using press plates because, while they are wonderful used as intended with the Betterpress System, they are work just as well for foiling.  This makes me happy because my crafty budget goes further with a dual purpose tool.  So, here's what I came up with for my card...


Doesn't that Gilded Marble Press Plate look divine in white on aqua?  I loved how it turned out, so much so that it was hard to trim down the panel lol!  But I did, then added it to the white card base.  I love this design with the angled panel, which has been around for a long time, but never think to use it, that is until I was reminded of it when watching a crafty video recently.

The sentiment was die cut three times from black cardstock, then layered together for some nice dimension.  Before adhering the sentiment to the card, I added a thin strip of black on top of the cut panel to give it a finished look.  The word friend was stamped and trimmed down to fit below the line, and lastly, I added some Surf gems for a bit of sparkle.  Very CAS (for me, anyway) and fast to pull together.


What are you inspired to make with these colors?  For loads of beautiful ideas from my talented teammates and our guest designer Nance, be sure to head over to the challenge blog and take a peek.  I hope you'll join us for this challenge, it's open until 9 am EDT July 14th.

Thanks for visiting!  Take care!

Stef
  • Altenew Gilded Marble Press Plate
  • Altenew Fancy Hello die
  • Honey Bee Stamps Bit Time Kindness Stamp set
  • Concord & 9th Aqua Sky cardstock
  • Spellbinders Opaque White Glimmer Hot Foil
  • Simon Says Stamp Surf Dazzling Gems


Sunday, June 23, 2024

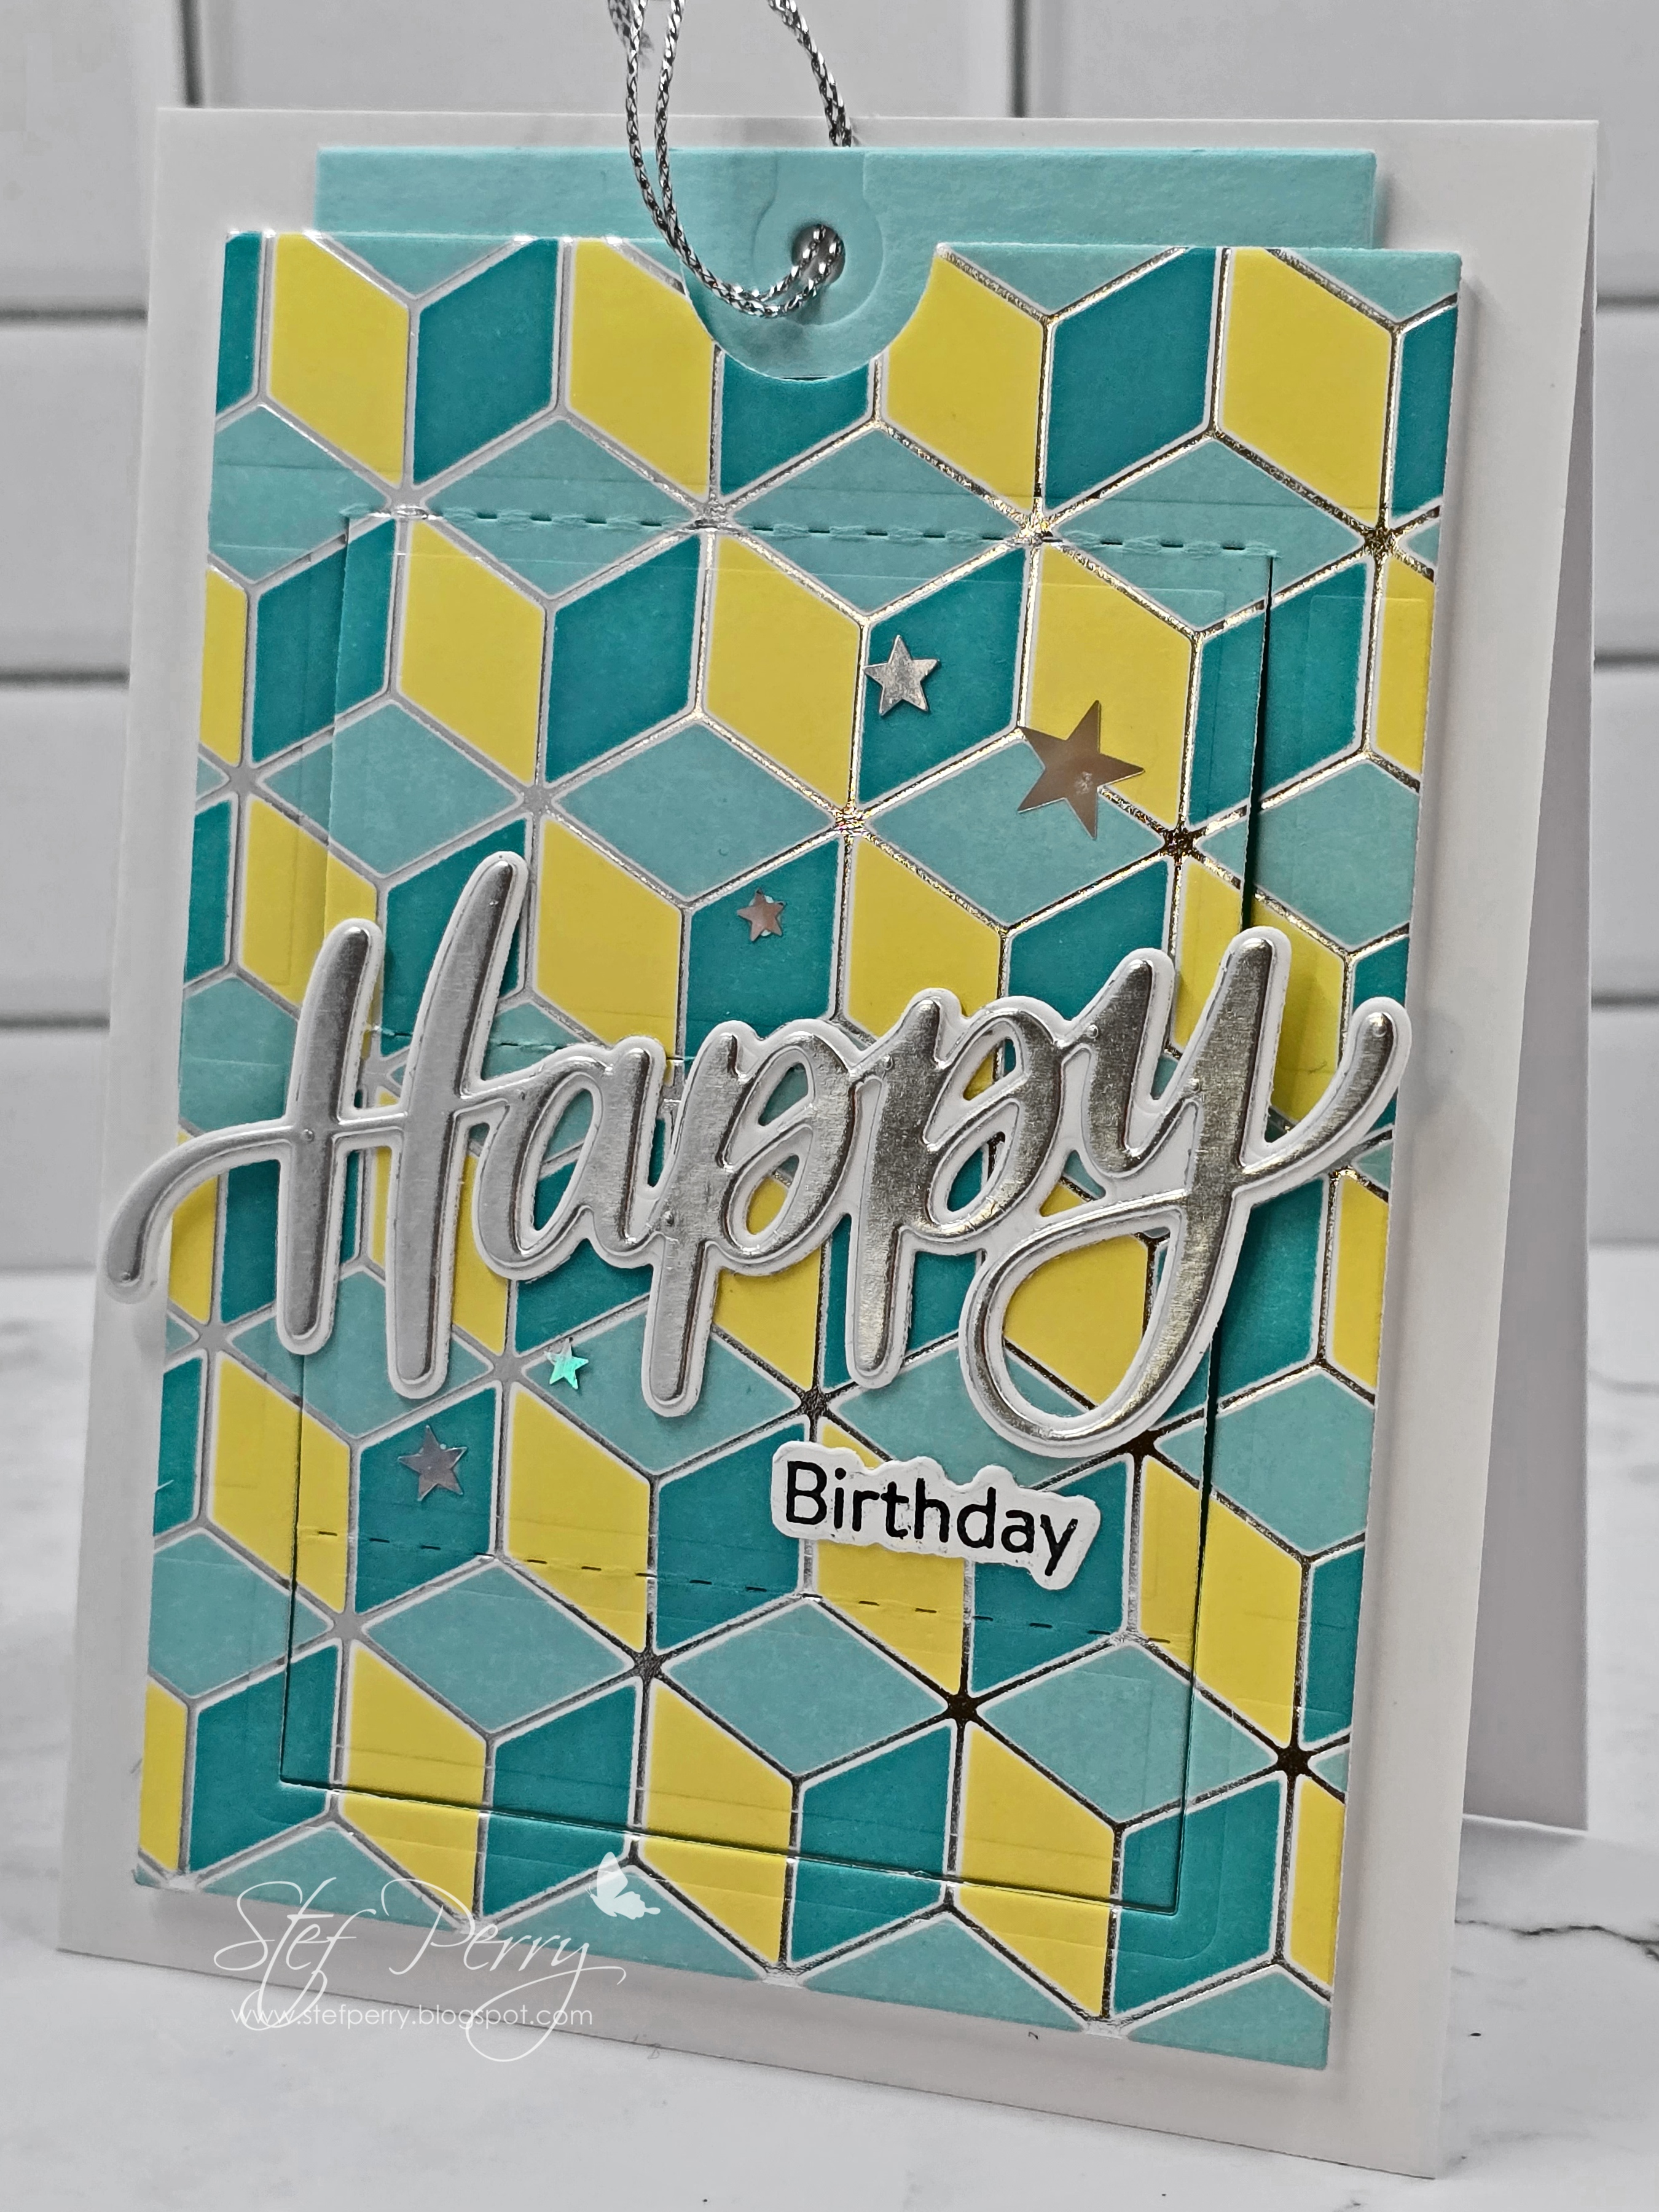
Slider Birthday Card

Hello friends, I have a fun card to share with you that I made for my grandson.  I rarely make interactive cards but I saw the die used on a Jennifer McGuire video (link to her blog post with the video here) and thought that even I could figure out how to use it lol!

I'm sharing this over at Inkspirational, where they have a fabulous mood board and I was inspired by some of the colors.

I was planning on using various foiled geometric panels that I've had in my stash for a long time for a number of upcoming masculine birthdays (doesn't have to be just for men, but it works well for those dudes that wouldn't appreciate florals lol!).  This one in particular makes these cool 3D blocks, so I used the matching stencil with Distress Oxide inks to create a panel.


The stenciled panel was die cut with the interactive feature die (Pinkfresh Studio A2 Slider die), then the tag that goes underneath was die cut from a piece of aqua paper that matched the ink colors well.  You'll see in photos below that the front of the interactive part has scoring, so the panel will open using the tag to reveal a message.

The panel was popped up on a white card base using foam tape, then the tag slipped in and adhered to the bottom of the interactive feature.  I pulled the tag up then used glue dots to add the gift card, and it slid up and down smoothly.  The pictures below will show it better than I can explain it.  Pinkfresh also has a how-to video on their product page. 


The word happy was cut from matte silver cardstock, layered on the white shadow die, then adhered to the pop-up panel that also reveals the interior sentiment.  Sooo clever!  The last thing was to add some holographic stars for some added shine. 

It was a fun card to make and I know my grandson will appreciate it.


Thanks for visiting and have a good week!

Take care!

Stef

  • Pinkfresh Studio Geo Blocks Hot Foil Plate and Stencils
  • PS A2 Slider Card dies
  • SSS Big Happy die
  • Honey Bee Stamps Birthday Wishes Stamp and die
  • Peacock Feathers, Salvaged Patin and Squeezed Lemonade Distress Oxide inks
  • Silver Metallic Thread

Saturday, June 1, 2024

Sweet Friend for Color Hues

Hello friends!  As we enter the month of June, the Color Hues team has a new challenge for you.  This time the lovely Karen has chosen the wonderful color combo of yellow and blue.

As I was contemplating what to create for this challenge, I flipped through some panels that were previously foiled and I found one that looked stunning in cobalt blue foil and voila! my decision was made!


The foiled floral image fills a full A2 card panel, but I knew I wanted to trim it down and just color the part I would use in the portion cut out with an oval die. I then used Copics in yellow for the flowers and a light blue for the background, then the colored piece was layered on a slightly larger yellow oval.

Next a panel of white was embossed with a very subtle pattern (you can see it better in photo below) then added to a white card base.  I found some scraps of a panel that had been foiled with the same cobalt blue, so I used those for the horizontal strip and to die cut the sentiment (foil is so hard to photograph - the strip looks black on one side in each photo lol!).  After assembling everything on the card front, I found some jewels that were the perfect match and added them to finish things off.


What are you inspired to make with these wonderful colors?  We'd love to have you join us, the challenge will remain open until 9am EDT 6/14.  In the meantime, I encourage you to pop over to the challenge blog to see all the beautiful cards my super talented teammates and our guest designer Rosemary have created.

Take care!

Stef

  • Pinkfresh Studio Peony Print Hot Foil Plate
  • Spellbinders Essential Stylish Ovals dies
  • Spellbinders Cobalt Glimmer Hot Foil
  • Altenew Versatile Greetings dies
  • Stampin' Up Taseful Textile embossing folder
  • Simon Says Stamp Cool Tones Dazzling Gems
  • Copics - Y26, 18, 15, 11, B000

Sunday, July 9, 2023

Vibrant Florals for Sunday Stamps

Hello friends!  Today is the beginning of a new challenge at Sunday Stamps and this time we bring you a beautiful color combination!


I was inspired by both the colors and the photo, so I decided to recreate using a foiled image of flowers that I imagined were daisies.


As this is quite a large image, I decided to create a 5"x 7" card in order to limit the amount I had to trim down.  It was foiled with matte gold then I used Copic markers to color.  Cool grays were used to created shadows for the white flowers.  I was originally going to just go around the entire image with blue markers but I ended up loving how the bright blue looked, so I colored in the entire background.


I used a rotary trimmer to cut the panel down to 6"x 4" and it enabled me to cut up to the leaf overhanging on the right side, which I then trimmed around with scissors.  It was mounted on a panel of yellow cardstock then adhered directly to the card base.  The foiled sentiment was popped up with thin foam squares and I was done.


What will you make with these colors?  I hope to see your card in the gallery, but in the meantime, be sure to head over to the challenge blog for more inspiration by the other DT members!

Take care!

Stef


Paper:  Hammermill, Stampin' Up Daffodil, Neenah Solar White
Foiling:  Vibrant Florals Hot Foil Plate, Spellbinders Everyday Sentiments II Hot Foil Plate, Spellbinders Matte Gold Glimmer Hot Foil
Dies:  Waffle Flower A7 Frames, Spellbinders Everyday Sentiments II
Copics:  B4, C2, 1, 00, YG67, 17, 05, 03, Y26, 08, 13

Wednesday, January 25, 2023

Season's Greetings for Christmas Craft Creations

Hello and welcome!  It's time for the reminder post for Christmas Craft Creations and this month our challenge is to use snippets (aka your crafty leftovers) to make your creation.


For my card, I used a couple of leftover foiled items - a snowflake foiled background in silver and the foiled and die cut sentiment.


I started with the background and sentiment, then decided I would a cover die to create a shaker card.  The Lawn Fawn Snowflurries Backdrop die was die cut three times from white cardstock then the final time from Simon Says Stamp Silver Glitter.  They layers were adhered together, with a Hero Arts Clear Card Panel between the silver and last white layer to create the shaker front.  The sequin and crystal mix were added in before adhering the back panel, then the entire thing was added to a white cardbase.


The cover die also includes two snowflake dies and four tiny star (?) dies.  I didn't use the snowflakes but after adhering the foiled sentiment to the front of the card, I also added three of the glitter stars, then topped them with red crystals to match the sentiment.  I LOVE all the glitter and the glamorous look, I hope you like it too!


Thanks so much for taking time to drop by.  Please be sure to use the link above to see how the other DT members used their snippets, and hopefully be inspired to join us - you have until February 7th.

Take care!

Stef


Stamps:  None
Paper:  Hammermill, Neenah Solar White, Accent White, Simon Says Stamp Silver Glitter, Hero Arts Clear Card Panels
Ink:  None
Other:  Lawn Fawn Snowflurries Backdrop die, Lawn Fawn Snowflake Background Hot Foil Plate, Pinkfresh Studio Solid Hot Foil Plate, Pinkfresh Studio Brushed Sentiments: Holiday Hot Foil Plates and dies, Glimmer Red Sparkle and Silver Hot Foil, Lucy's Cards Snow on Snow and Crystal Collection - Rouge sequin mixes

Saturday, June 4, 2022

Thinking of You for The Flower Challenge

Hello and welcome!  It's time for the June challenge at The Flower Challenge and this month the prompt is to use Blue and Yellow for your floral images as we continue to honor Ukraine.  You may also use green for the leaves along with black and white as neutrals, as long as the challenge colors are the most prominent.


My card uses a newer set from Pinkfresh Studio, using the hot foil plate, dies and stencils.  I actually received the stamp, dies and stencils in late March when I attended a card making event and then was happy to add the hot foil plate when it became available in April.


Starting with the hot foiling, I used Gold Glimmer hot foil for the image outline.  Next, out came the stencils, using three shades of blue and two of green.  The image was die cut then layered on two additional dies cuts in white for dimension.  I love to color but stenciling sure does make creating quicker.


Next I ink blended a lively yellow on a panel of white, then it was trimmed down using diagonal stitched rectangle die.  It was matted on a panel of blue, then added to the white card base with foam tape.  The floral image was adhered to the card, as was the foiled sentiment I had in my stash.  Lastly I added a few pearls and gems from a newer Lucy's Cards collection that I was happy to discover included blues and yellows.


Okay, now it's your turn to get creative with these colors!  You have until the 25th of the month and for more inspiration, be sure to take a look at all the beautiful Design Team cards!

Take care!

Stef


Paper:  Neenah Solar White, Hammermill, Pacific Point (SU)
Ink:  Citrus Burst (Altenew); Seaside, Summer Shower, Sky Blue, Fresh Pear and Key Lime (Pinkfresh Studio)
Other:  Simple Gestures Hot Foil Plate, Die and Stencil set (PS), Everyday Sentiments II Hot Foil Plate (Spellbinders), Skinny Strips die (MFT), Diagonal Stitched Rectangle die (PS), Gold Glimmer Hot Foil (Spellbinders), Crystal Collection - Bouquet (Lucy's Cards)

Monday, April 25, 2022

Sketched Rose Wreath for the SCS Color Challenge

Hello friends!  It's my final week as guest designer for the Color Challenge at Splitcoaststampers.  This week we are playing with a lovely, soft combination of Blushing Bride, Soft Succulent and Sahara Sand.  The dessert option is to add gems or enamel dots.  A BIG thank you to Mary and the team for inviting me back to GD, it was such a pleasure!


To begin, I lightly stenciled a design on a panel of white using Fog ink, which is a warm gray, similar to Sahara Sand.  The panel was trimmed down and adhered to a slightly larger panel of Sahara Sand.  The wreath, flowers and single leaf were foiled in gold, die cut with the matching die then colored using Copic markers.


The wreath was die cut two more times from thick white cardstock, then layered together with the colored piece.  The panels were adhered to the white card base, then the wreath was added along with the gold foiled sentiment.  Some pearls with kind of a gold hue worked to finish things off!


I'm so glad you took time to stop by!  If you'd like to see the DT members beautiful creations or play along with the color challenge, you can use this link to Splitcoaststampers.

Take care!

Stef


Stamps:  None
Paper:  Neenah Solar White, Hammermill white, Sahara Sand (SU)
Ink:  Fog
Other:  Sketched Rose Wreath Foil Plate and Die set (Simon Says Stamp), Everyday Sentiments II foil plate (Spellbinders), Gold Glimmer Hot Foil (Spellbinders), Fanfare Stencil (SSS), Skinny Sentiment Strips die (MFT), Soft Jellybean Mix Pearls (Lucy's Cards)

Friday, April 15, 2022

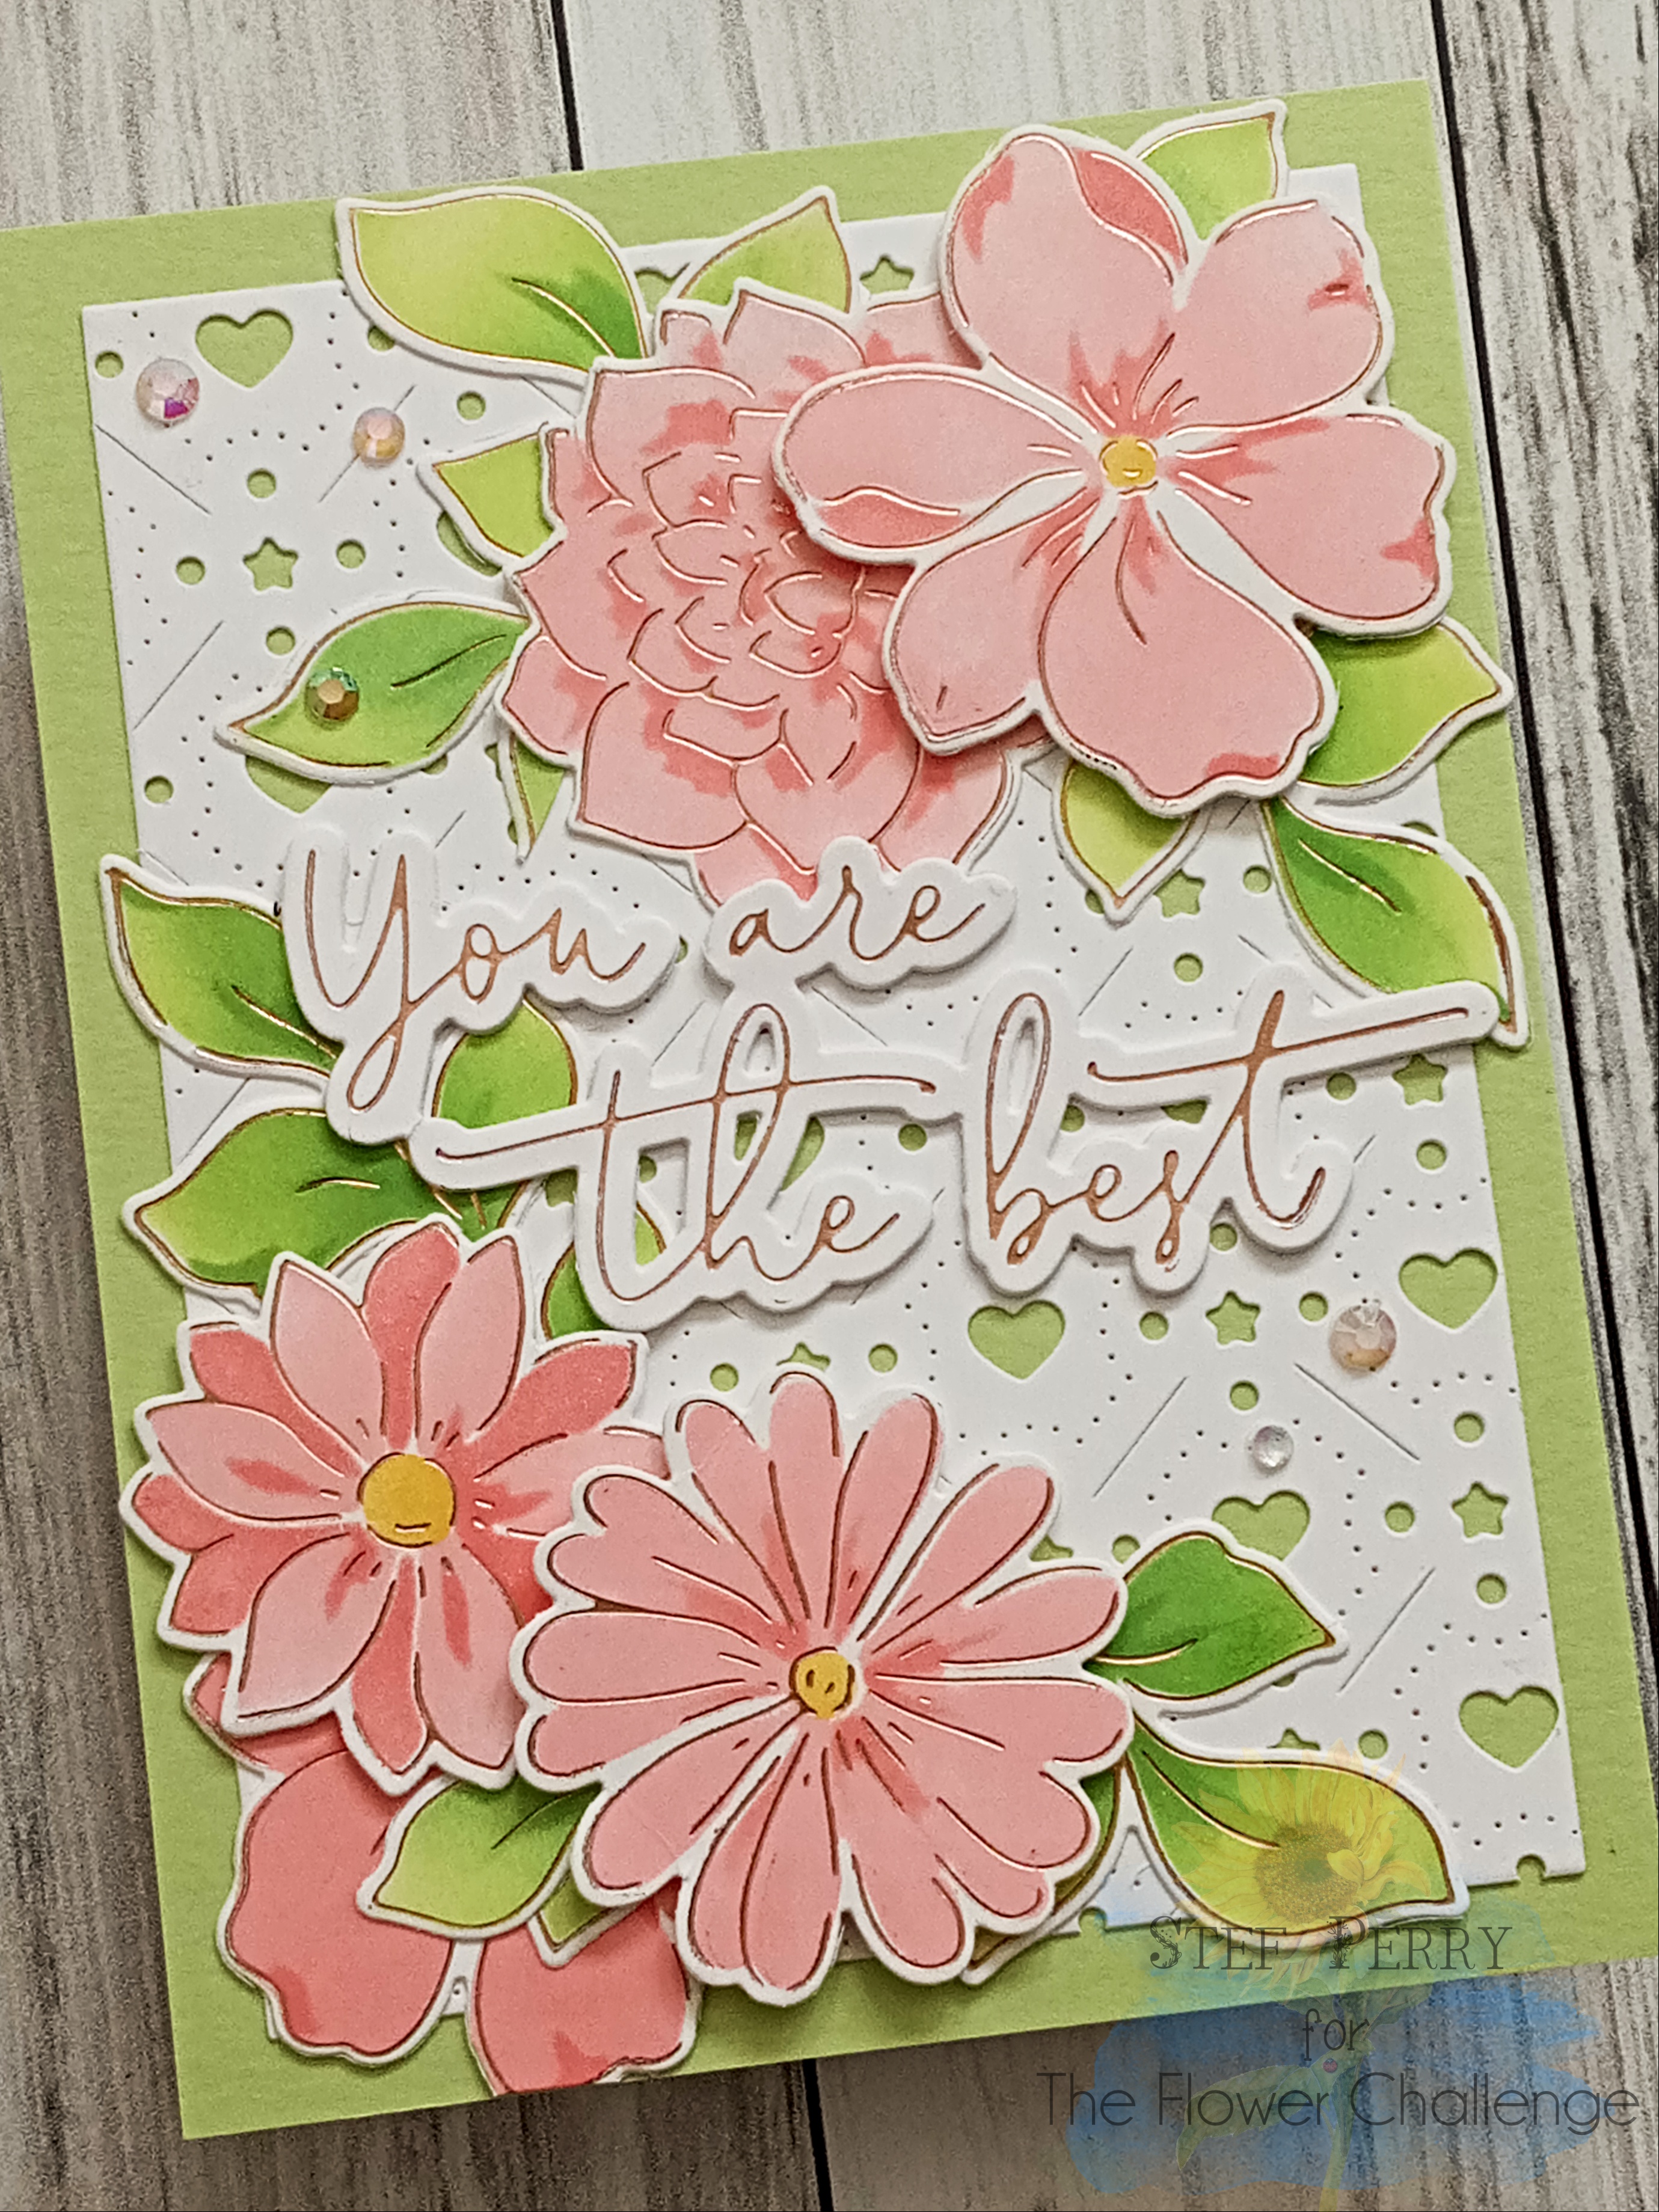
You Are the Best for The Flower Challenge

Hello and welcome!  It's mid-month and time for a reminder for The Flower Challenge, which remains open until the 25th.  This month the theme is to add a heart to your card.


I'm also joining the current Four Seasons Challenge.


For this card, I used a sweet background cover die to add hearts.


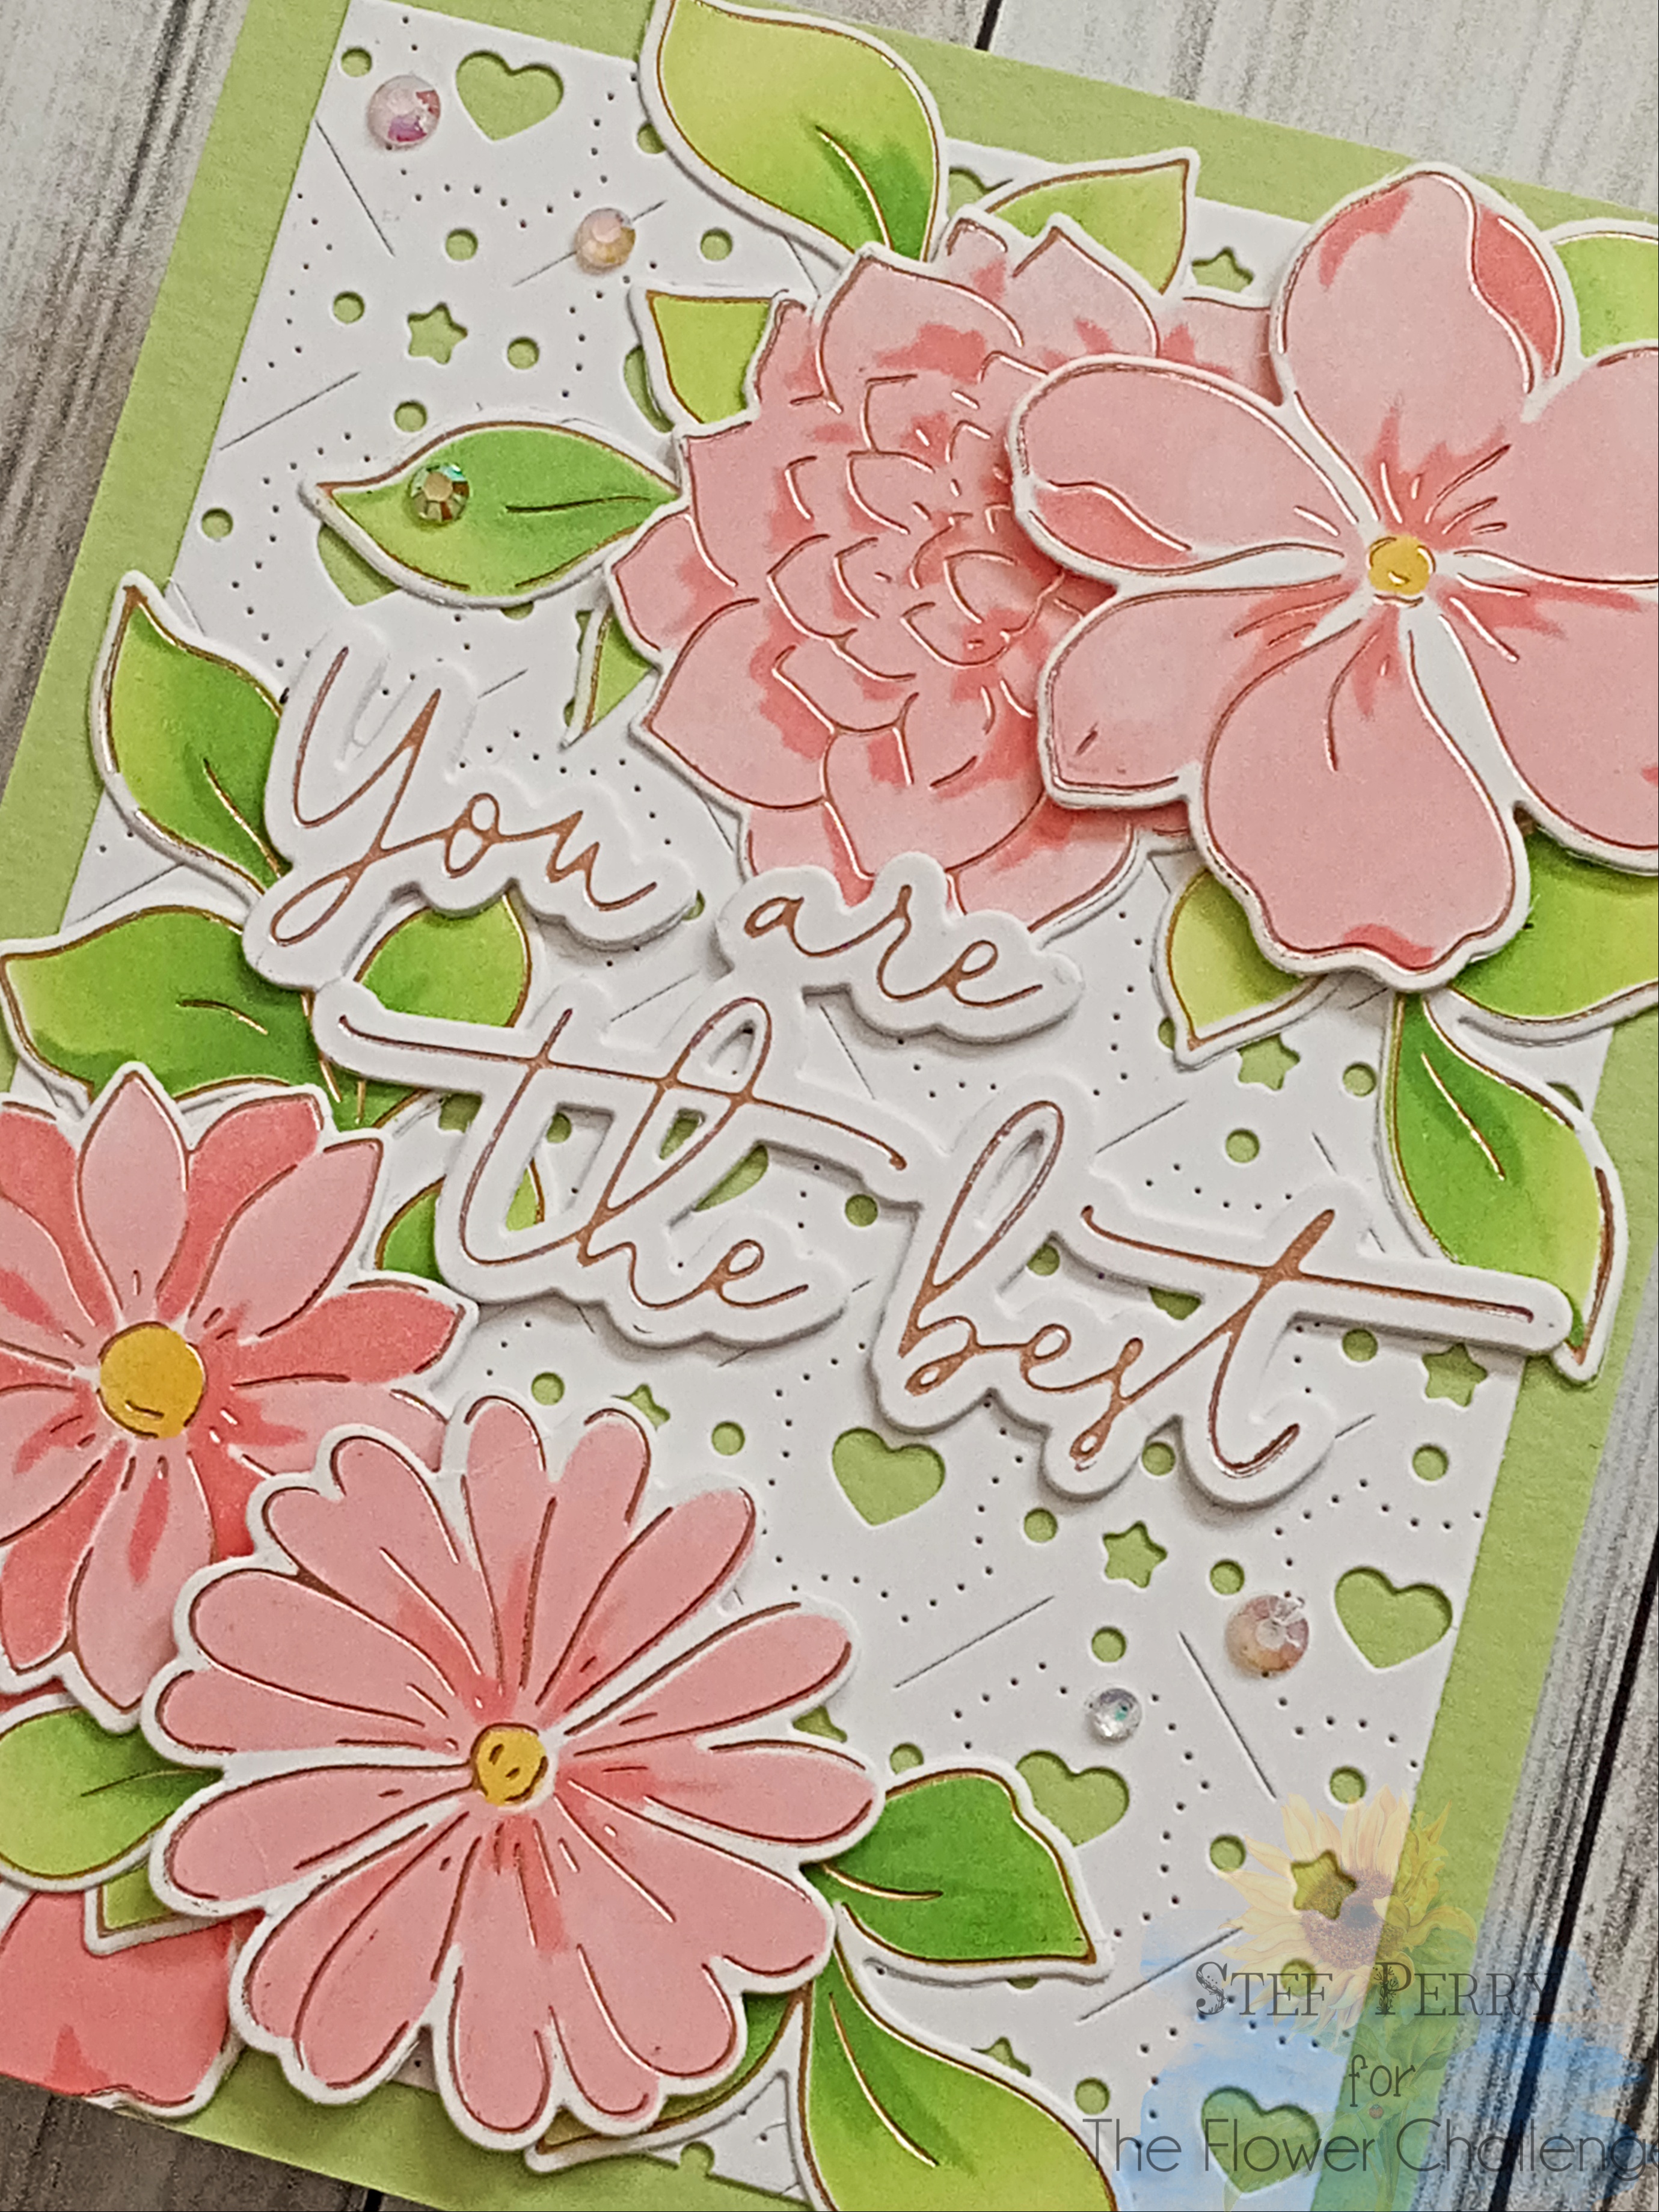
I love these soft colors so perfect for spring!  I started by foiling the flowers and leaves on panels of white, used the coordinating stencil to add color then die cut with the matching dies.  While I love to color with my Copic markers, stenciling is such a quick and easy way to get a card made.  I also like using the different colors that my dye inks offer.  For the flowers I used the new Saltwater Taffy Distress Ink along with Abandoned Coral and Fossilized Amber.  Love that new peachy-pink color!


For the background, the Hearts and Stars Cover Plate die was used to cut a panel of white, which was die cut with a rectangle die, leaving a nice border of green around it.  I foiled the sentiment in Blush Glimmer Foil to match the foiling on the flowers and leaves, then die cut it with the matching die.  To assemble it all, the green panel with the white die cut was adhered to a white card base, then the flowers and leaves place in opposite corners, some glued directly to the card along with the leaves, then other popped up using foam squares.  I used the die for the sentiment to cut two additional layers, adhered them together then added it to the card, along with a few gems for a touch of bling.  


I'm so glad you stopped by today, and I sure hope you'll use the link above to see all the new DT inspiration and hopefully join us by the 25th!

Take care!

Stef


Supplies are all from Pinkfresh Studio unless otherwise noted:
Brighter Days Hot Foil plate, Stencils and Die set, Hearts and Stars Cover Plate die, Fancy Script Words foil plate and die, Blush Glimmer Hot Foil (Spellbinders), Distress Inks - Saltwater Taffy, Abandoned Coral, Fossilized Amber, Twisted Citron and Mowed Lawn, Nested Infinity Rectangle die, Iridescent Jewels (Lucy's Cards)