Sunday, April 30, 2023

Dainty Flowers for Sunday Stamps

Hello and welcome!  It's time for a new challenge at Sunday Stamps and this time Melissa has given us a wonderful sketch to work with.


I decided to pull out some pretty patterned paper that I've had for a few years and use that as the inspiration for my card.


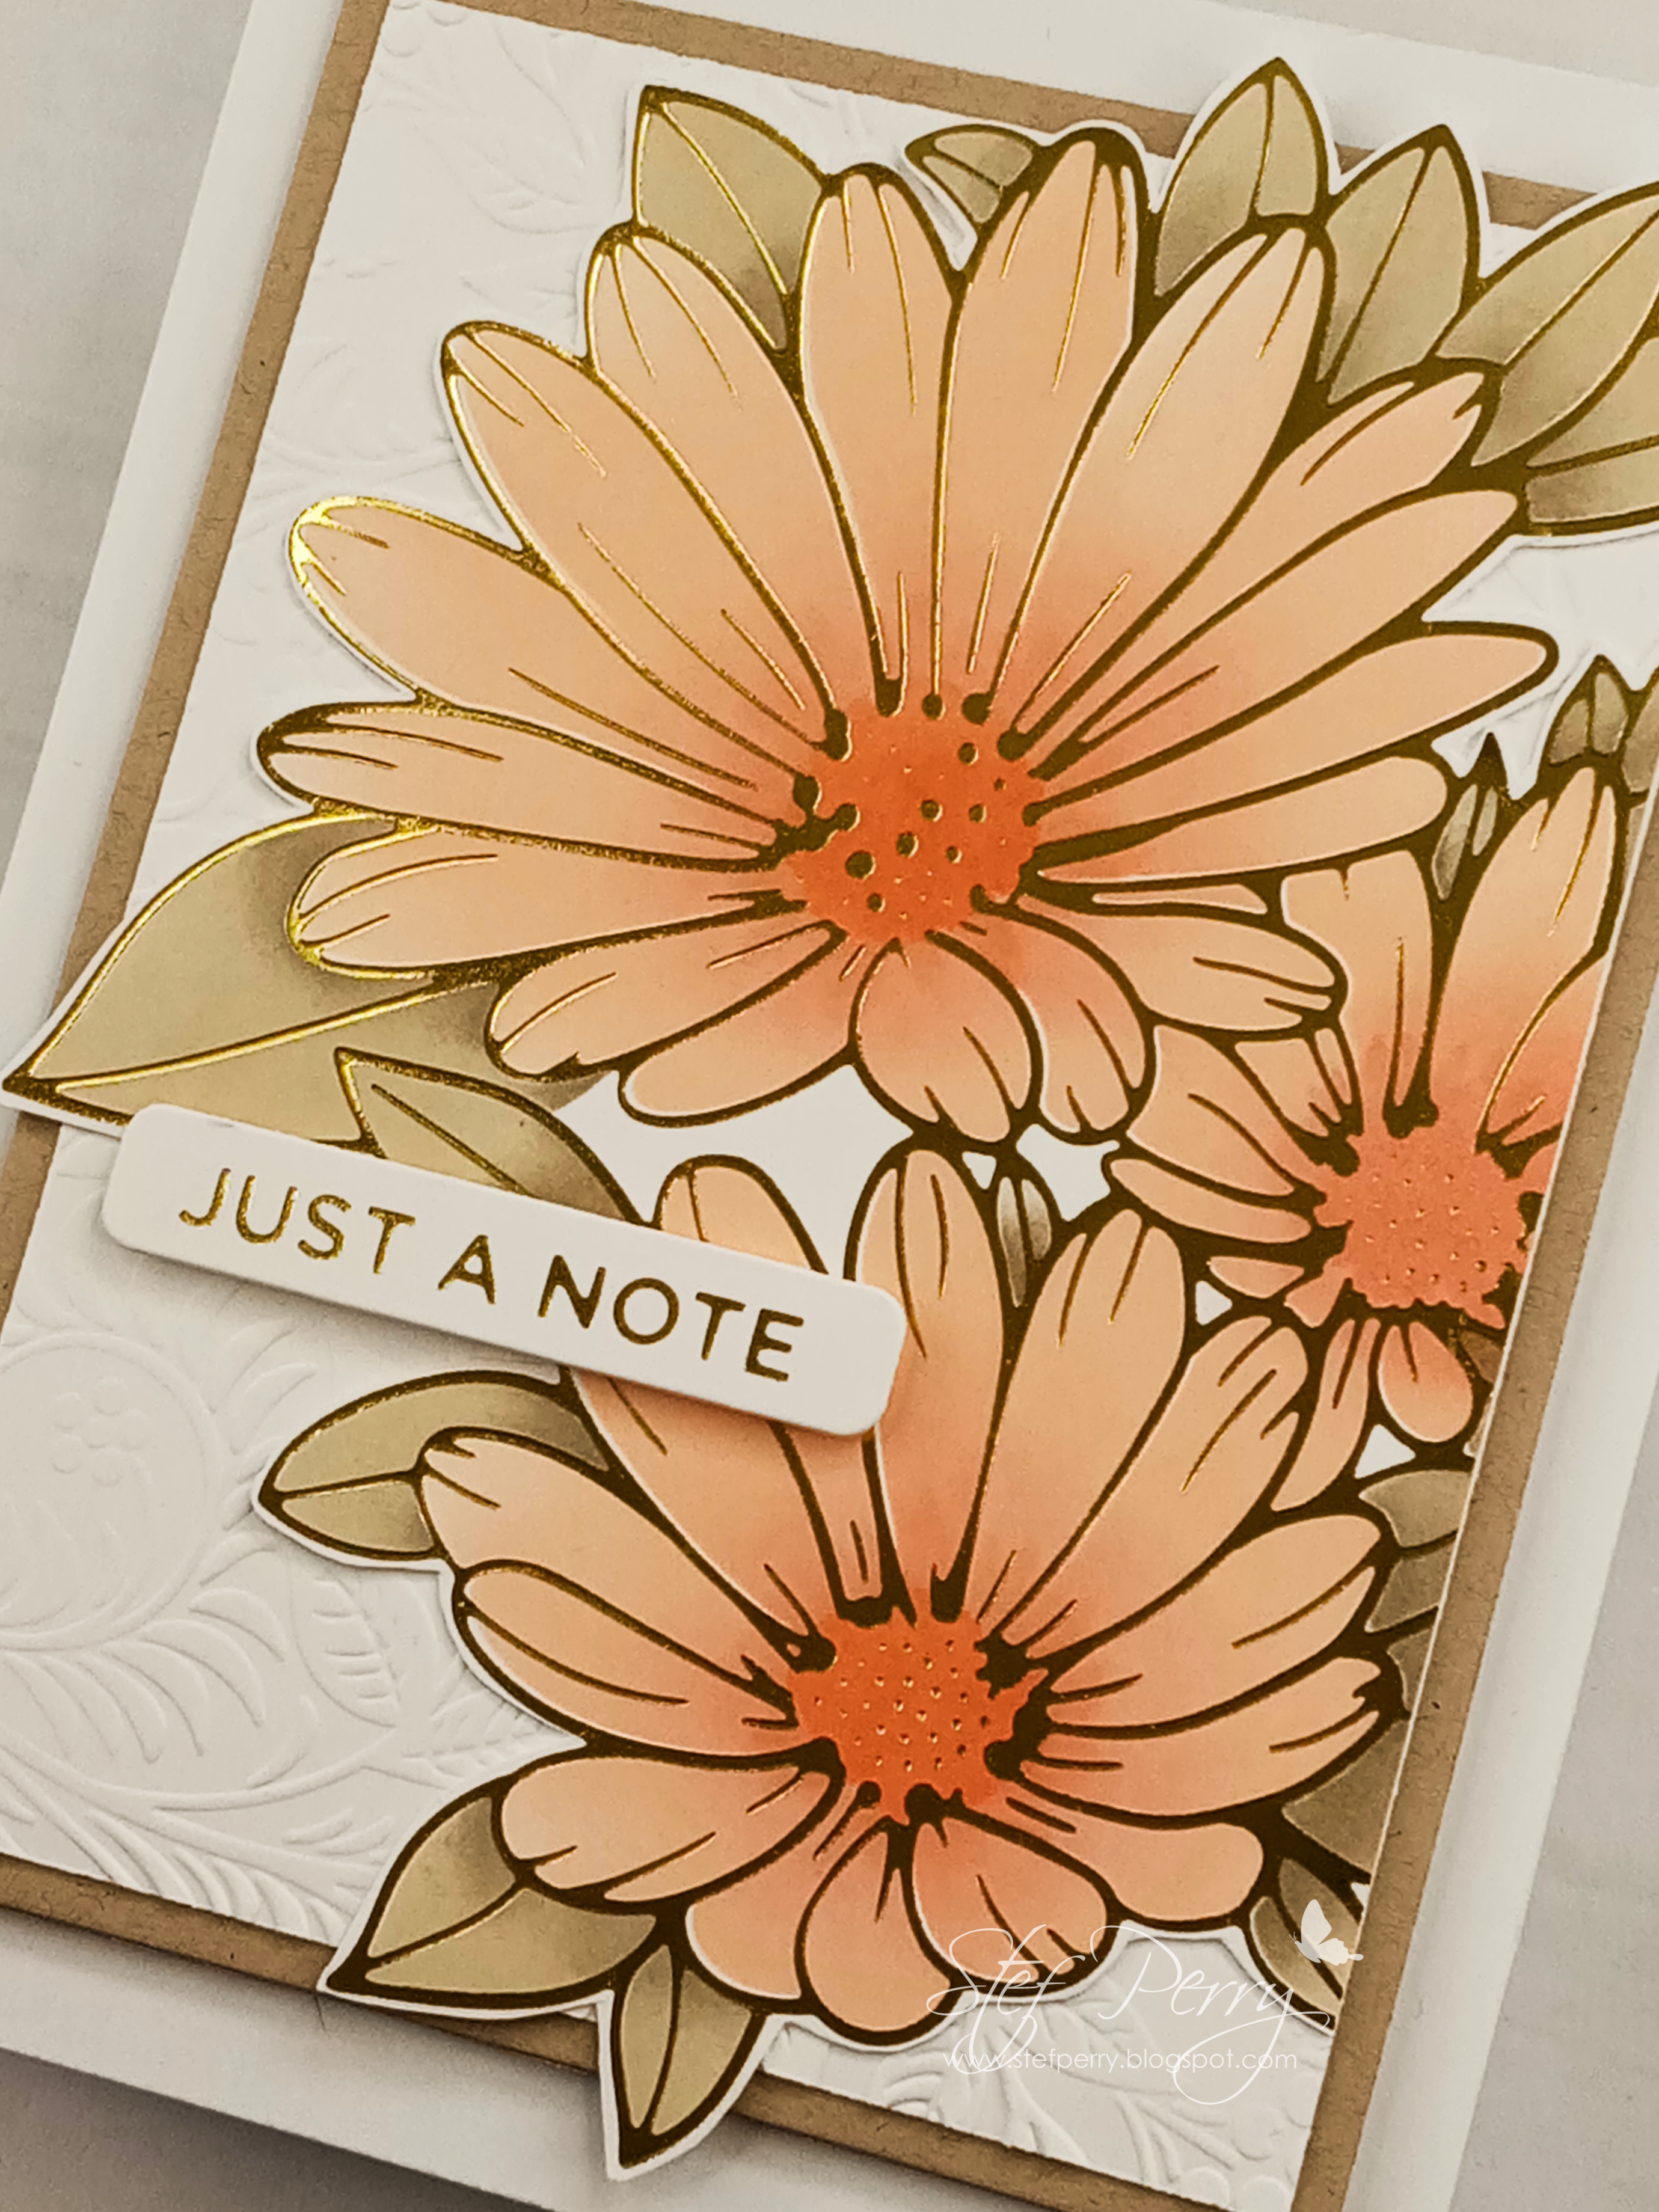
I love the dainty flowers and the soft colors, plus I was pretty certain I had a flower stamp with a similar shape to those on the paper. Sure enough, the Altenew Floral Henna stamp set had a trio of stamps shaped similarly to the ones on the paper.  I stamped them, then Copic colored and fussy cut the center flower and a couple of the leaves.


I pulled out two sheets of the paper. One was die cut and adhered to the white card base.  From the other I cut a 1" strip and layered it on a slightly larger piece of white, then added it to the card front.  The sentiment was stamped and die cut then added with thin foam tape.  Lastly the fussy cut flower was popped up with regular foam tape.  Originally, I had the flower on a die cut circle with the sentiment going across the bottom but it didn't look proportional to the size of the vertical strip, and since that was already glued down, I decided to add just the flower without the circle.  That helped but I do wish I'd made the blue strip about a quarter or half inch larger.


Thanks so much for visiting!  Now it's your turn to create something with this fabulous sketch!  But before you head off to your craft room, the design team has oodles of wonderful inspiration to share so head over there and take a peek!

Take care!

Stef


Stamps:  Altenew Floral Henna, MFT Stylish Sentiments
Paper:  Neenah Solar White, Moda Scrap Spring Flowers Collection paper pack
Ink:  Memento Tuxedo Black, Versafine Clair Nocturne
Dies:  Hero Arts Nested Infinity Rectangle die, Simon Says Stamp Sentiment Label dies
Copics:  B93, 91, C0, G82, 40

Wednesday, April 26, 2023

Cheers My Deers for Christmas Craft Creations

 Hello and welcome!  It's time for our reminder post at Christmas Craft Creations and this month were celebrating the holidays with a bit of humor!


It's also our 3rd birthday and there are prizes to be won by those who play along, so head over and check it out!

For my card, I went with a clever and fun stamp set from Art Impressions called Cheers My Deers.


These two gals are so funny in their antler hats, and from their faces, obviously they are humored by them as well!  Started by Copic coloring the images then using the matching die to cut them out.  The sentiment was stamped in black pigment ink then die cut with an Essential Oval die from Ellen Hutson.  The dies not only cut the shape, they also cut a frame, so I cut it a second time and added a frame that I'd colored with one of my RV markers.


Having decided to make this a mini-slimline card, I cut a panel of Tim Holtz Distress White Heavystock and ink blended Altenew's Dew Drop and Aqualicious inks on the panel.  Next the Winter Tree dies from MFT were used to cut three trees and were adhered to the panel.  The snowbank was die cut using a Lawn Fawn Stitched Hillside Border die, then added to the panel with thin foam tape, trimming off all the excess before adhering directly to the white card base.  The gal's images were die cut twice more from white cardstock, then layered together before adhering to the card front.  I then added "snow" by splattering Picket Fence Distress paint and when that dried, the sentiment was adhered with a bit of foam tape.


Since I was already making one card, I decided to make a second, using different colors for the apparel and creating a regular A2 card.  You'll have to let me know which you like better.


It would be wonderful if you would join us this month, adding to your Christmas card stash and possibly winning a prize as well!  Be sure to use the link above to check out the fabulous cards from both the launch and reminder teams and hopefully decide to play along!  The challenge is open until 11am MDT.

Cheers!

Stef


Saturday, April 22, 2023

Delightful Day

Hello friends!  Today I'm sharing a card that I made using Karren's fabulous sketch at Freshly Made Sketches.


I had just received Altenew's new Delightful Day stamp set the day before and it worked perfectly with this card design.


This set is a layering stamp set and specifically made to be used in Altenew's new Stampwheel.  It has the four  (or three for the leaves) layers on one stamp that you simply rotate to create the layers.  It took me a couple of tries to feel comfortable using it, but for me, it certainly beat trying to line up the individual layers, which I always had trouble with.  After stamping the flower, leaves and the sentiment, they were all die cut with the matching dies.


Next, a panel of SSS Sea Glass cardstock was embossed using Spellbinder's Beveled Diamonds 3D folder, then adhered directly to the white card base.  The circles were die cut with the Folk Edge Circle dies from Pinkfresh Studio, adhered to the embossed panel, then I added the floral image with thin foam squares.  I also used foam squares under the part of the sentiment that was hanging off the edge, then finished things up with a few Bridal Suite Jewels from Lucy's Cards.


I hope you are having a delightful day!  Thanks for stopping by!

Stef


Inks:  Altenew Obsidian, Baby Pink, Fuchsia, Magenta, Honey Drizzle, Lime, Fresh Leaf and Green Opal

Sunday, April 16, 2023

Smile for Color Hues

Hello and welcome!  It's time for a new challenge at Color Hues and this beautiful combo of purple and green is brought to us by the amazing Cindy.  Perfect for spring flowers!  We're also fortunate to have Amanda Mertz as our fabulous guest designer for this challenge.  


I'm also joining the current challenge at Addicted to CAS, where the theme this time is Garden.


I chose to color some pretty violets to use with these colors.


The Gina K Blue Violets are just so pretty and delicate, I really love this stamp.  I chose an orientation in the lower left corner so I could stamp the stems off the bottom of the panel.  I colored them with alcohol markers (listed below), then trimmed down the panel with a Hero Arts Rounded Rectangle die.


Next I used gold paint from the Altenew Metallic Watercolor paints to color the flower centers then added just a light bit of splatter.  The Altenew Vertical Greetings die set had fortuitously just landed in my mailbox, so I die cut one of the sentiments from SSS Matte Gold along with two additional layers of white, adhered them together then onto a white shadow die.  I wrapped some gold twine around the panel to anchor the sentiment, popped it up with thin foam squares then used more foam to add the panel to the card base.  


Now it's your turn!  But first, stop by the challenge blog to be see the amazing cards by the other DT members, they are fabulous!  I hope to see your card in the gallery - you have until 4/28 at 9:00 am to play along.

Take care!

Stef


Copics:  G28, 09, 02; Sketchmarker Brush Pros:  V60, 61, 62, 54

Just Because for Sunday Stamps

Hello and welcome!  It's time for a new challenge at Sunday Stamps and we have a beautiful color board to spark your creativity over the next couple of weeks!


I'm also joining Freshly Made Sketches as I used Cecile's wonderful sketch as inspiration for my card design.


I was really thrilled when I saw our color board with the bright pinks along with the dark green and blue.  


I used one of the images from the Altenew Ambridge Rose stamp and die set.  My card is A2 sized, so you can see how big that flower is.  I used Copic markers to color the flower and leaves (listed below), then cut them out with the coordinating die.  For the background, a piece of Concord and 9th Midnight cardstock was embossed with Altenew's Dreamy Tiles folder.  The paper was so dark it was difficult to see the design, so I lightly swiped over the top with a pad of Hero Arts Unicorn White pigment ink.


The embossed panel was trimmed down and adhered to the white card base, then the floral image added with foam tape.  The original sentiment was stamped in blue on white cardstock, but I didn't like how it looked, so I opted to white heat emboss on Midnight cardstock this beautiful sentiment form Altenew's Fancy Greeting stamp set.  It was fussy cut, adhered to the top of the rose, then the final step was to add several Pinkfresh Studio Iridescent Clear Drops.


Thanks ever so much for visiting!  Our challenge goes on until the 28th of April, so I hope to see your card in our gallery.  In the meantime, do be sure to head over to the challenge blog as the other DT members have some gorgeous cards to inspire you!

Take care!

Stef


Copics:  RV09, 06, 04, 02, G28, 17, 03

Saturday, April 15, 2023

Just A Note for The Flower Challenge

Hello, my friends!  The middle of the month harkens our reminder post for The Flower Challenge!  This month we are focusing on the background.


And since I'm using a stencil for my card background, I'm playing along with the Anything Goes stencil challenge at Happy Little Stampers.


I was pleased that my order from Honey Bee Stamps arrived just prior to my card making session for my reminder card, so I was able to use the beautiful Folk Art Daisy Stencils.


I started by stenciling the five layers on a panel of white Hammermill, using a number of Simon Says Stamp Pawsitively Saturated inks (listed below), adding darker shades at the leaf and petal bases, then I used the lightest shade of purple to ink blend around the entire edge of the panel.  I saw this design with the die cut frame in a video by Nina-Marie Trapani here and thought it was a wonderful way to add interest to the panel.  


I used the larger of the two rectangle dies to cut out the panel, then used the smaller to create the frame.  The outer portion was then adhered directly to an A2 card base, then the frame added with foam tape and the interior adhered flat in the middle.  I wanted the die cut sentiment (from Memory Box) to match the colors in the card, so I used the Amethyst ink pad directly on a scrap of white paper, dried it completely with my heat tool, then die cut the sentiment from it and two additional layers of white.  They were glued together, adhered to the vellum shadow, then added to the card front along with two vellum sprigs die cut from the Alex Syberia Designs Classic Foliage die set.  I tried adding some bling but they were lost against the busy pattern, so I opted not to and called it done!


I do hope you'll join us this month! The challenge is open until the 25th of the month and be sure to stop by the blog (linked above) for some amazing inspiration by the endlessly talented design team!

Take care!  

Stef

SSS ink pad colors:  Lilac, Orchid, Amethyst, Lemonade, Sunbeam, Citrine, Spring, Dublin, Lucky and Mocha.

Friday, April 14, 2023

Rhymes With Birthday!

Hello friends!  Today I have a fun birthday card to share with you that I made for my SIL's birthday last week and it happens to work just perfectly with the new challenge over at Seize the Birthday, where the toppings this time is alcohol.


I found this card to be a tiny bit tedious to make because of all the itsy, bitsy die cut pieces but it humored me so much I just had fun with it!  My card is made from various MFT beverage related die sets listed below, along with the Raise A Glass stamp set.  It became kind of a blended CASE of a few of the MFT design team cards, such as those by Sara Zoppi, Nicky Meeks and Barb Anders, which you can find here.


Hee, hee that sentiment just makes me laugh!  While it's been many, many years since either my SIL or I have gone out for cocktails for our birthdays (I'd rather sit at home and have a glass of wine), I knew she would love the funny greeting.  

To start, the glasses were all die cut from adhesive-backed vellum and all the other pieces were die cut from white card stock. I then proceeded to use my Copic markers to color all the bits before assembling the various cocktails.


For the background panel, I laid out the drinks without adhering them to ensure I had sufficient room then I used a pencil to mark where the top of the "wood" table would be.  Below that, the sentiment was gold heat embossed, then I blended Simon Says Stamp Cadette ink on the upper portion of the background, splattered it with gold metallic and white acrylic ink, and when dry, the strip of Lawn Fawn Woodgrain was adhered and the beverages added on top.  I used glue on the front of a white card base and added the decorated panel.  The final touch was to use a white gel pen to add foam to the beer, bubbles to the colorful drink and salt to the rim of the margarita glass.


Thanks so much for taking time to stop by and take a look!

Take care and have a great weekend!

Stef


MFT products:  Raise A Glass stamp set; Barware Basics, Long Stem Barware, Garnish and Drink Decor dies

Tuesday, April 4, 2023

So Grateful for The Flower Challenge

Hello and welcome!  It's a new month and The Flower Challenge is ready with a new challenge for you.  This month we are focusing on background stamping, using flowers for the main images, as always.


For my card, I used a background stamp from a Hero Arts My Monthly Kit from last year at this time.


The kit came with the stamp plus a matching stencil set and some dies for specific images.  I stamped the image on white with Versamark Clair Nocturne pigment ink.  After the ink dried I used the stencil with Altenew inks in the colors Chamomile, Snapdragon, Marigold, Lime, Fresh Leaf and Deep Iris.  I wanted all the images to pop a bit more, so I used a BG000 Copic marker to color the background and used Y15 and Y11 markers to color the bees since the stencils only colored the flowers and leaves.


Next I made a shaped card using the largest Simon Says Stamp Chunky A2 Scallop Rectangle die.  Two panels of #110 Neenah Solar White were die cut, then I scored one towards the top to create a hinge and adhered them together above the score line.  The floral panel was trimmed down, mounted on a slightly larger black panel, then adhered directly to the card base.  Before securing the die cut sentiment (from Altenew's Essentials Sentiment Strips dies), I painted the wings of the bees with a Tonic Nuvo aqua shimmer pen.  The last thing to do was to add just a few clear sequins.


Okay, so now it's over to YOU!  Dust off those neglected floral background stamps or maybe just use a repetitive pattern with a single stamp.  Either way, we'd love to see you in the gallery this month!  Do be sure to pop over to the challenge blog - the team has some beautiful inspiration awaiting you!

Take care!

Stef


Sunday, April 2, 2023

A Little Note for Sunday Stamps

Hello friends!  It's time for a new challenge at Sunday Stamps and this time Deb has given us a fabulous sketch to play with!  I do hope you're inspired to join us!


I used this sketch as a reason to dig into my patterned paper stash and see what I could put together.


As I was flipping through my patterned paper pads, I found some bright and colorful papers that I'd received as part of a Crop and Create online weekend retreat last year.  They're from Elle's Studio and I chose two sheets to use.  Then it was deciding what to add to the three squares and I found the two white Simon Says Stamp Leanna Butterflies already die cut and tucked in with the dies, so boom!  My card was coming together quickly!


The colorful graphic paper was die cut with a Hero Arts rectangle die then layered onto a slightly larger panel of SSS Soft Navy cardstock.  The yellow polka dot paper was die cut three times with a Pink & Main Layered Square die, then I die cut six more from white and layered two each under a yellow polka dot square.  Before adhering to the background, the sentiment from the SSS Beautiful Butterflies stamp set was stamped in Versafine Clair Blue Bell pigment ink directly on one of the squares.  Next, the panel was wrapped with retired Crushed Curry Baker's Twine from Stampin' Up, then added to the white card base with thin foam tape.  Lastly, the two butterflies were glued to the other squares and topped with an Altenew Glacier Caves enamel dot.


What will you make with this fun sketch?  For more inspiration be sure to head over to the challenge blog and check out the clever variety of ways the design team used this sketch.

Thanks for stopping by!  Take care!

Stef

Saturday, April 1, 2023

Just a Note for Color Hues

Hello friends!  The first of the month has rolled around again and that means it's time for a new challenge at Color Hues!  For this challenge, I chose the combination of peach and kraft, and I'm excited to see what you do with these colors!


For my card, I combined a bit of hot foiling to create some big, pretty flowers.


The Altenew Vibrant Florals were hot foiled in gold, then I used the coordinating stencil to add color to the flowers and leaves.  I was a bit worried about finding an ink color to be a close match to kraft, but was pleasantly surprised that the Simon Say Stamp Pawsitively Saturated ink color latte was very close!  I added a bit of Mocha for some shading then moved onto the flowers, where I used Peachy, Grapefruit and Mandarin.  The colors of the petals looked pretty orange after stenciling, but when the inks dried, it softened into this pretty peachy color.


Next a white panel was embossed with the Gina K Tapestry embossing folder, trimmed down and layered on a piece of Neenah Desert Storm, then added to a 6" x 4.5" white card base with foam tape.  The Vibrant Florals set does not come with matching dies, so I fussy cut the image and used my paper cutter to trim down the right side, then adhered it directly to the white panel.  Lastly the gold foiled sentiment created with the Spellbinders Everyday Sentiments II Hot Foil Plate was popped up with thin foam squares.


So what are you inspired to make with these colors?  I hope you'll join us for this challenge, it's open until 9 am EST 3/14.  In the meantime, be sure to pop over to the challenge blog and see the variety of designs by the other DT members, you'll definitely be inspired! 

Take care!

Stef