Friday, May 6, 2022

Just A Note With Fruit

Hi there!  I have a card to share that I made for the current Festive Friday challenge.  I thought celebrating National Eat What You Want Day was fun, and perfect timing since I only recently acquired a stamp set with food items that I wanted to get inked up.
The stamp set I used is one I received as part of a three-day card making event back in March, and I didn't know if I'd use it because it wasn't quite my "style" I guess, but thought it was a fun one to have in my stash.  And sure enough, it worked great for this challenge, where my three items from the Inspo List are Food, Red and Twine.


I started by stamping each piece of fruit three times.  The stamps are layering stamps, so using a stamp positioner was very helpful.  After the stamping was complete, the fruit pieces along with the scallop circle and sentiment circle were all die cut.  I cut two additional circles to layer under the sentiment circle to give it some girth, colored the letters with a red Copic marker then inserted it into the die cut openings.


To go along with the scallop circle, I used a scallop rectangle die to cut a white panel.  A separate white panel was trimmed down to fit just inside the stitching on the scallop rectangle, then I adhered all the fruit pieces, trimming off the excess before adhering to the scallop rectangle.  The sentiment circle was added with foam tape, the panel wrapped with black Baker's Twine, then the panel was adhered to the card base.  The die cut sentiment letters looked a little flat, so I used Glossy Accents to add shine and I was much happier with how it turned out.


Thanks for visiting, I always appreciate it!  

Take care!

Stef


Stamps:  Just A Note (LDRS)
Paper:  Neenah Solar White
Ink:  Versafine Clair Nocturne; Lime, Fresh Leaf, Forest Glades, Green Opal, Coral Bliss, Heartbeat, Citrus Burst and Maple Yellow (Altenew)
Other:  Just A Note dies, Black Baker's Twine (old SU), Scallop A2 Rectangle die (Honey Bee), Copic marker R46, Ranger Glossy Accents

Thursday, May 5, 2022

Hibiscus and Hummingbird Birthday

Hello friends!  I haven't been joining many challenges as of late, but I was inspired to join both the Paper Players and Seize the Birthday (my second card for the current challenge) with a theme that included birds, and the Simon Says Stamp Wednesday Challenge, where the theme this week is "Feminine".

I have a couple of stamp sets that have both flowers and birds but decided to use one that has not seen much ink and included hummingbird stamps.


I spent some time on googling photos of both hibiscus and hummingbirds to get some inspiration for coloring using my Copic markers.  I saw oodles of bright color combinations, but I knew it would take some time to get the tricky color blending just right, and since I had a short window of opportunity to get my card made, I opted for single colors for both the flowers and the little hummer.  Next the sentiment was stamped in black pigment ink, then everything was die cut with matching dies. 


For the background, I softly ink blended light blue onto a panel of white, adhered a white die cut trellis, then adhered to a white card base.  I used foam tape to adhere the flower, hummingbird and sentiment, then added a few dew drop looking embellishments.  The final touch was to use a shimmer pen on the hummingbird, which I tried to capture in the photo, but no luck.


So glad you stopped by to take a look!  Take care and enjoy the rest of your week!

Stef


Stamps:  Hibiscus Blooms, XL Birthday Greetings (both Simon Says Stamp)
Paper:  Neenah Solar White
Ink:  Memento Tuxedo Black, Versafine Clair Nocturne, Ocean Waves (Altenew)
Other:  Hibiscus Blooms and XL Birthday Greetings dies, Garden Trellis Cover die (Altenw), Aqua Shimmer pen (Tonic), Bubble Blow Out Embellishments (Trinity Stamps)
Copics:  RV29, 25, 23, 21, 00, R59, G29, 2, YG67, 45, 17. 05, 01, 00, BG90, Y15, 06, 000

Wednesday, May 4, 2022

In the Garden for The Flower Challenge

Hello and welcome!  It's time for a new challenge at The Flower Challenge and this month our theme is to add a number.  The design team has oodles of beautiful inspiration to show how they added numbers to their floral cards!


I'm also sharing my DT card with the Anything Goes challenge at Seize the Birthday and the Birthday challenge at Addicted to Stamps.


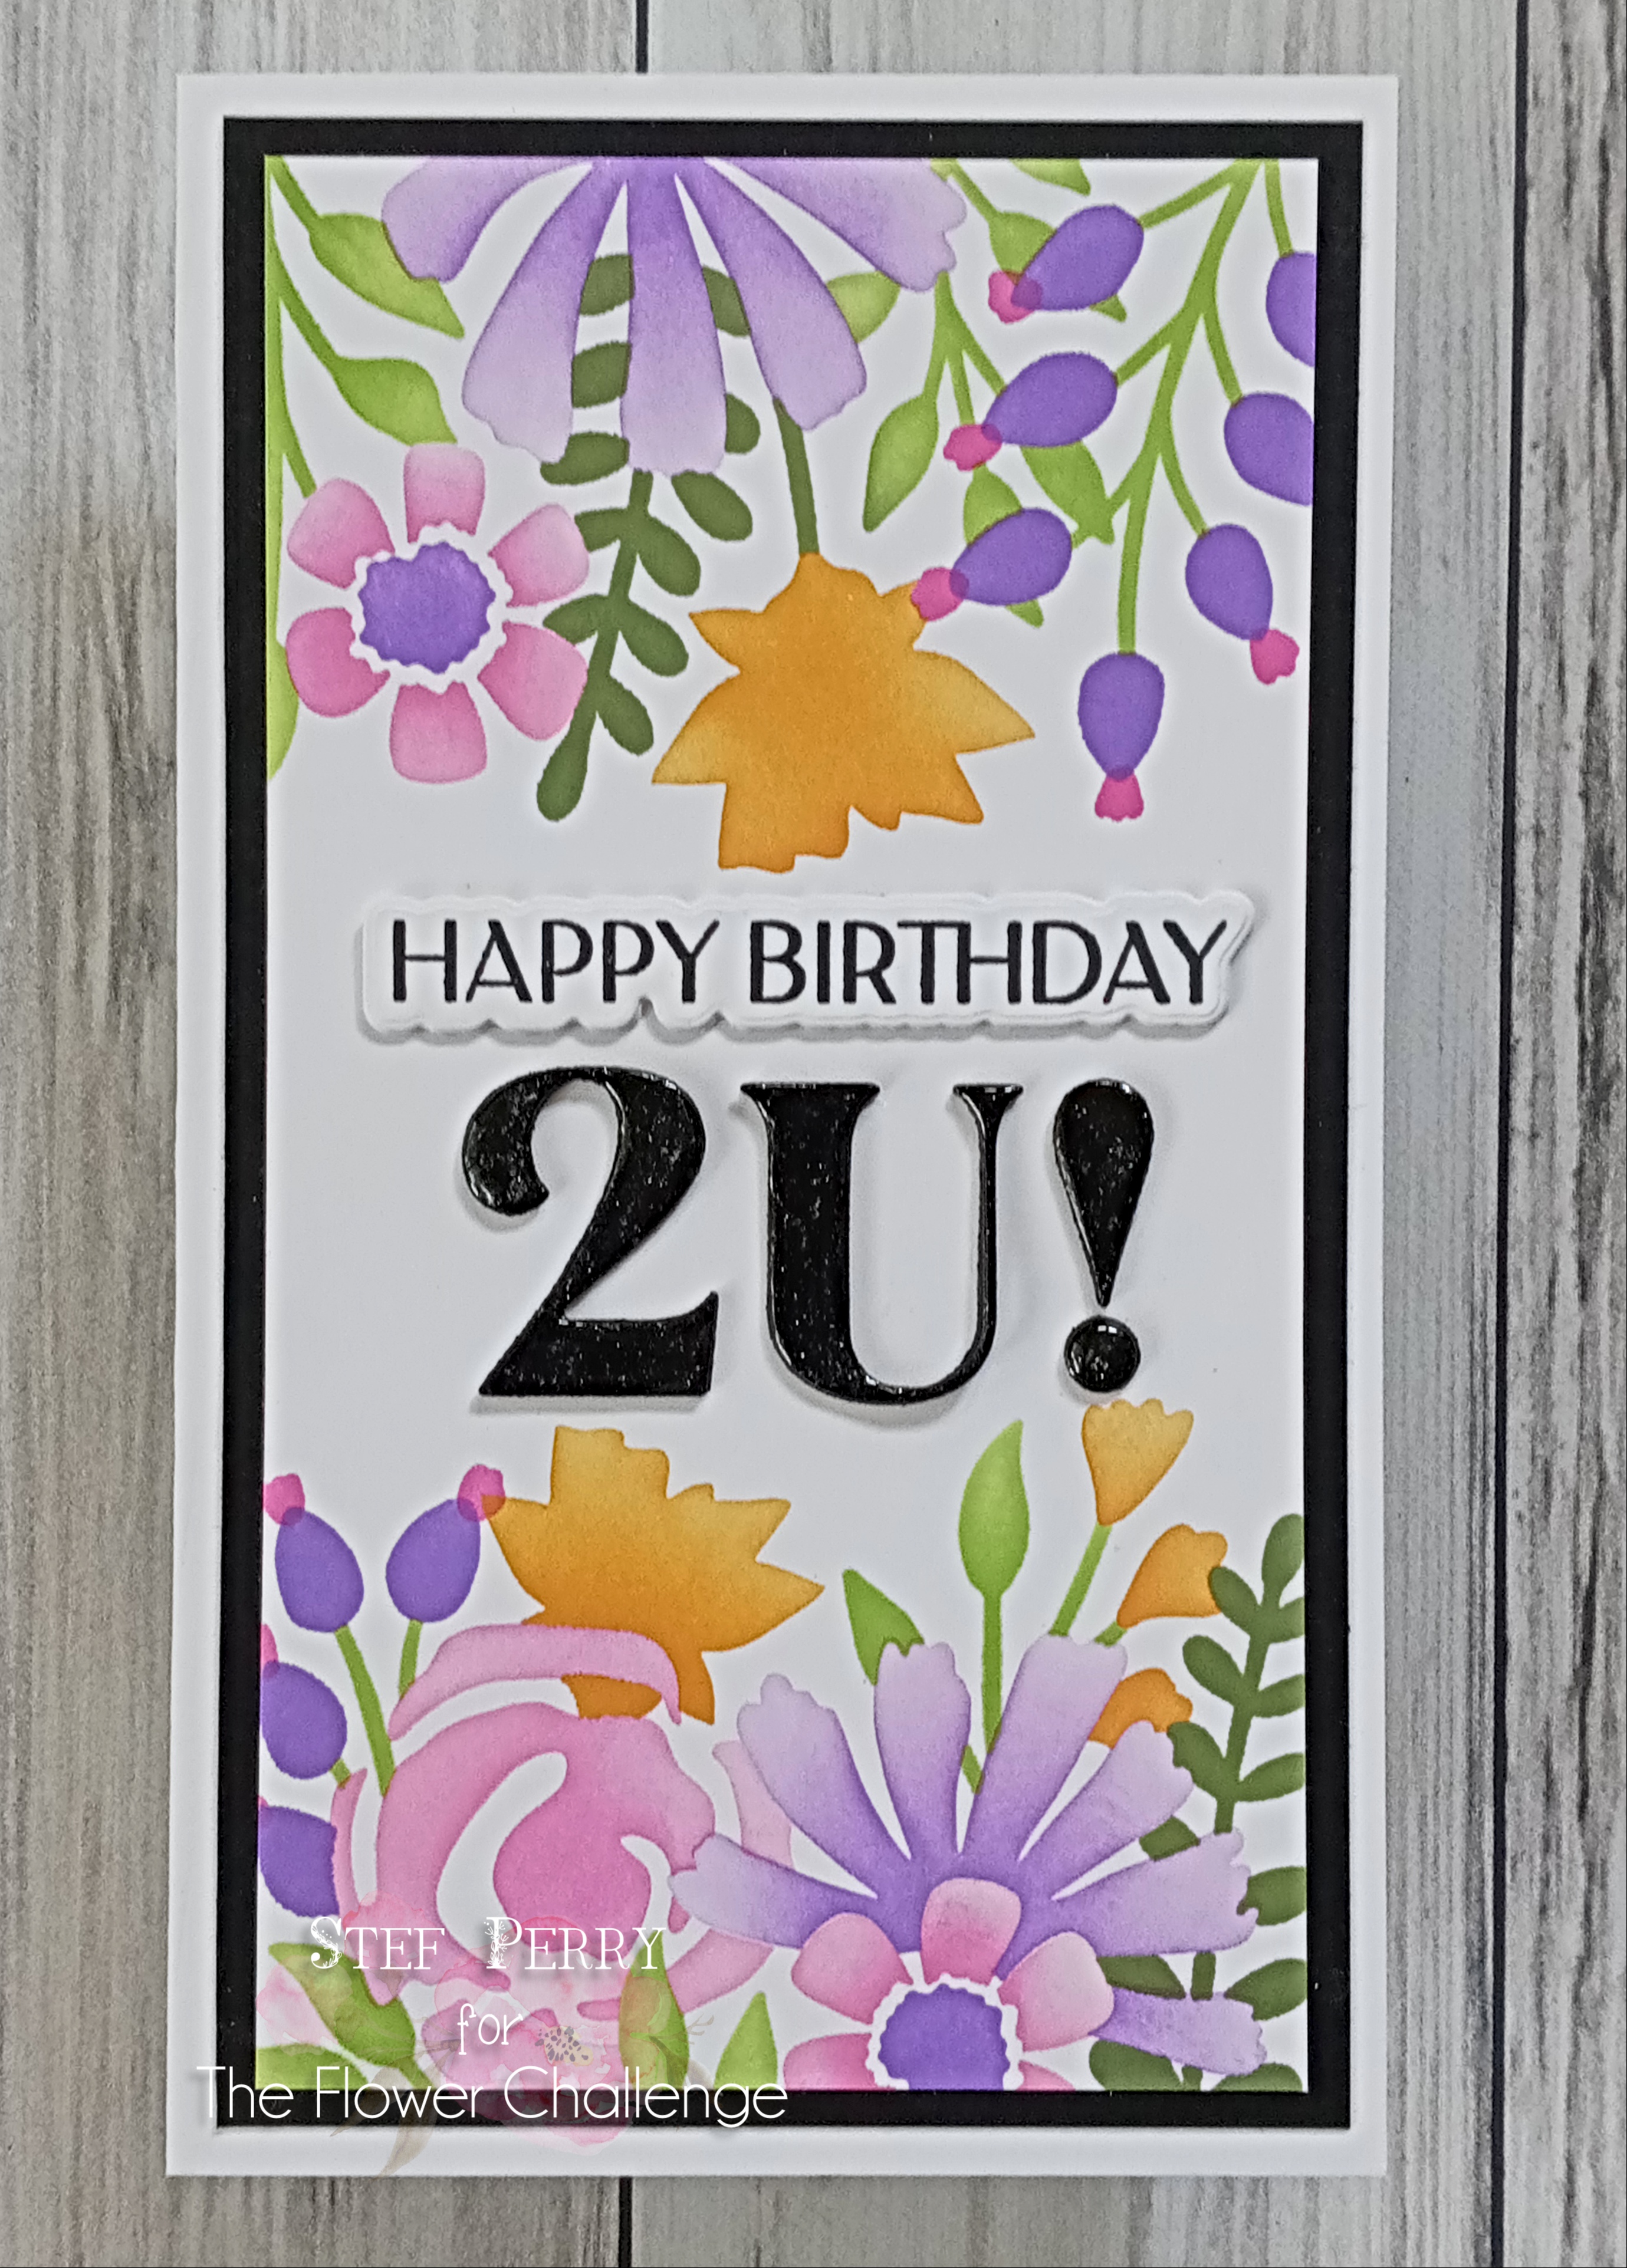
To create my card, I used a really amazing layering stencil from Taylored Expressions that results in three separate mini-slimline cards and was super easy to use!


The stenciling starts on a 5.75" x 9.75" panel of cardstock, and after you apply each layer, you cut the panel at 3.25" and 6.25" to end up with three card fronts with different floral designs.  I just think it's a brilliant design, especially if you need to make multiples.  I ended up trimming this stenciled panel down in size so I could mat it on black before adhering to the card front which ended up being 6"x 3.5".

I chose this design so I could add the birthday greeting in the center.  The Happy Birthday was already stamped and die cut, so that left die cutting the number 2, exclamation point and letter U from black cardstock three times to layer them up for dimension.  Once everything was adhered to the card, I used a shimmer pen to add sparkle, then covered the 2U! with Glossy Accents.


Here's a look at the other panels, which I'm saving for future use.


Thanks for taking time to stop by, I appreciate it!  Please be sure to use the link above to see all the beautiful cards by the other DT members and hopefully join us this month.

Come back by on the 15th when I'll have my Flower Challenge reminder card to share.

Take care!

Stef


Stamps:  Elegant Sentiments (Waffle Flower)
Paper:  Neenah Solar White, Black
Ink:  Versafine Clair Nocturne; Picked Raspberry, Wilted Violet, Spiced Marmalade and Wild Honey Distress; Limeade, Lime and Fresh Leaf (Altenew)
Other:  In the Garden Triple Slim Layering Stencils (TE), Elegant Sentiments die, Festive Alphabet & Numbers dies (Scrapbook.com)

Sunday, May 1, 2022

Fragrant Florals Thanks for Sunday Stamps

Hello and welcome!  It's time for a new challenge at Sunday Stamps and this week Lisa has given us this fun sketch to stretch our creative muscles.


I'm also joining Time Out Challenges, where the theme is Spring.


After thinking about a variety of images that could fit the lower left hand corner of the sketch, I decided to use a new flowers stamp from Altenew.


I guess it was a purple day when I created this card ;-).  The floral stamp is very big, so I used my Misti to stamp a portion in the corner of an A2 panel, then colored everything with Copic markers.  I went around the image with a couple of the lightest blue markers, then used my colorless blender to fade out the edges.  A white gel pen helped redefine the stamen on the flowers, which were just too small to avoid as I colored, then the panel was cut down with a rectangle die and matted on a die cut panel of Fresh Freesia using foam tape.  


The foiled sentiment was created in a previous crafting session, so that made things go together a bit quicker. I trimmed down two fishtail strips in gold mirror and Freesia, adhered to the panel then layered the sentiment on top.   The entire thing was adhered to a white card base and I was done!


So glad you visited today!  I've included a link above so I hope you'll go check out all the fabulous cards by the other DT members and hopefully be inspired to join us!

Be sure to come back on Wednesday when I'll have my DT card for the new Flower Challenge for May.

Take care!

Stef


Stamps:  Fragrant Florals (Altenew)
Paper:  Neenah Solar White, Fresh Freesia (SU), Gold Mirror (Tonic)
Ink:  Memento Tuxedo Black
Other:  Fancy Script Words Hot Foil Plate and Die (Pinkfresh Studio), Gold Glimmer Hot Foil (Spellbinders), Diagonal Stitched Rectangle dies (PS), Sakura White Gelly Roll pen
Copics:  V09, 06, 05, 01, 000, G28, 05, 14, YG67, 17, 05, 0, BV01, Y15, 11, B63, 60, 000, 0000

Thursday, April 28, 2022

Gatefold Birthday Card for the Tic Tac Toe Challenge

Hello and welcome!  It's time for a new Tic Tac Toe Challenge and this week Carol has given us some fun choices for creating.


I decided to go right down the center - sparkle, free, fun fold.  I rarely make fun fold cards but I attended an event Crop & Create event the last weekend of March and I wasn't able to make one of the three cards for that class, so I decided to create it for tttc159, as the design is a gatefold card.


All the products were provided by Hero Arts.  I started with the stamping, completing the panel you see on the front of the card, and the stamping on the interior of the card below.  The card itself is from vellum, which was cut to 5 1/2" x 8 1/2" and scored on each end at 2 1/8".  An A2 sized panel of red was adhered to the outside back of the vellum card, then I added an A2 top fold card to the interior.  This provided a place to continue the cherry design and also provided ample room inside to write a message to the recipient. 


Next the small stamped panel was added to the outside of the left flap of the vellum card, then a same sized panel adhered behind it to hide the adhesive.  On the other flap a slightly larger red panel has adhered with a same sized white panel on the inside.  When the card is closed, the red panel acts as a mat to the stamped cherry.  The final touch was to add Glossy Accents to the cherries on the front for a nice bit of shine.


Thanks for visiting, I appreciate it!  Be sure to use the link above to check out the terrific cards by the other team members and hopefully join us this week!

Take care!

Stef


Stamps:  Hero Arts Color Layering Cherries
Paper:  Neenah Solar White, Real Red (SU), Vellum
Ink:  Versafine Clair Nocturne; Mowed Lawn, Twisted Citron, Barn Door, Candied Apple and Aged Mahagony Distress Oxide; Ocean Waves (Altenew)
Other:  Ranger Glossy Accents

Monday, April 25, 2022

Sketched Rose Wreath for the SCS Color Challenge

Hello friends!  It's my final week as guest designer for the Color Challenge at Splitcoaststampers.  This week we are playing with a lovely, soft combination of Blushing Bride, Soft Succulent and Sahara Sand.  The dessert option is to add gems or enamel dots.  A BIG thank you to Mary and the team for inviting me back to GD, it was such a pleasure!


To begin, I lightly stenciled a design on a panel of white using Fog ink, which is a warm gray, similar to Sahara Sand.  The panel was trimmed down and adhered to a slightly larger panel of Sahara Sand.  The wreath, flowers and single leaf were foiled in gold, die cut with the matching die then colored using Copic markers.


The wreath was die cut two more times from thick white cardstock, then layered together with the colored piece.  The panels were adhered to the white card base, then the wreath was added along with the gold foiled sentiment.  Some pearls with kind of a gold hue worked to finish things off!


I'm so glad you took time to stop by!  If you'd like to see the DT members beautiful creations or play along with the color challenge, you can use this link to Splitcoaststampers.

Take care!

Stef


Stamps:  None
Paper:  Neenah Solar White, Hammermill white, Sahara Sand (SU)
Ink:  Fog
Other:  Sketched Rose Wreath Foil Plate and Die set (Simon Says Stamp), Everyday Sentiments II foil plate (Spellbinders), Gold Glimmer Hot Foil (Spellbinders), Fanfare Stencil (SSS), Skinny Sentiment Strips die (MFT), Soft Jellybean Mix Pearls (Lucy's Cards)

Monday, April 18, 2022

Butterfly Birthday for the SCS Color Challenge

Hello and welcome!  I'm in my third week of guesting with the fabulous Color Challenge team at Splitcoaststampers!  This week, my dear former teamie Karen has chosen some vibrant colors for us to play with - Gorgeous Grape, Pacific Point and Pear Pizzazz.  I was a bit thrown by Pacific Point at first, but figured out a way to use it that I really love, and I hope you do too!

I'm also joining the current challenge at Festive Friday.  I used blue, rhinestones and die cuts from the Inspo List.


Because the image I stamped and colored was so large, and I didn't want to trim it down, the card ended up being five inches square.


Such an amazing stamp and the challenge colors worked beautifully with it.  It was colored with Copic markers, then I inked blended around it with a vibrant Distress Oxide ink called Villainous Poison, which as you can imagine was released last fall just in time for Halloween.  I tried to color the stamen gray but it was too blah, so I used my silver gel pen instead.  And that led me to use more silver for the sentiment die cuts and some metallic ink as well.


After the ink blending was complete, I used a metallic paint/ink around the edges of the colored panel, then decided to add some splatter.  I had a couple of large "bloops" that I had to try to clean up and eventually covered up one with the strategic placement of a crystal gem.  After the paint dried, the panel was adhered to the white card base, then the sentiment (which was die cut and layered 3 times) was added along with the gems.  


I'm so glad you took time to stop by!  I've added a link above to the Splitcoaststamper's front page from which you can access the Color Challenge to check out all the great inspiration and play along this week.

Take care!

Stef


Stamps:  Spread Your Wings (Gina K Designs)
Paper:  Neenah Solar White, Matte Silver (Simon Says Stamp)
Ink:  Memento Tuxedo Black, Villainous Poison Distress Oxide
Other:  Happy Birthday Poe Script dies (Poppystamps), Silver Mica Ink (Kuretake), Silver Gel Pen (Altenew), Crystal Collection-Night Sky (Lucy's Cards)
Copics:  V09, 17, 15, 12, G29, 21, 40, YG45, B28, 26, 24, 21, C2

Sunday, April 17, 2022

Pastel Floral Birthday for Sunday Stamps

Hello and welcome!  It's time for a new challenge at Sunday Stamps and this time we have a delightful pastel color board to inspire you.


I'm also joining the current As You See It Challenge, where they have this fabulous sketch.


When I saw the sketch I immediately thought of my well loved Watercolor Stripes stencil and thought it would work well for the sketch plus create a great background for my pastel floral wreath.  I started by stenciling Mint Choc ink over it onto a panel of white, and then I went to work stenciling the pretty wreath.


I decided to get a no line look with my stenciling, so the wreath was stamped in a very light ink, just dark enough so I could line up the stencils.  With the layering stencils I was able to achieve shading for everything except the grapes, so I used a V22 Copic marker to add a bit of shading/outline so they didn't look like just one big blob lol!  When the stenciling was complete, I used a gold gel pen to draw in the stamen on the yellow flowers, then the wreath and three additional branches were die cut.  The wreath was die cut two more times from white cardstock for layering underneath to achieve dimension. 

The striped background was added to the white card base, then the wreath.  The gold foiled sentiment was added across the middle of the wreath, then a few gold baubles scattered around the wreath to finish things off.


Thanks so much for taking time to stop by, I appreciate it!  Be sure to use the link above to check out the beautiful cards by the other DT members, and hopefully play along with our color challenge!

Take care!

Stef


Stamps:  Rainbow Floral
Paper:  Neenah Solar White, Hammermill White
Ink:  Gina K Barely There Amalgam; Rose Quartz, Puffy Heart, Lemon Ice, Warm Sunshine, Lime, Fresh Leaf, Wyteria and Mint Choc (Altenew)
Other:  Fancy Script Words Hot Foil Plate and dies (Pinkfresh Studio), Rainbow Floral dies (PS)
Watercolor Stripes stencil (Altenew), Gold Gel pen (Altenew), Gorgeous Golden Baubles (Trinity Stamps), Copics - V22, YG05

Friday, April 15, 2022

You Are the Best for The Flower Challenge

Hello and welcome!  It's mid-month and time for a reminder for The Flower Challenge, which remains open until the 25th.  This month the theme is to add a heart to your card.


I'm also joining the current Four Seasons Challenge.


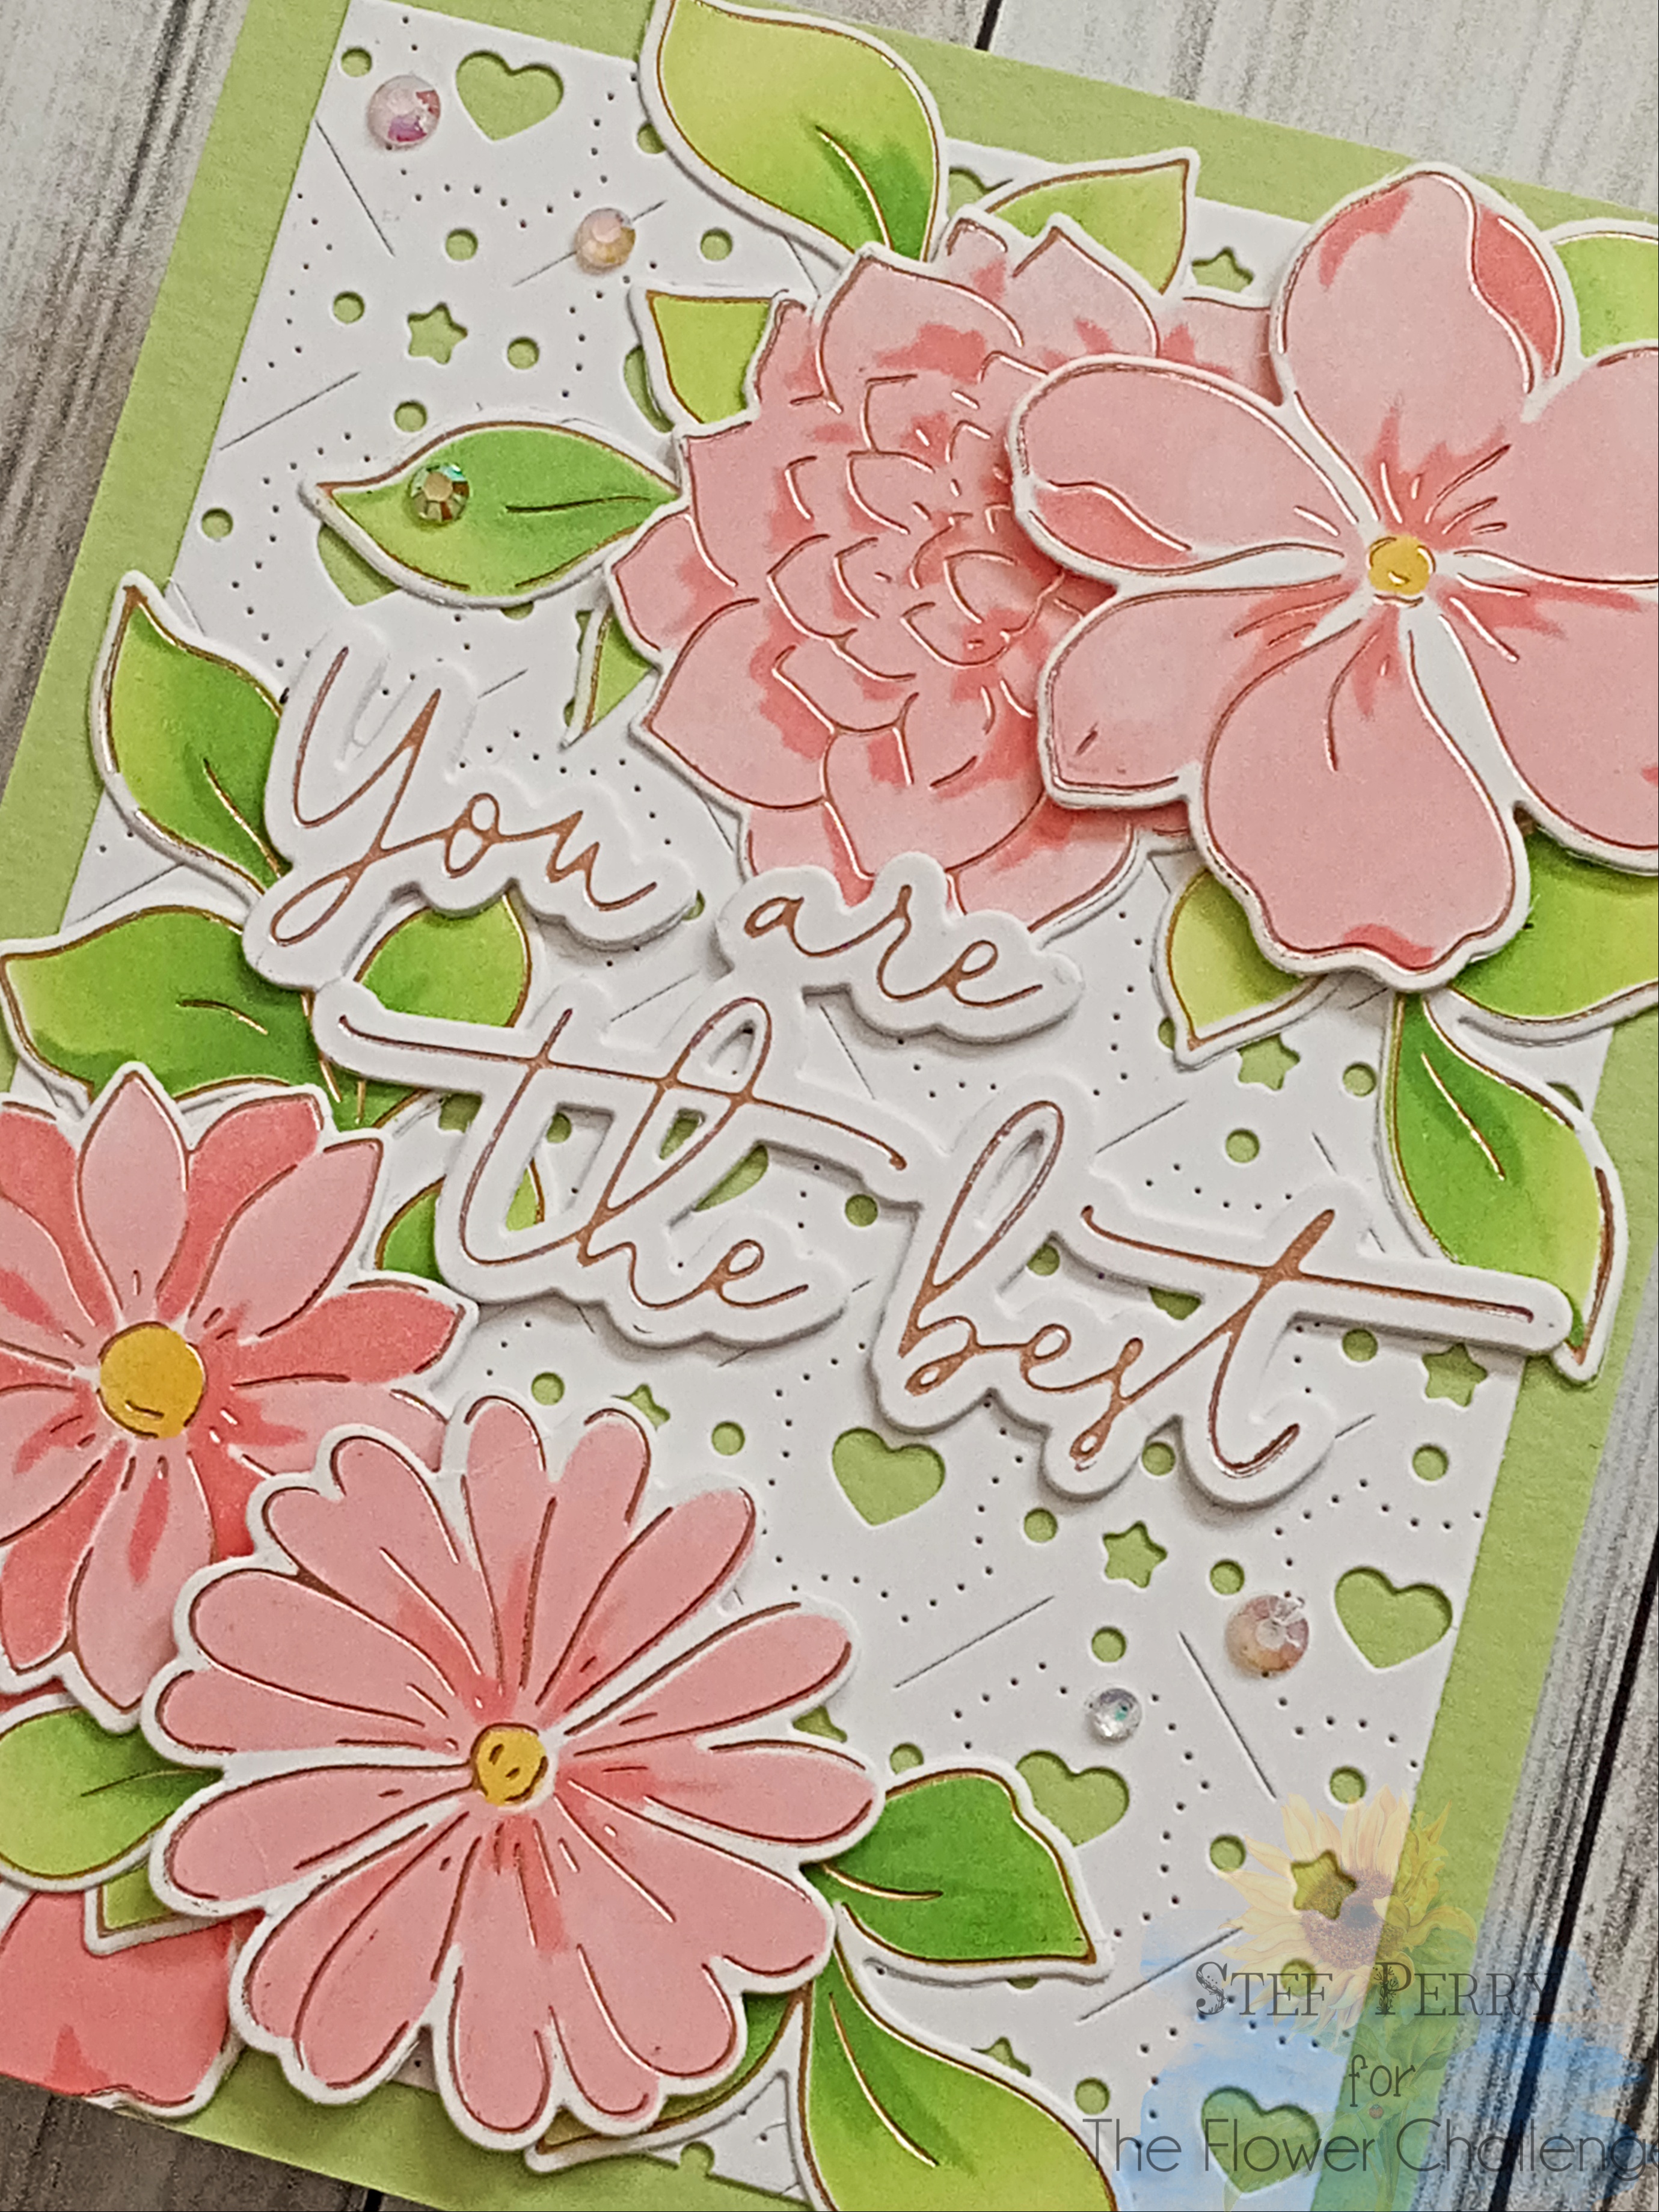
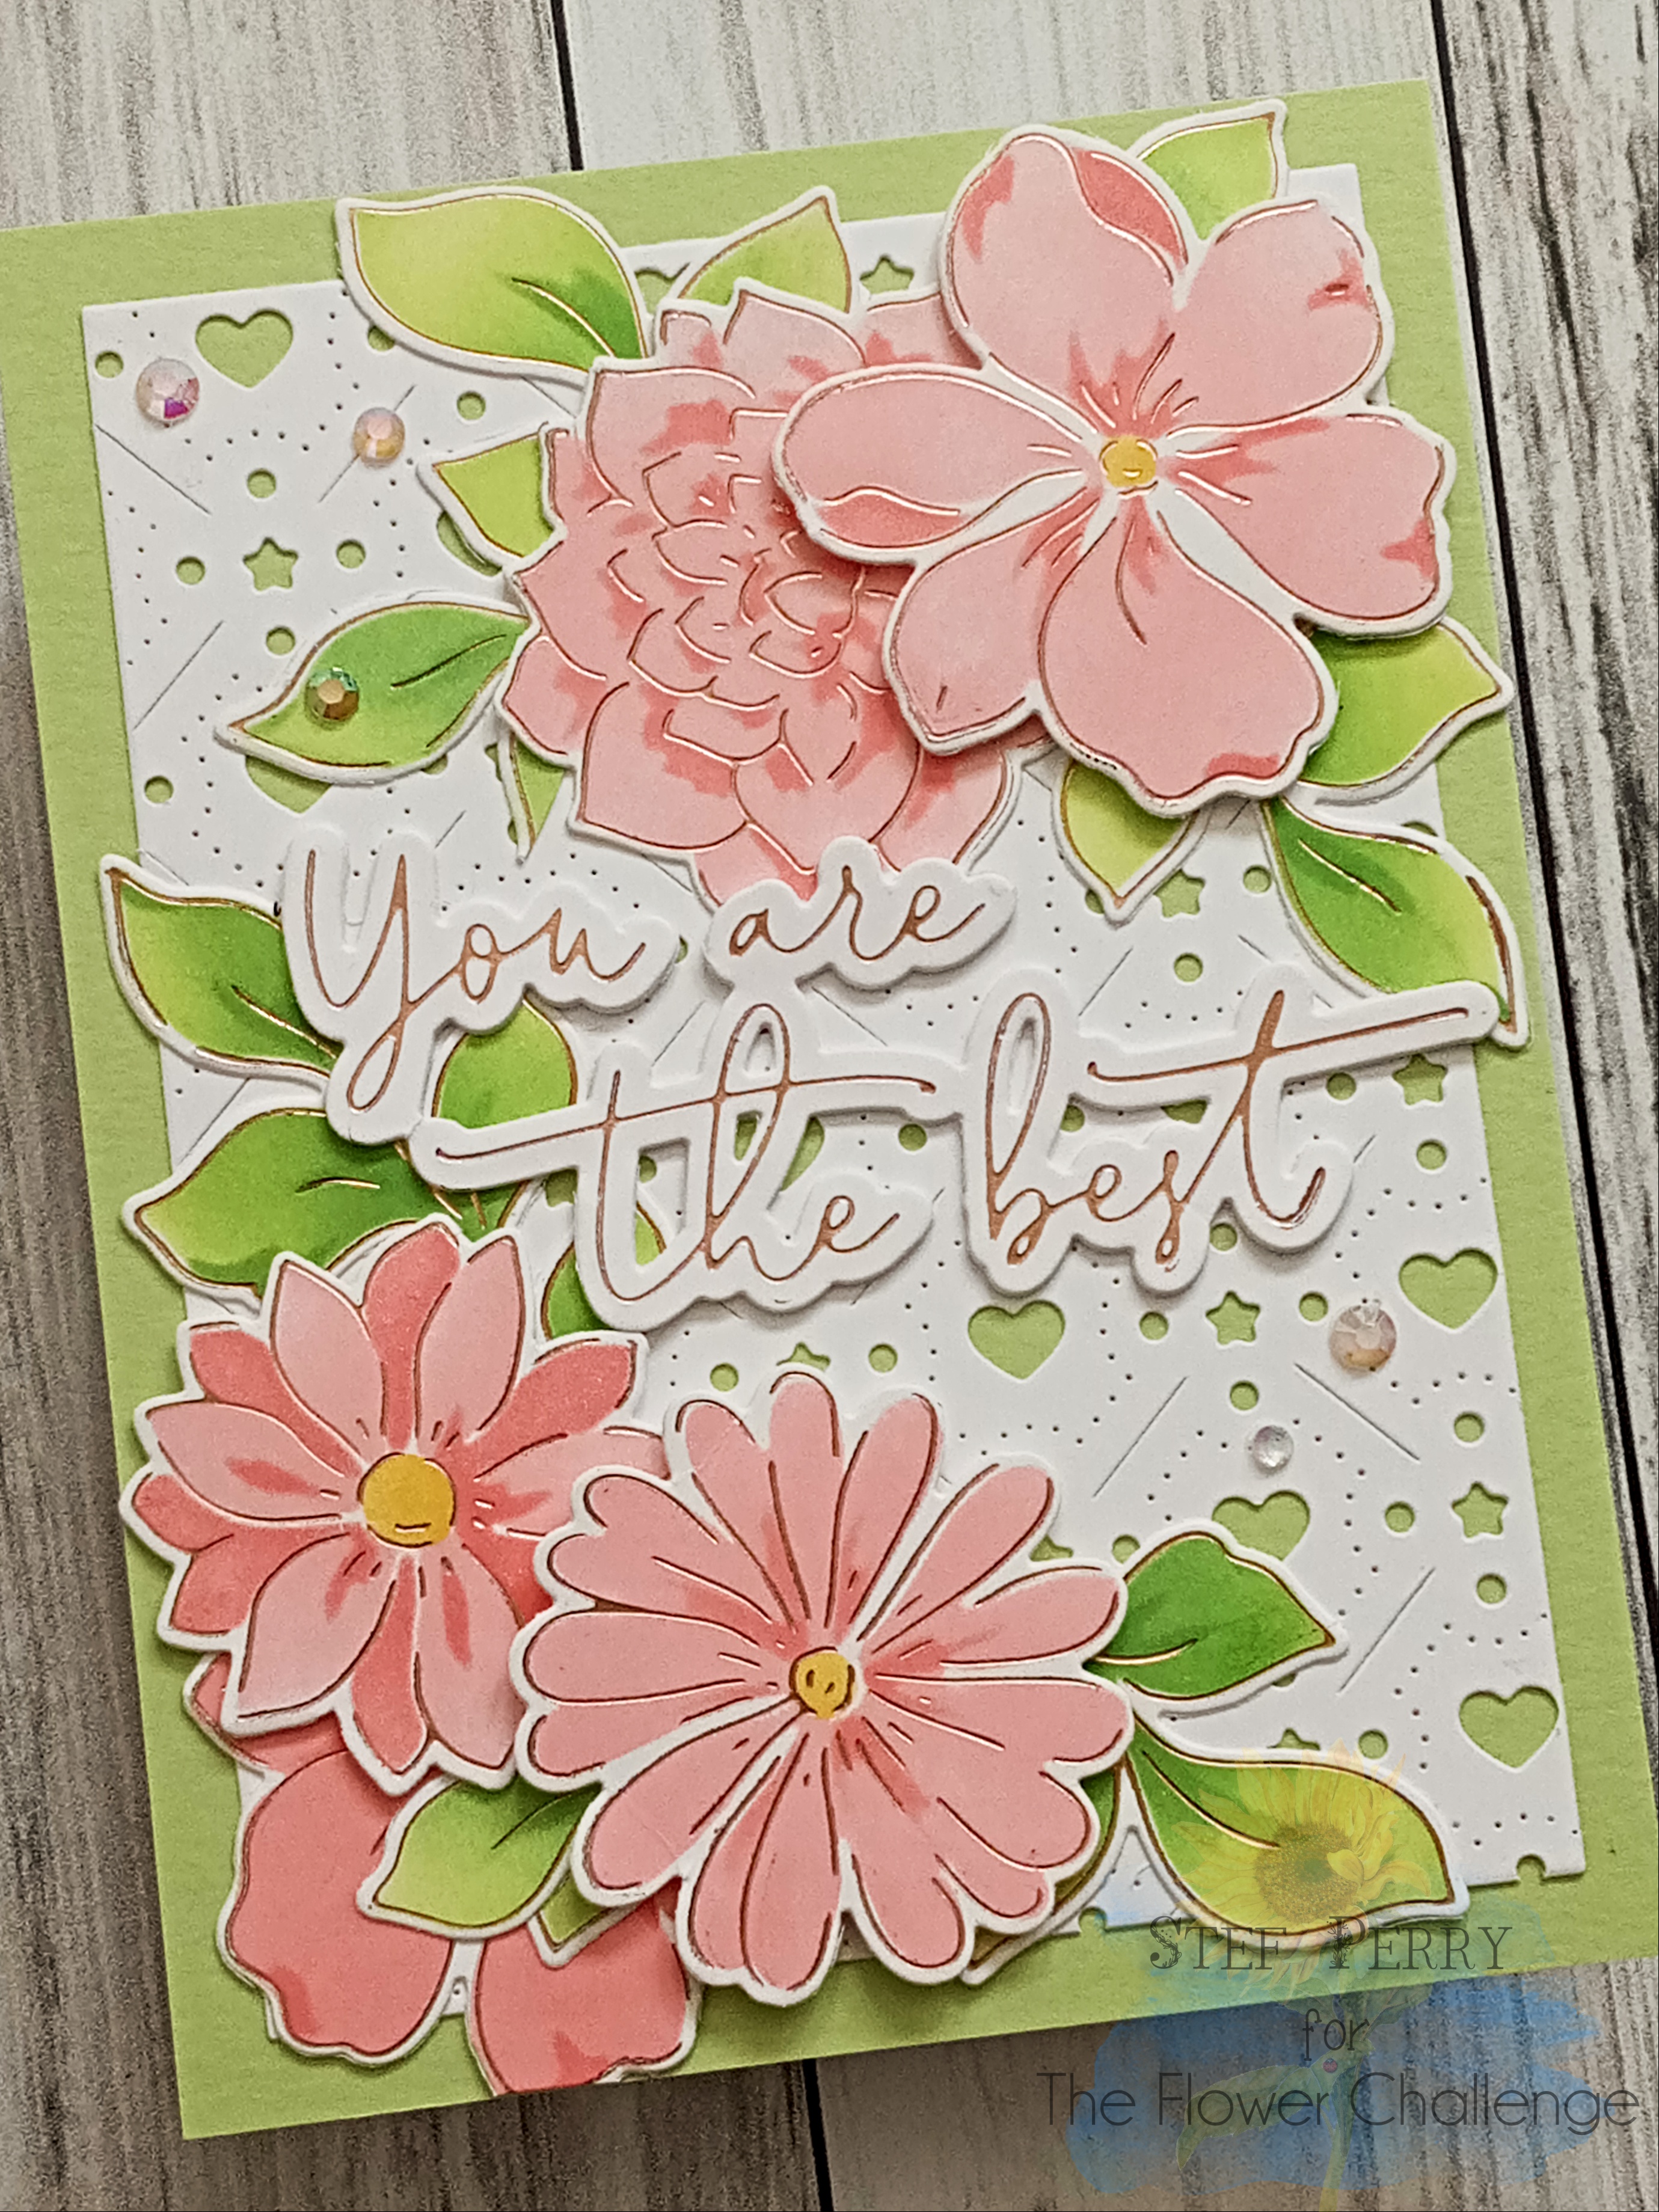
For this card, I used a sweet background cover die to add hearts.


I love these soft colors so perfect for spring!  I started by foiling the flowers and leaves on panels of white, used the coordinating stencil to add color then die cut with the matching dies.  While I love to color with my Copic markers, stenciling is such a quick and easy way to get a card made.  I also like using the different colors that my dye inks offer.  For the flowers I used the new Saltwater Taffy Distress Ink along with Abandoned Coral and Fossilized Amber.  Love that new peachy-pink color!


For the background, the Hearts and Stars Cover Plate die was used to cut a panel of white, which was die cut with a rectangle die, leaving a nice border of green around it.  I foiled the sentiment in Blush Glimmer Foil to match the foiling on the flowers and leaves, then die cut it with the matching die.  To assemble it all, the green panel with the white die cut was adhered to a white card base, then the flowers and leaves place in opposite corners, some glued directly to the card along with the leaves, then other popped up using foam squares.  I used the die for the sentiment to cut two additional layers, adhered them together then added it to the card, along with a few gems for a touch of bling.  


I'm so glad you stopped by today, and I sure hope you'll use the link above to see all the new DT inspiration and hopefully join us by the 25th!

Take care!

Stef


Supplies are all from Pinkfresh Studio unless otherwise noted:
Brighter Days Hot Foil plate, Stencils and Die set, Hearts and Stars Cover Plate die, Fancy Script Words foil plate and die, Blush Glimmer Hot Foil (Spellbinders), Distress Inks - Saltwater Taffy, Abandoned Coral, Fossilized Amber, Twisted Citron and Mowed Lawn, Nested Infinity Rectangle die, Iridescent Jewels (Lucy's Cards)

Thursday, April 14, 2022

Beautiful You for the Tic Tac Toe Challenge

Hello friends, I hope you're doing well!  It's time for a new Tic Tac Toe Challenge and this week I've created this board that I hope will inspire you to join us!


Originally, my intention was to make a slimline card but limited time led me to make something relatively uncomplicated, so I went across the middle of the board - floral bouquet, spring, word die.


The floral bouquet image was stamped on the white panel and colored with Copic markers, using some nice vibrant colors.  I decided the blue vase needed a bit of something more, so I added a white polka dots, that ended up being a bit wonky (aka not uniform lol!) but I was okay with that.  I used a couple of the markers to add shading over the polka dots to match the original coloring and then went around the left edge of the image with a couple of light blue markers.  The panel was then trimmed down to 3.75" x 5".


The sentiment was stamped in blue pigment ink and die cut with a sentiment label die.  I took the darkest of the blue Copic markers, colored a scrap of white cardstock, then die cut the word you.  I layered the color panel on two additional white panels then added it to the card base.  I also used two die cut layers of white under both the sentiment strip and the word you before adhering to the card front.  The last step was to paint the word you with a shimmer pen, then cover it was Glossy Accents so it would be shiny.  I 'm really happy with how everything turned out, with the vibrant colors and the cute bouquet image.


Thanks so much for visiting, I appreciate it.  Be sure to use the link above to check out the fabulous cards by the other DT members and hopefully play along with us this week!

Take care!

Stef


Stamps:  Beautiful You (SCT Delivered)
Paper:  SCT white
Ink:  You Die (SCT Delivered), Skinny Strips die (MFT), Aqua Shimmer Pen (Tonic), Glossy Accents (Ranger), Sakura White Gelly Roll pen
Copics:  Y28, 26, 19, 13, 00, RV66, V05,01, RV29, 25, 23, 21, B28, 26, 24, 21,000, 0000, G28, 05, 17, G29, YG45, G21, 40, YG67, 17, 03

Monday, April 11, 2022

Happy Easter for the SCS Color Challenge

Hello and welcome!  It's week two of guest designing for the Color Challenge at Splitcoaststampers and this week Jeanne has given us a great combination of Pretty Peacock, Rococo Rose and So Saffron with the fourth color of Just Jade to add for "dessert".  I was in need of more Easter cards, so I used the same stamps and a layout similar to this card, which was my DT card for the Tic Tac Toe Challenge.


I just adore these gnomes and it was fun to color them up with the challenge colors, plus the addition of neutral brown.  I used Copic markers to color them then the gnome trio was die cut with matching dies.  The eggs are from a different stamp set and they were fussy cut after being colored.


Next I used a couple of Distress Inks that were close to So Saffron and Just Jade, ink blending them on a panel of Bristol paper, then die cutting with a deckled rectangle die.  I used that die to cut two additional layers then adhered them altogether before adding to the white card base.  The gnomes on either side of the bunny gnome were glued directly to the background, along with the two eggs, then the bunny gnome was added with thin foam squares and that finished things off!


Thanks for taking time to drop by! If you'd like to join us this week, be sure to use the link above to take you to the SCS front page where the color challenge is linked.

Take care!

Stef


Stamps:  Spring Gnomes (Simon Says Stamp), Chubby Bunnies (Sunny Studios)
Paper:  Neenah Solar White, Koh-I-Noor Bristol
Ink:  Memento Tuxedo Black, Versafine Clair Nocturne, Fossiled Amber and Lucky Clover Distress
Other:  Spring Gnomes dies, Deckled Frames die (Waffle Flower)
Copics:  Pretty Peacock - BG78, 49, 15; Just Jade - G17, BG34, 11; So Saffon - YR24, Y15, 11; Rococo Rose - R85, 83, 81; Brown - E47, 44, 43; Skin tone - E13, 11, 21; Beards - W3, 1, 0; Other - C1, 00, R20, E30

Wednesday, April 6, 2022

Playing Cards with Michele

Hello friends!  Today's post is a special one because I am playing cards with my friend Michele Ferguson.  I few months ago she asked me if I'd like to join her and truly, how could you say no to Michele?  She's one of the sweetest and kindest people I've met through card making and I was thrilled and honored she asked me to join her.

The theme Michele chose is Hope because April is the National Month of Hope.  Pretty much the only restriction to what we could make was no flowers allowed (!), which was a real challenge for this flower loving gal lol!  However, after I started thinking about the things that represent hope, I thought about Spring, rebirth, metamorphosis...and I decided to use butterflies and a fresh green and white palette.  I hope you like what I came up with!


I started by hot foiling the Lush Vines plate using gold glimmer foil on white paper.  After trimming it down, I used Copics to color just a select number of leaves as I wanted the card to have plenty of white.  After the panel was adhered to the green card base, I die cut the oval frame from gold mirror card stock that fortunately matched up perfectly with the gold foil.


The sentiment was white heat embossed on some of the same green cardstock.  I really love the encouragement, and I think hope, that it conveys.  Along with the sentiment, the two butterflies were die cut - the detail from white and the solid from pearlescent vellum.  All the components were adhered to the card, and I was done.

Thanks so much for taking time to stop by, I appreciate it.  I can't wait to see what beautiful creation Michele has come up with - be sure to join me here at Michele's blog, you don't want to miss seeing this!!

Take care!

Stef


Stamps:  Beautiful Butterflies (sentiment/Simon Says Stamp)
Paper:  Neenah Solar White, Paisley (C&9), Gold Mirror (Tonic), Pearlescent Vellum (Lawn Fawn)
Ink:  Versamark
Other:  Fancy Oval Frame die (Pinkfresh Studio), Delicate Butterflies dies (Spellbinders), Nested Infinity and Rounded Infinity Rectangle dies (Hero Arts), Lush Vines Hot Foil plate (PS), Gold Glimmer Hot Foil (Spellbinders), White Detail embossing powder (SSS)
Copics:  VG67, 17, 03