Sunday, January 26, 2025

Season's Greetings for The Paper Players

Hello friends!  The Paper Players has a new challenge starting today and we welcome you to play along.  The amazing Joanne is hosting our monthly sketch challenge, and she's created a great one.

I took this opportunity to add to my small stash for the 2025 holidays with a quick and easy card.  In fact, so easy that I made two!

I did use some "artistic license" with the layered section in the middle but hopefully Joanne will give me a pass lol!


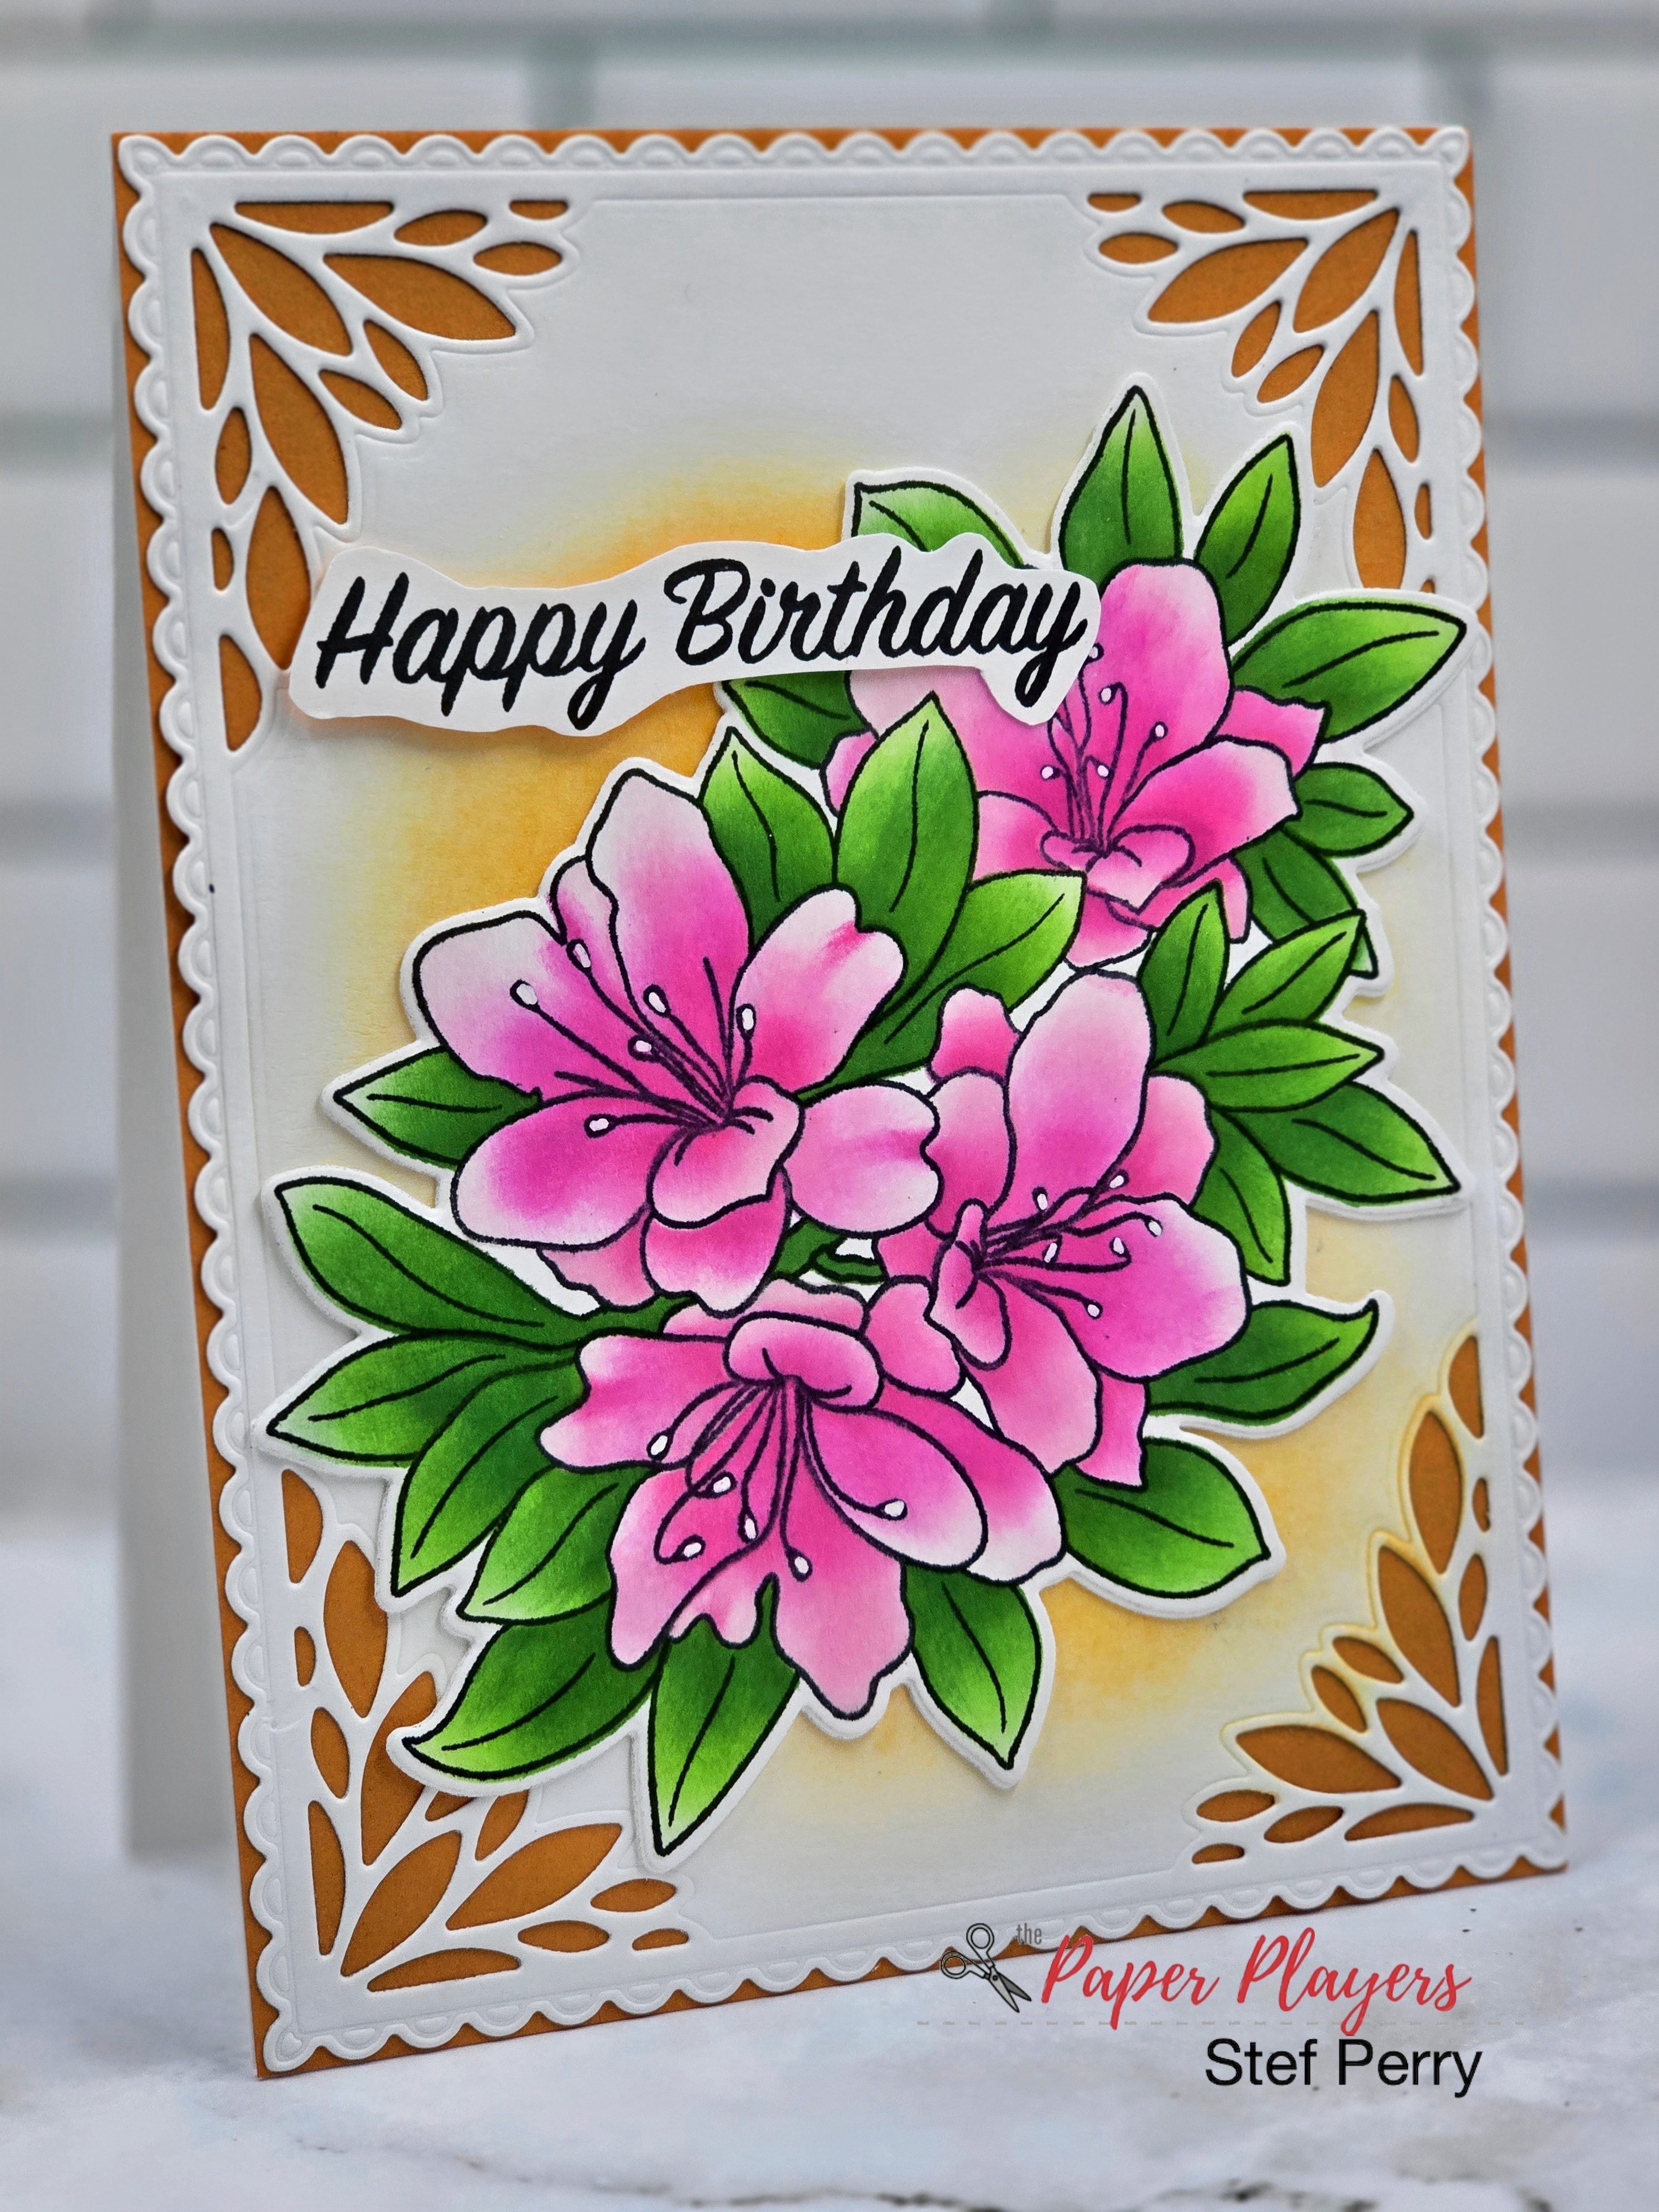
I started with two panels of white and used the same colors on both to stamp the design using Concord & 9th's Turnabout jib and specifically designed stamps.  After the panels were stamped, I die cut the coordinating layered sentiment and some leaves.  I thought the card needed a little something more, so I used a fluted border die to create the decorative edges.

The panels were added to white card bases, then the sentiment and leaves centered in the middle and added with some foam tape.  To finish things off, I used a shimmer pen to paint sparkle on the leaves, frame and sentiment. Unfortunately, my camera didn't capture the sparkle in the photos.


How are you inspired to use this sketch?  For more inspiration, I encourage you to head over to the challenge blog linked above and see what my talented teammates have created!  The challenge remains open until 3pm EST Friday, January 31st.  

Hope to see your card in the gallery!

Stef

  • C&9 Holly Berry Turnabout stamps and dies
  • C&9 Turnabout jig
  • Spellbinders Fluted Classics Rectangle die
  • C&9 Evergreen, Cranberry and Tidepool cardstock

Sunday, January 19, 2025

Special Delivery for The Paper Players

Happy Sunday, friends!  We have a new challenge at The Paper Players and this week the lovely Jaydee is hosting our CAS challenge with a postage theme.

It's a great theme given that postal cards have been trending for a couple of years.  For my card, I used an older stamp from Stamping Bella.


That sweet little owl was stamped then colored with Copic markers. I ended up fussy cutting her so I could place her on the background stenciled with clouds.  The card design was inspired by this recent You Tube video by Jill Foster for Penny Black.  

I cut a panel to roughly 3.25" x 4.25", then stenciled it and added it to the white card base.  I cut a 1/8th inch strip of red cardstock, then adhered it next to the stenciled panel. The sentiment was stamped and die cut, then both the owl and the sentiment were added with thin foam squares.  Lastly, three tiny hearts die cut from the same red cardstock were adhered around the sentiment.  Super quick and easy card!


For more inspiration, please head over to the Paper Players blog and check out what my talented teammates have created!  The challenge remains open until Friday, January 24th at 3pm EST. Hope to see your card in the gallery!

Thanks for stopping by and take care!

Stef

  • Stamping Bella Special Delivery stamp
  • Hero Arts You're Mine stamps and dies
  • Taylored Expressions Hang-On Hearts die
  • MFT Rolling Clouds stencil
  • Salvaged Patina Distress Ink
  • SSS Schoolhouse Red cardstock
  • Copics - E29, 37, 33, 31, 30, R46, 14, BG49, 13, 11

Saturday, January 18, 2025

There's Snow Buddy Like You

Hello friends!  I'm here to share a card that I made for the current challenge at Just Us Girls.  They have a terrific winter mood board for inspiration. 


And I have a fun little winter card that I made recently using the January 2025 card kit from Simon Says Stamp.


Isn't he the cutest little yeti?  I had so much fun putting this card together.  I started by stamping and Copic coloring the trees, mountains, yeti and the two hearts, one that he's holding and one up by the sentiment.  Everything was die cut with the matching dies and the neat thing is that the yeti die cuts his hands so that you can insert little items like the heart I used.  The sentiment is also from the same set.

Next I used a piece of patterned paper that looks like snow falling for the background, then layered on a "snow hill" that had been die cut with a hillside border.  I left enough room to tuck in the mountains and tree, then added the trees and yeti.  I used Copic markers to add a touch of blue shadow atop the hills and underneath the yeti and two trees.  The sentiment and little heart were added and I called it done.


Thanks for taking a look and I hope you have a great weekend!

Stef

I also invite you to come on by tomorrow when my new Paper Players card goes live.

  • SSS Get Yeti stamps and dies
  • Honey Bee Stamps Horizon Slimline Borders die
  • Photoplay Yeti for Winter Custom patterned paper
  • Copics - R39, 37, 35, 20, G29, 17, 05, BG78, 75, 72, 000, 0000, E29, 37, 33

Thursday, January 16, 2025

Rupert Says HB2U for Color Hues

Hello friends!  Today I'm sharing my card for the new challenge at Color Hues. I am hosting for the next two weeks and have chosen the color combo navy and lime green.  

I'm also sharing over at Simon Says Stamp Monday Challenge where the theme this week is to add texture and at A Cut Above, where it is always anything goes with dies and this month has an optional theme "New".  This is a new challenge to me, so I think that might fit the theme??  

My card uses Rupert, the cute dragon die set from Tim Holtz.  I first saw this die a year ago when my lovely teammate Carol used it for her CH card linked here.  I was so smitten with her card, and Rupert, that I eventually found the set on sale and he came home to my craft room.  And now he's going to be on a birthday card for one of my two young great nephews.


Rupert is a rather large die so he ended up on an A7 card.  I started by die cutting all the parts of the dragon from navy, lime green and a small amount of gray cardstock.  I cut enough to make two dragons (the other will go on a card for donation), so when I put together the second one, it was much easier than figuring out the first one lol!

For the background I ink blended lime green, dark blue and black inks with a halo effect, then splattered it with white iridescent spray.  While that dried, the balloons, letters and number were all die cut from holographic cardstock.

I added two additional layers of scrap cardstock under Rubert, cutting away a bit of the layers under his neck so the twine would not create a bump under him.  The balloons were added with thin foam tape and the ends of the twine were glued to his hands (I guess that's what they are??? ;-)), then the sentiment was added to the right side to complete the card.


So what are you inspired to create with these colors?  There are so many possibilities, as my incredibly talented teammates and Guest Designer Esther will show you over on the challenge blog, so please pop over and see their fabulous creations!  The challenge will remain open until 9 am Wednesday January 29th, and I hope to see your card in the gallery!

Thanks for visiting and take care!

Stef

  • Tim Holtz/Sizzex Rubert and Vault Seasonal Sketches (letters and number) dies
  • MFT Balloon Stax dies
  • Simon Says Stamp Limelicious and Galaxy inks; Black Soot Distress ink
  • Concord & 9th Midnight and Sprout cardstock; SSS Holographic cardstock
  • Lawn Fawn Silver Baker's Twine
  • Hero Arts White Iridescent Spray

Sunday, January 12, 2025

Azalea Bunch for The Paper Players

Hello friends! The team at The Paper Players is all ready to go for 2025 and our first challenge of the year, hosted by the lovely Elizabeth, starts today!  It's color week and she's selected three wonderful colors.  And neutrals are welcome too.


These colors definitely made me think of flowers and Spring, so that's the direction I took with this challenge.


I used products from many crafty manufacturers to create this.  The flowers were part of the Stamptember 2024 collaboration with Altenew and Simon Says Stamp. I have oodles of floral stamps but no azaleas until this stamp set made its way into my craft room.

I started by stenciling the stamped image with Altenew inks (listed below), then using the matching die to cut it out.  The background panel was die cut from white using a Honey Bee Stamps layering frame die, then I softly ink blended some orange in the middle so that it would highlight the floral arrangement.  It was then layered on a panel of Concord & 9th Clementine cardstock and added to the card base.  The floral image was added onto two additional die cut layers, then arranged on the card, along with fussy cut the sentiment to finish things off.


I hope to see your card in our gallery this week and definitely encourage you to visit the challenge blog for more inspiration and ideas from my talented teammates!  The challenge remains open until Friday 1/17 at 3pm EST.

Thanks for visiting and take care!

Stef


  • Simon Says Stamp/Altenew Azalea Bunch stamp, die and stencils
  • Stampendous Birthday Messages stamp set
  • Honey Bee Stamps Spring Vine Layering Frame die
  • Altenew inks - Pink Diamond, Pinkalicious, Rubellite, Snapdragon, Firefly, Green Field, Shadow Creek and Mountain Pine
  • White gel pen 

Wednesday, January 1, 2025

Take Care for Color Hues

Happy New Year, friends!  To start off 2025, we have a new challenge at Color Hues, where the lovely Sheri has chosen a beautiful combination of red and kraft.

I thought I would use an older illlustrated panel by Emily Midgett for this challenge. I don't believe Emily sells these anymore but she has many, many stamps she's illustrated for Simon Says Stamp and other companies, which she shares through her blog posts (blog linked HERE).  At any rate, rather than have these panels continue to collect dust (figuratively - they're stored in a cabinet lol!), I decided I would use them more frequently, when I could, and this color combination was a perfect place to start.


Using three different groups of reds, I colored the two flowers and the grapes with Copic markers and one Olo marker.  I used Olos for the leaves because the light browns are much closer to kraft than I could achieve with my Copics.  I love the drama I can get when coloring with those reds.

After the coloring was complete, I used a rectangle die to trim down the panel.  I added some Latte ink blending around the edges, then followed that by edging with gold then adding splatter.

While that dried, I die cut the sentiment from gold and layered it on a second white layer for just a tiny bit of dimension.  It was adhered to the vellum shadow die cut then added to the now dry panel.  I added two additional panels of scrap cardstock under the colored image for a small amount of lift off the white card base.


Thanks so much for stopping by and I do hope you'll make time to join us for our first challenge of 2025!  I encourage you to visit the challenge blog (linked above) to see the stunning creations by my oh, so talented teammates and our guest designer, Stephanie Severin!  The challenge will remain open until 9 am Tuesday 1/14.

Take care!

Stef

  • Emily Midgett Illustrated Panel
  • Altenew Stylish Greetings die set
  • Simon Says Stamp Latte ink
  • SSS Matte Gold cardstock
  • Gansi Tambi Starry Colors gold metallic paint
  • Copics - (R39, 37, 35, 32), (R59, 46, 27, 14), (R89, 59, 85)
  • Olos - YO 4.6, 4.3, 4.1, and RV 1.7 for the grapes